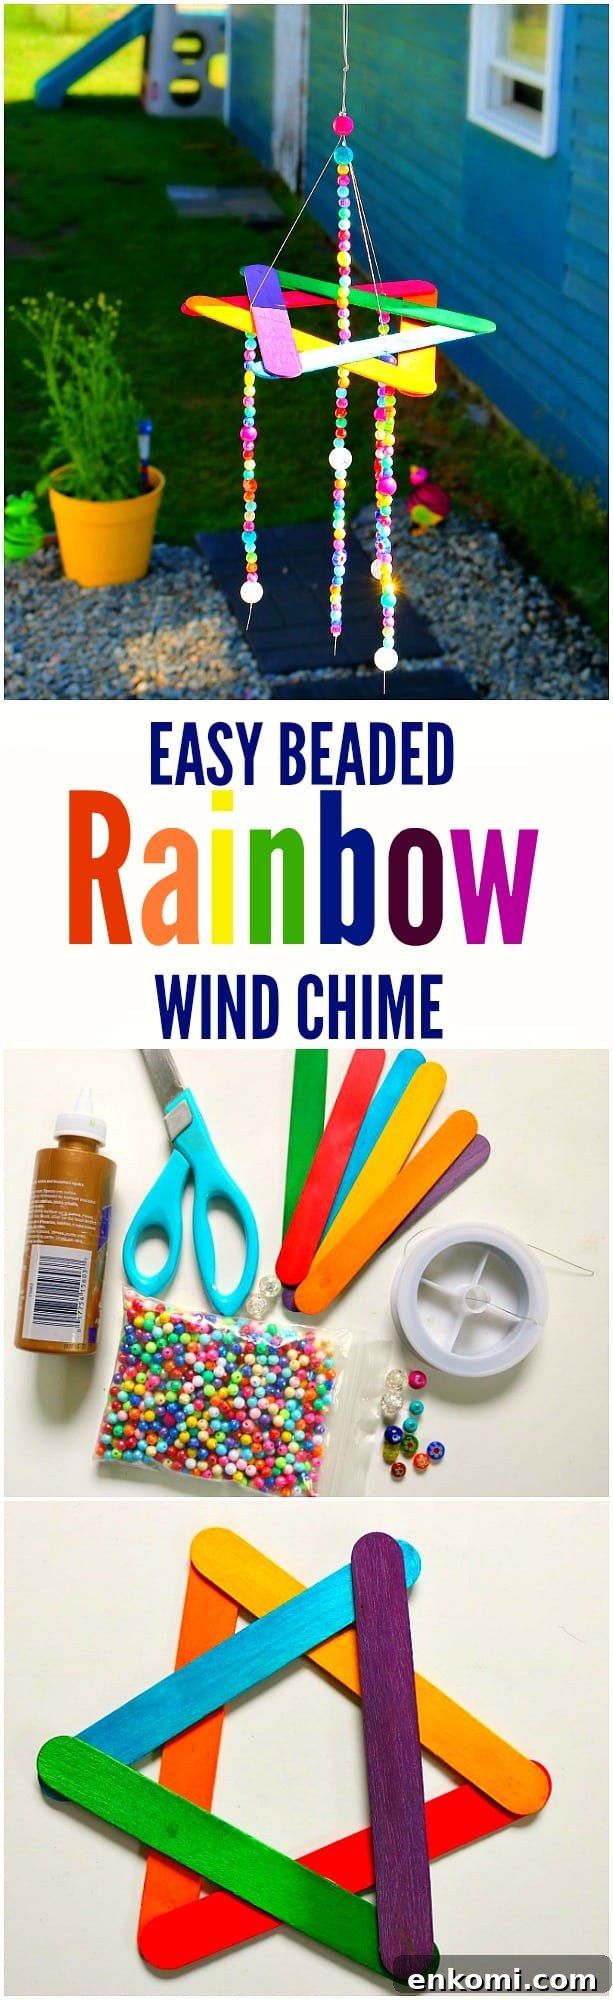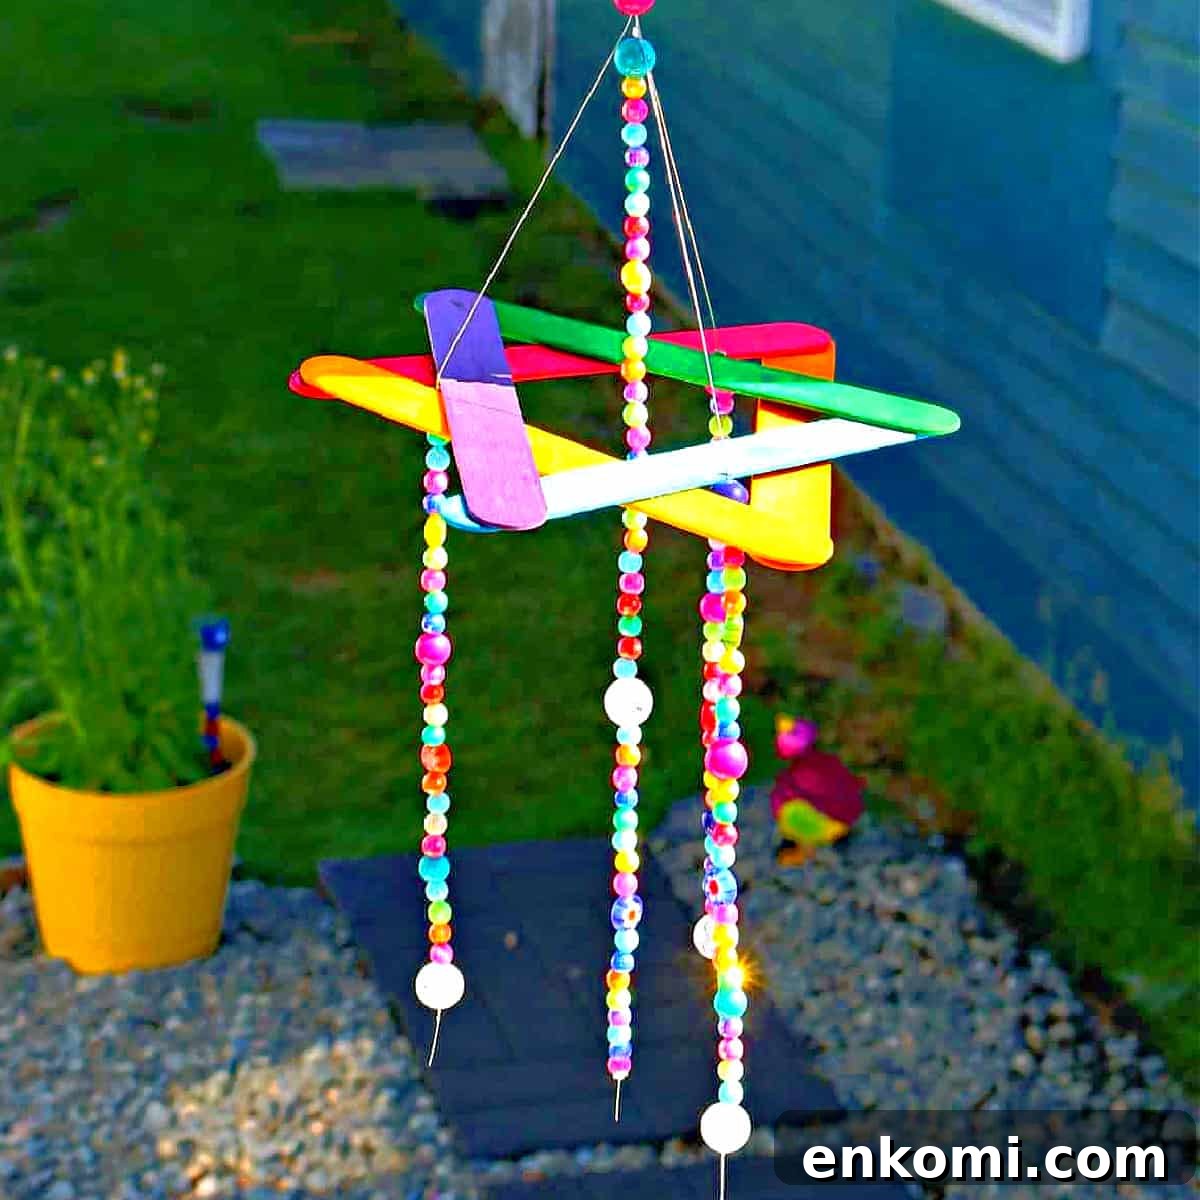
Create a vibrant DIY Beaded Wind Chime with simple, affordable supplies—perfect for kids and weekend crafting. This easy project uses materials you can find at discount stores and adds color and gentle sound to porches, windows, and gardens.
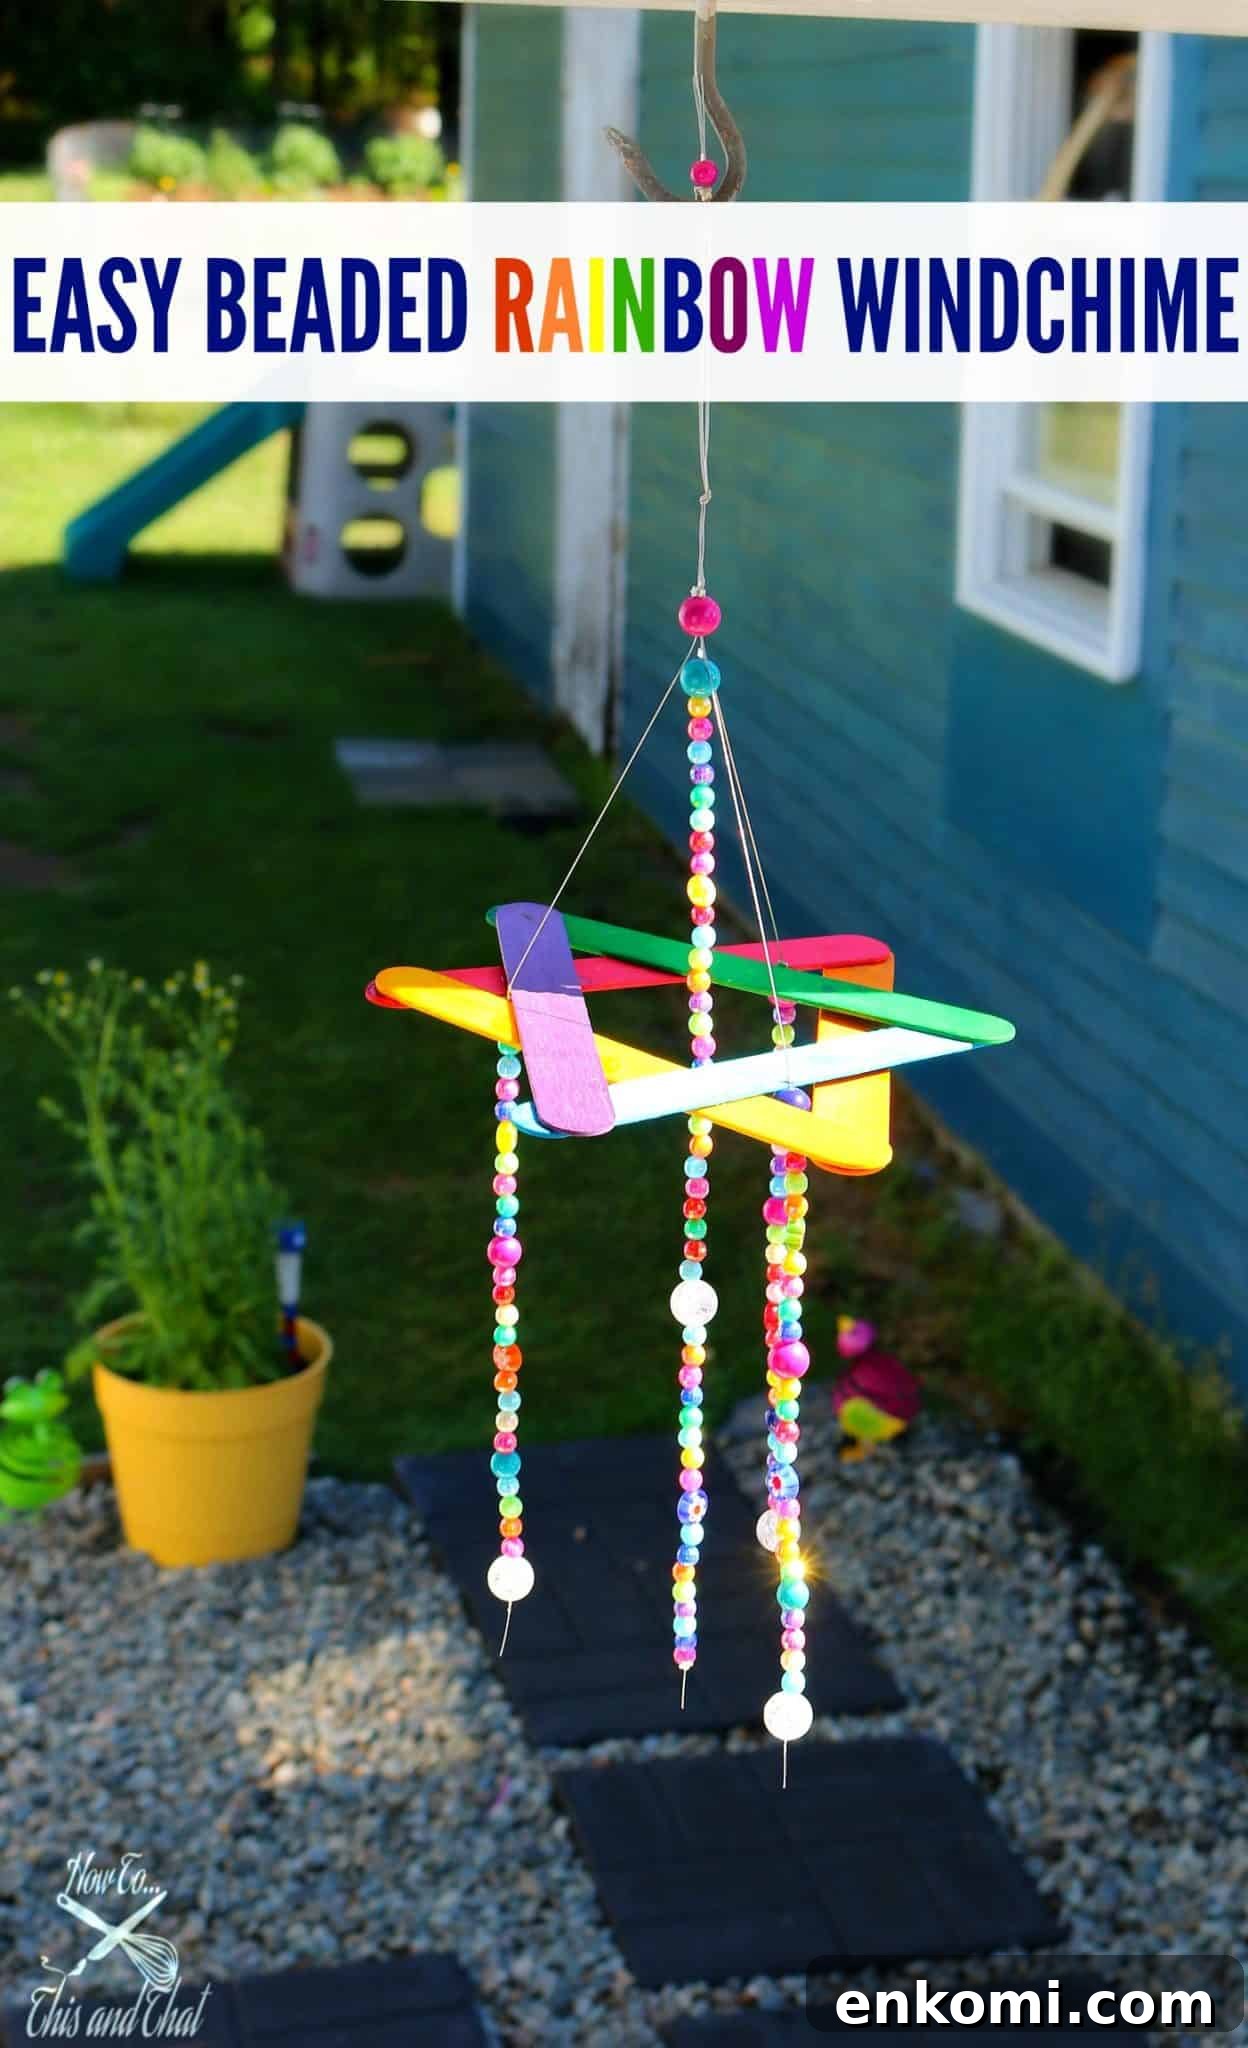
DIY Beaded Wind Chime
Simple Kids Craft / Dollar Store DIY
Summer is a great time to keep kids engaged with hands-on projects that double as useful decorations. Rather than creating crafts that end up in a pile, this beaded wind chime is durable, attractive, and functional. It’s a fun way to teach basic crafting skills—gluing, stringing beads, and working with simple hardware—while producing a piece you’ll want to display.
About Wind Chimes
Wind chimes combine visual appeal and gentle sound. Using plastic or crystal beads and a small framework, the pieces move with the breeze and create light tinkling sounds. This version is bright, lightweight, and safe for supervised kids’ craft time.
Super Easy Kids Craft
Below are clear steps and a list of materials to guide you through the project. Take extra care with small beads around children under three.
Materials
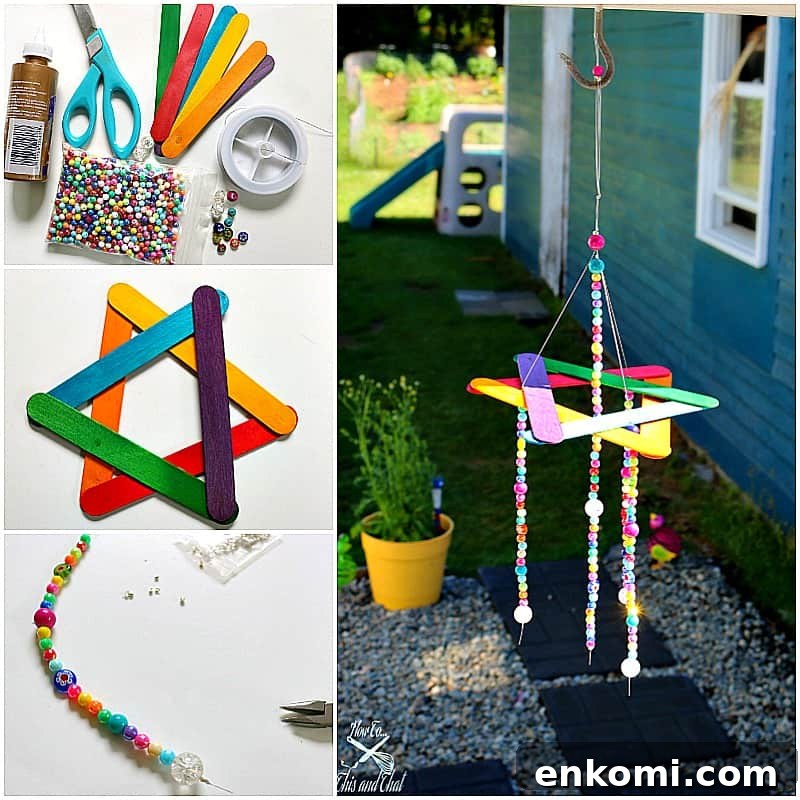
- 6 jumbo craft sticks in rainbow colors
- Tacky glue or hot glue
- Jewelry wire or clear fishing line
- Crimp beads (found near beads at craft stores)
- Plastic or acrylic beads for stringing
- 6 larger accent beads to act as anchors and sound makers
- Scissors
- Jewelry pliers or regular pliers
Instructions
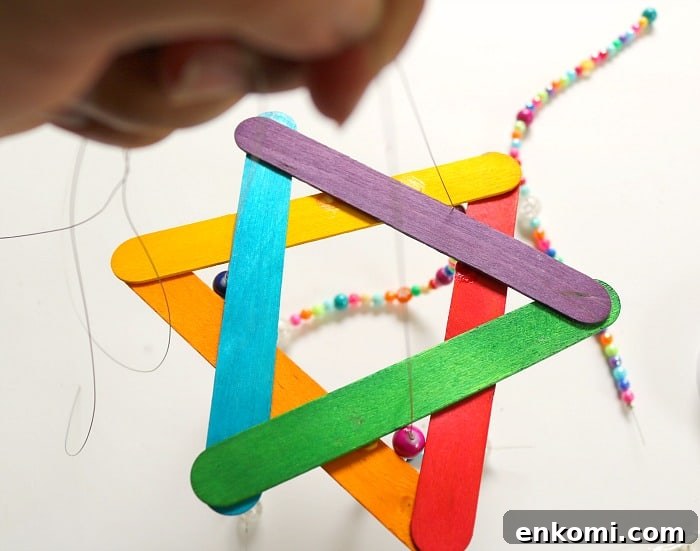
- Glue the craft sticks into two separate triangles. Once dry, place the triangles on top of each other to form a six-point star and secure with glue. Allow to dry thoroughly before adding weight.
- Cut four pieces of jewelry wire about 20 inches long each. These will become the hanging strands for beads.
- Attach a crimp bead to the end of one wire and crimp it closed. String beads in your chosen pattern up the strand. Halfway up, add one of the larger accent beads, secure with a crimp bead, and continue beading as desired.
- Important: Each strand should start and end with a large accent bead. The bottom large beads will strike together to make sound, while the top large beads support the star frame.
- Repeat this beading process for two more strands, so you have three beaded strands with large beads positioned appropriately.
- For the fourth strand, string beads fully but leave approximately four inches of wire bare at the end—this will be used when gathering strands to hang.
- Thread three of the beaded strands through separate points on the star frame so the top large beads sit beneath the star and hold it level. See the photo for reference.
DIY Beaded Wind Chime
Finishing Steps
Bring the fourth strand up through the center of the star and gather all four strand ends. Adjust the lengths and bead positions until the star hangs evenly and the bottom beads are able to chime against each other. Thread all four ends through a final bead, add a crimp bead to secure them, and crimp closed. Trim any excess wire and tuck ends neatly.
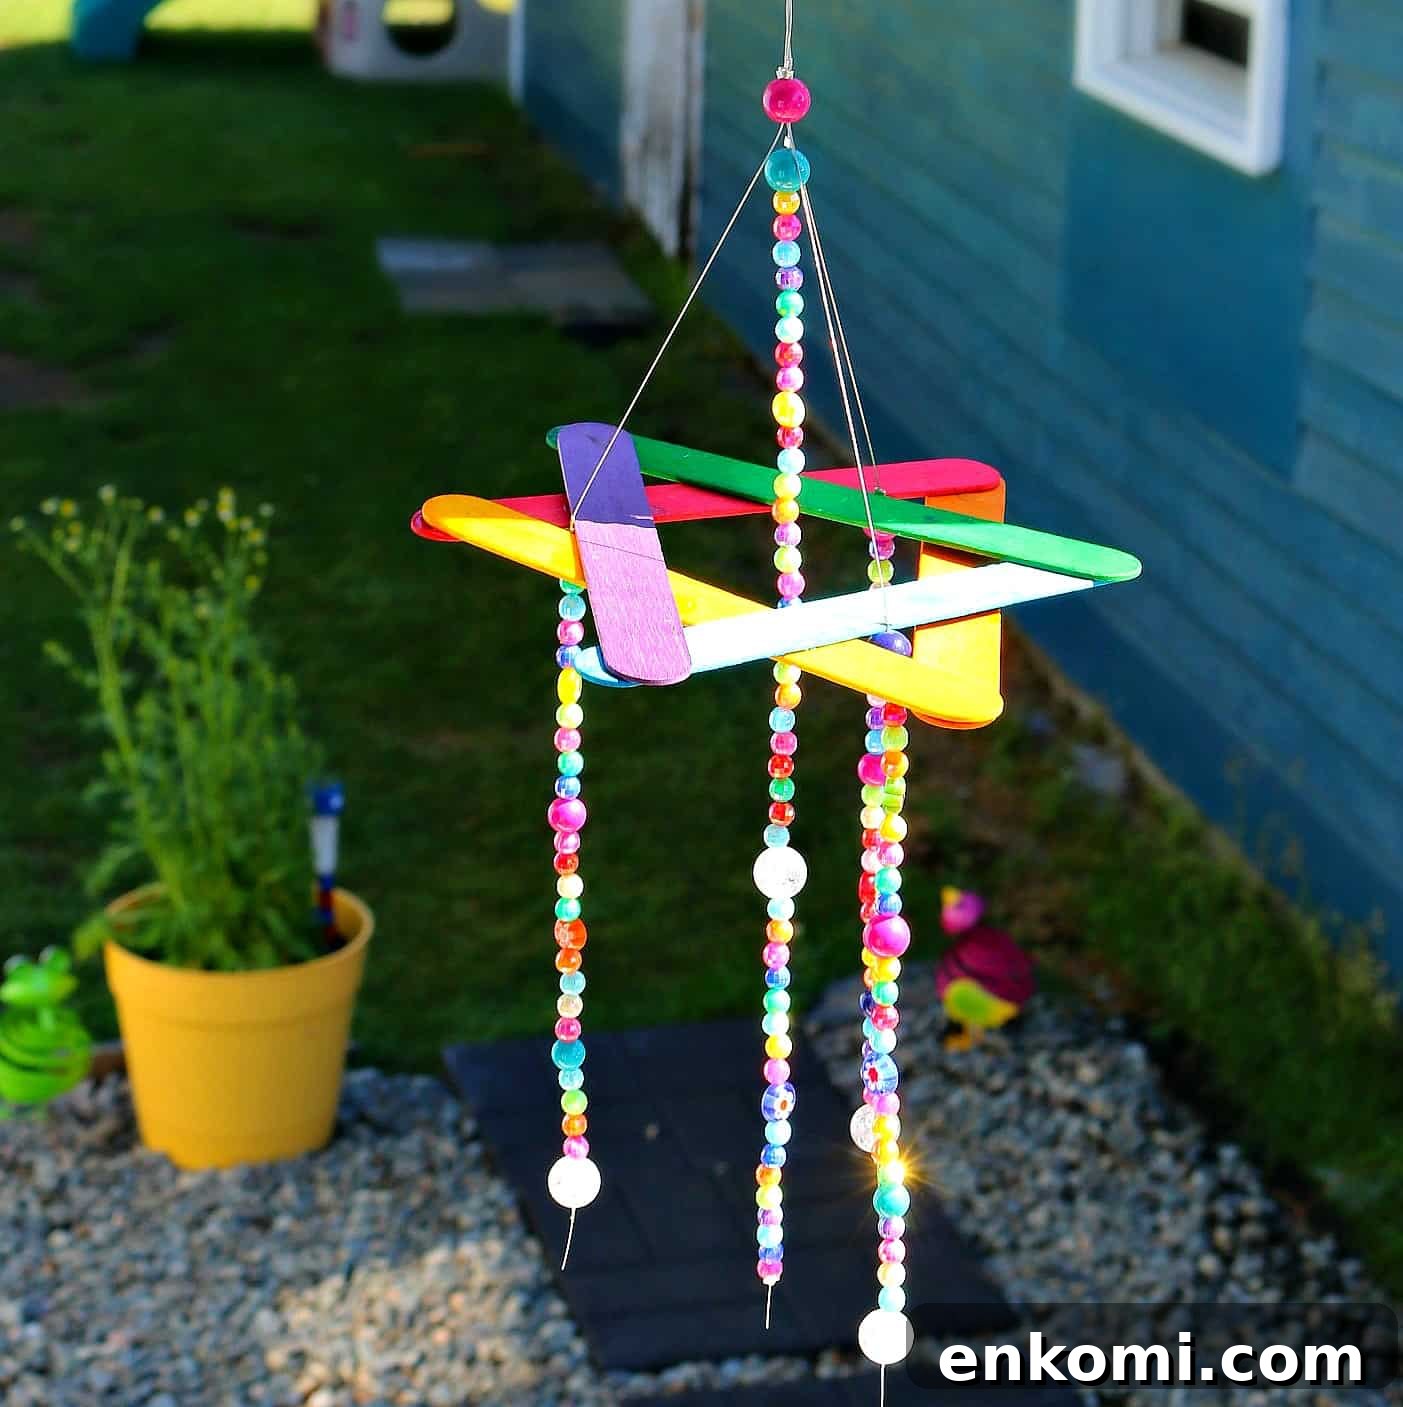
Hang your wind chime on a porch, near a window, or in the garden where it will catch the breeze. The lightweight design and colorful beads make it a cheerful accent for outdoor spaces or a child’s room.
Like this craft? Try making a simple DIY oriole feeder or other outdoor projects to attract birds and add charm to your yard.