
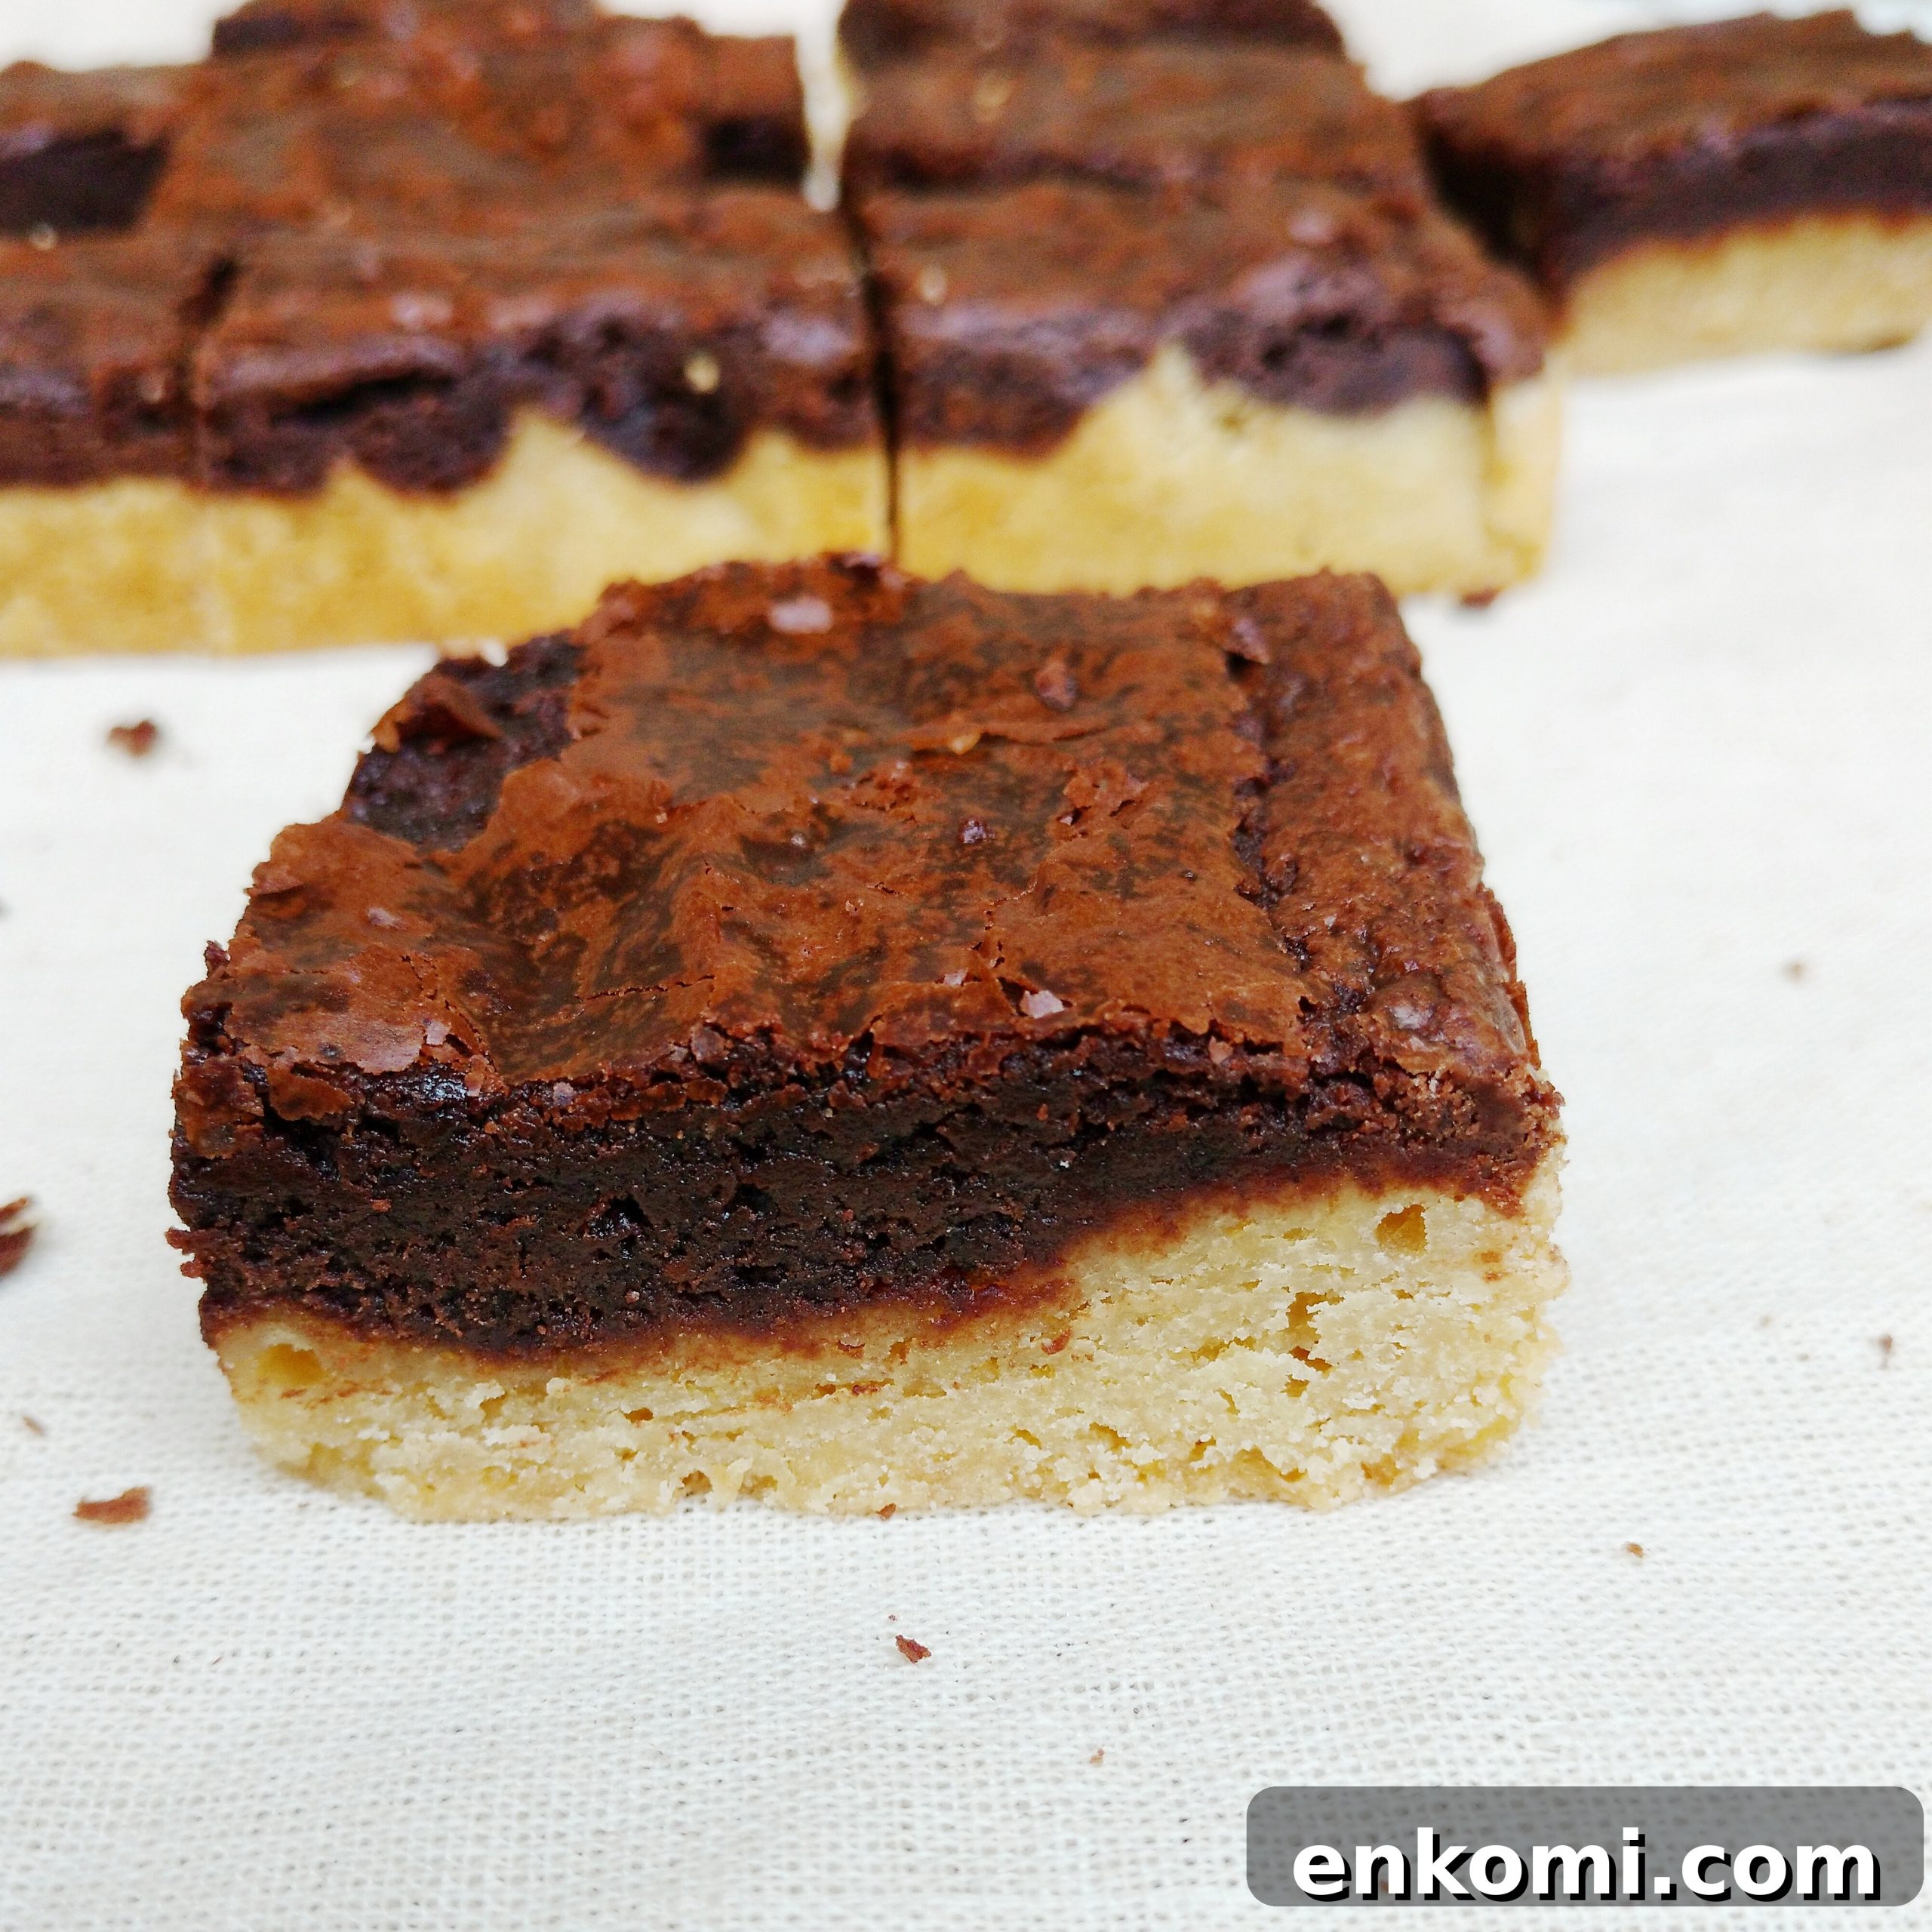
I admit it: I often think I’m a bit sharper than average (even if others disagree), but every so often I have a genuine “why didn’t I think of that?” moment. That was exactly my reaction when I discovered these brondies — a brilliant mashup of brownies and blondies — and immediately knew I had to try them.
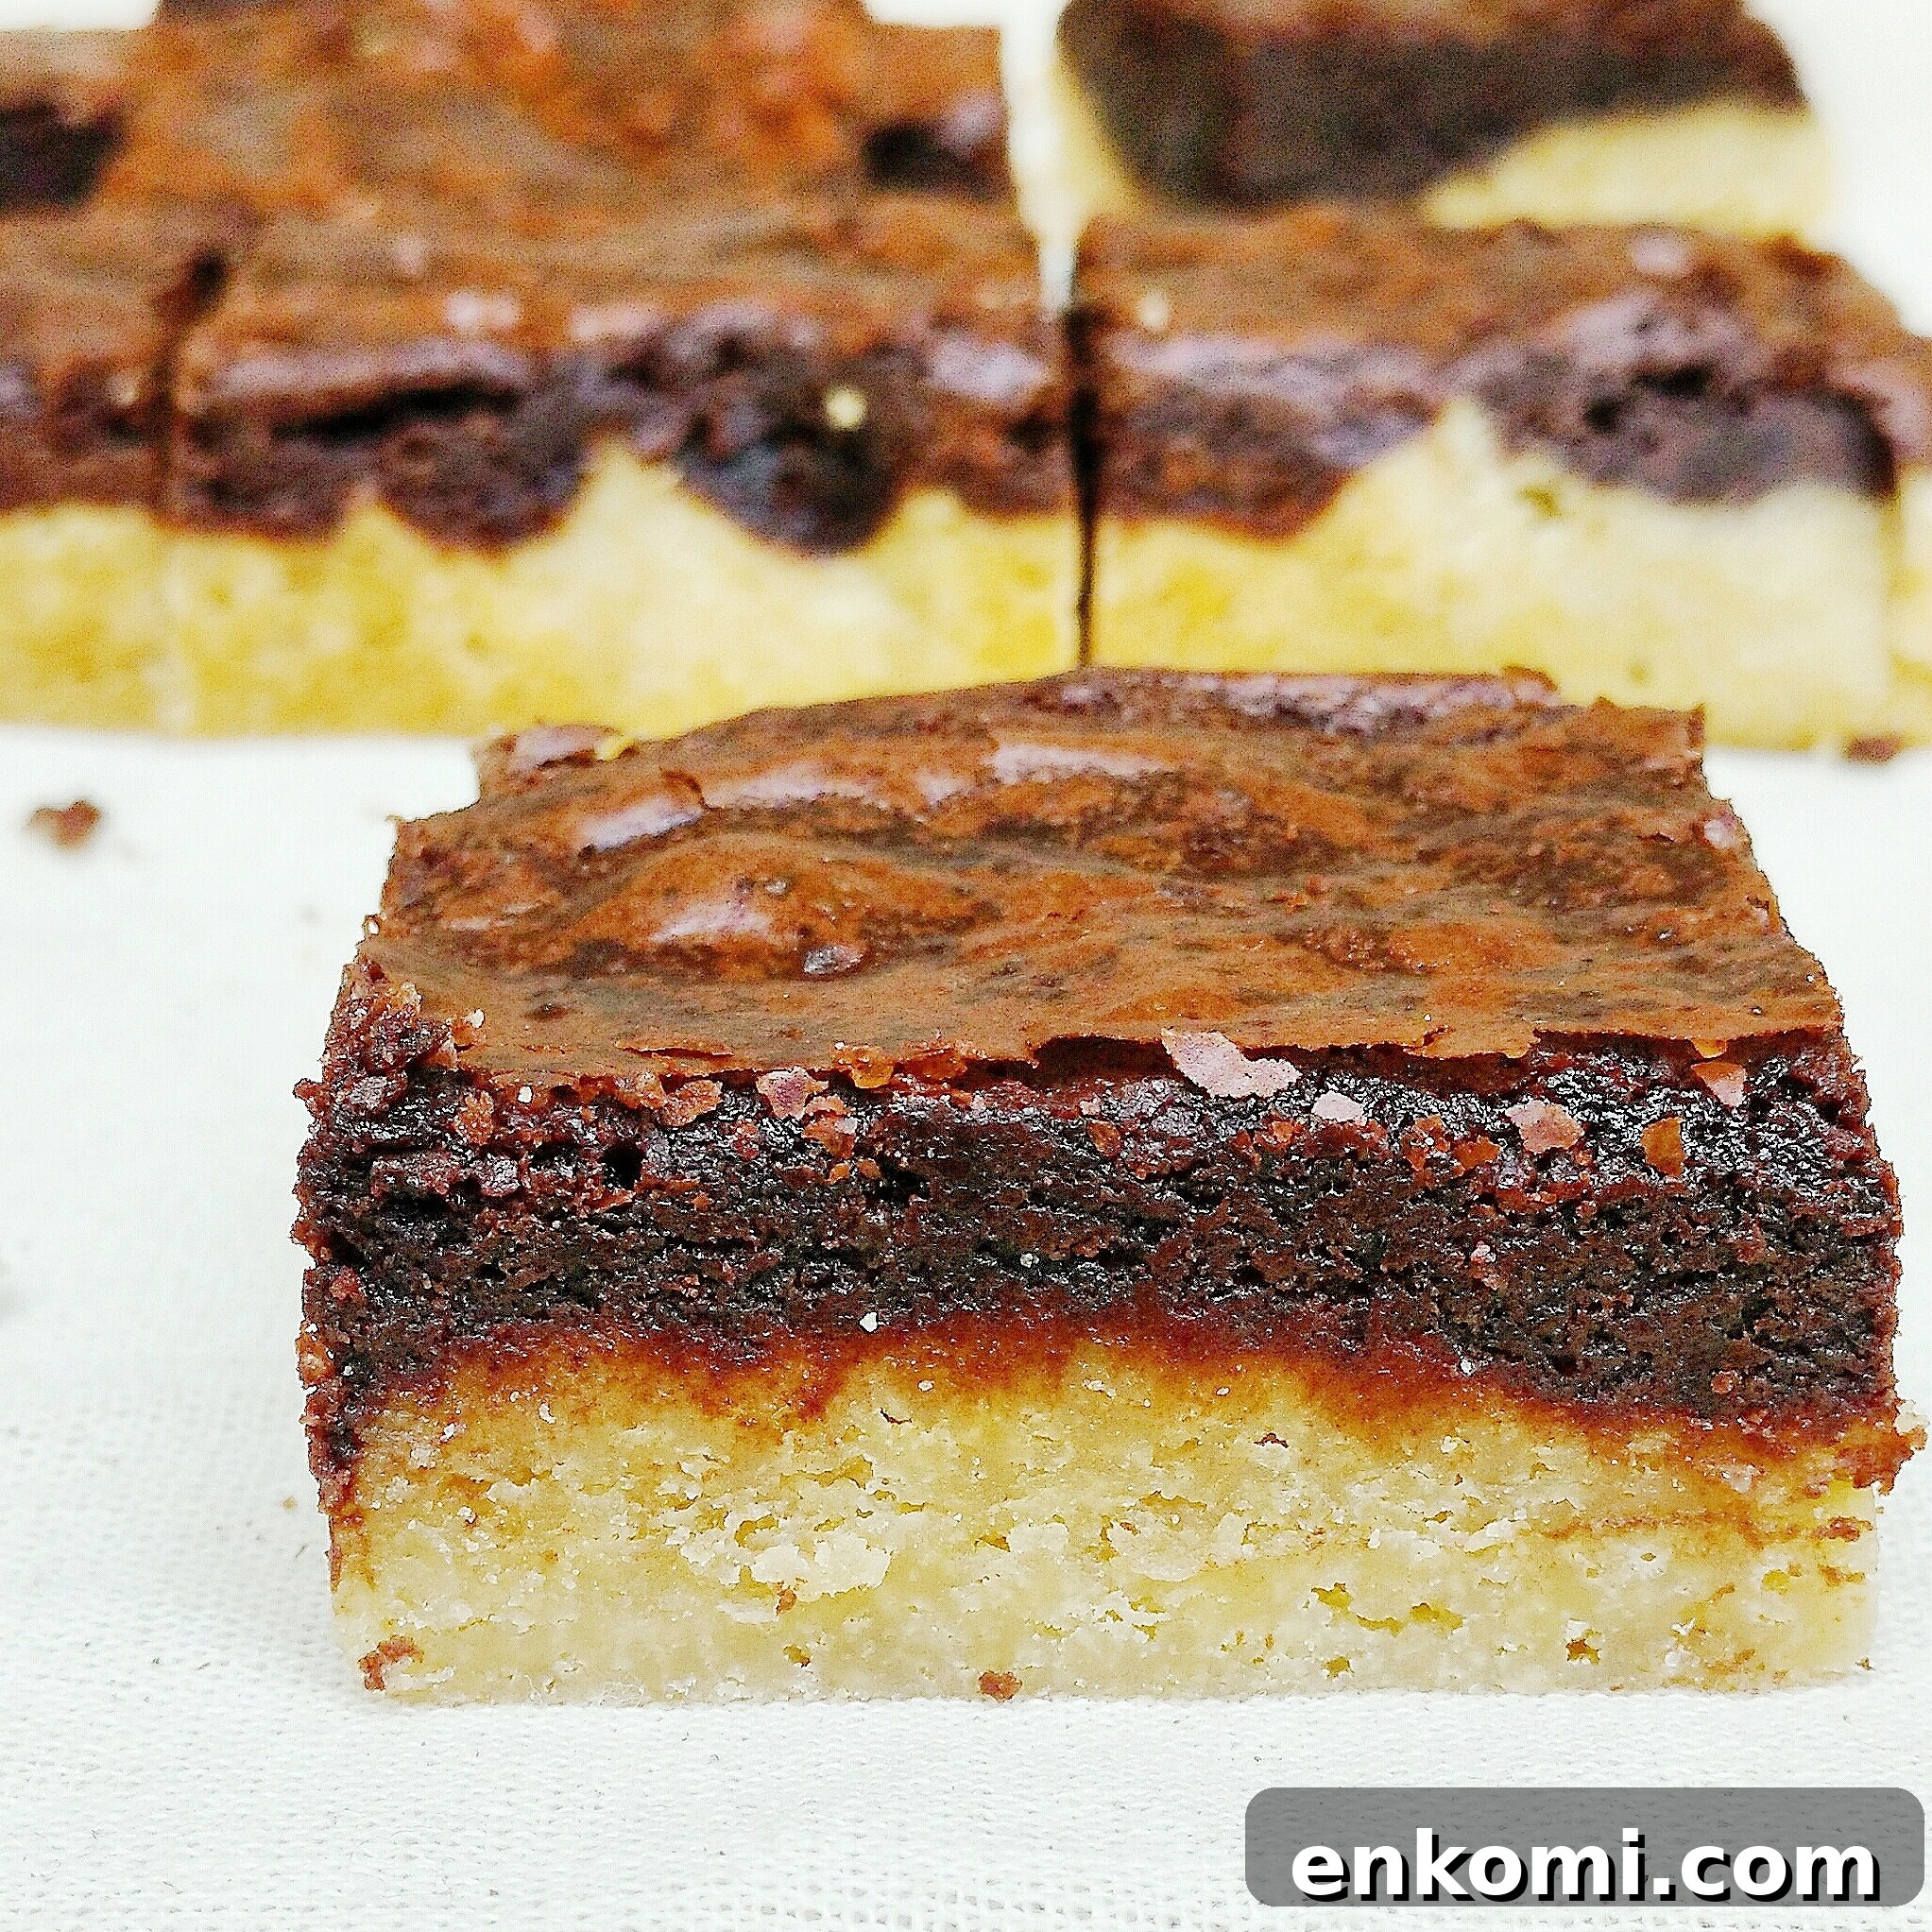
The idea is delightfully simple and irresistible: brownie + blondie = brondie. Dessert mashups are fascinating (think brookies, duffins, cronuts), and this one really stands out. The contrast of chocolate and butterscotch flavors, chewy and fudgy textures, and the visual yin-and-yang of the two layers all combine to make a truly indulgent bite.
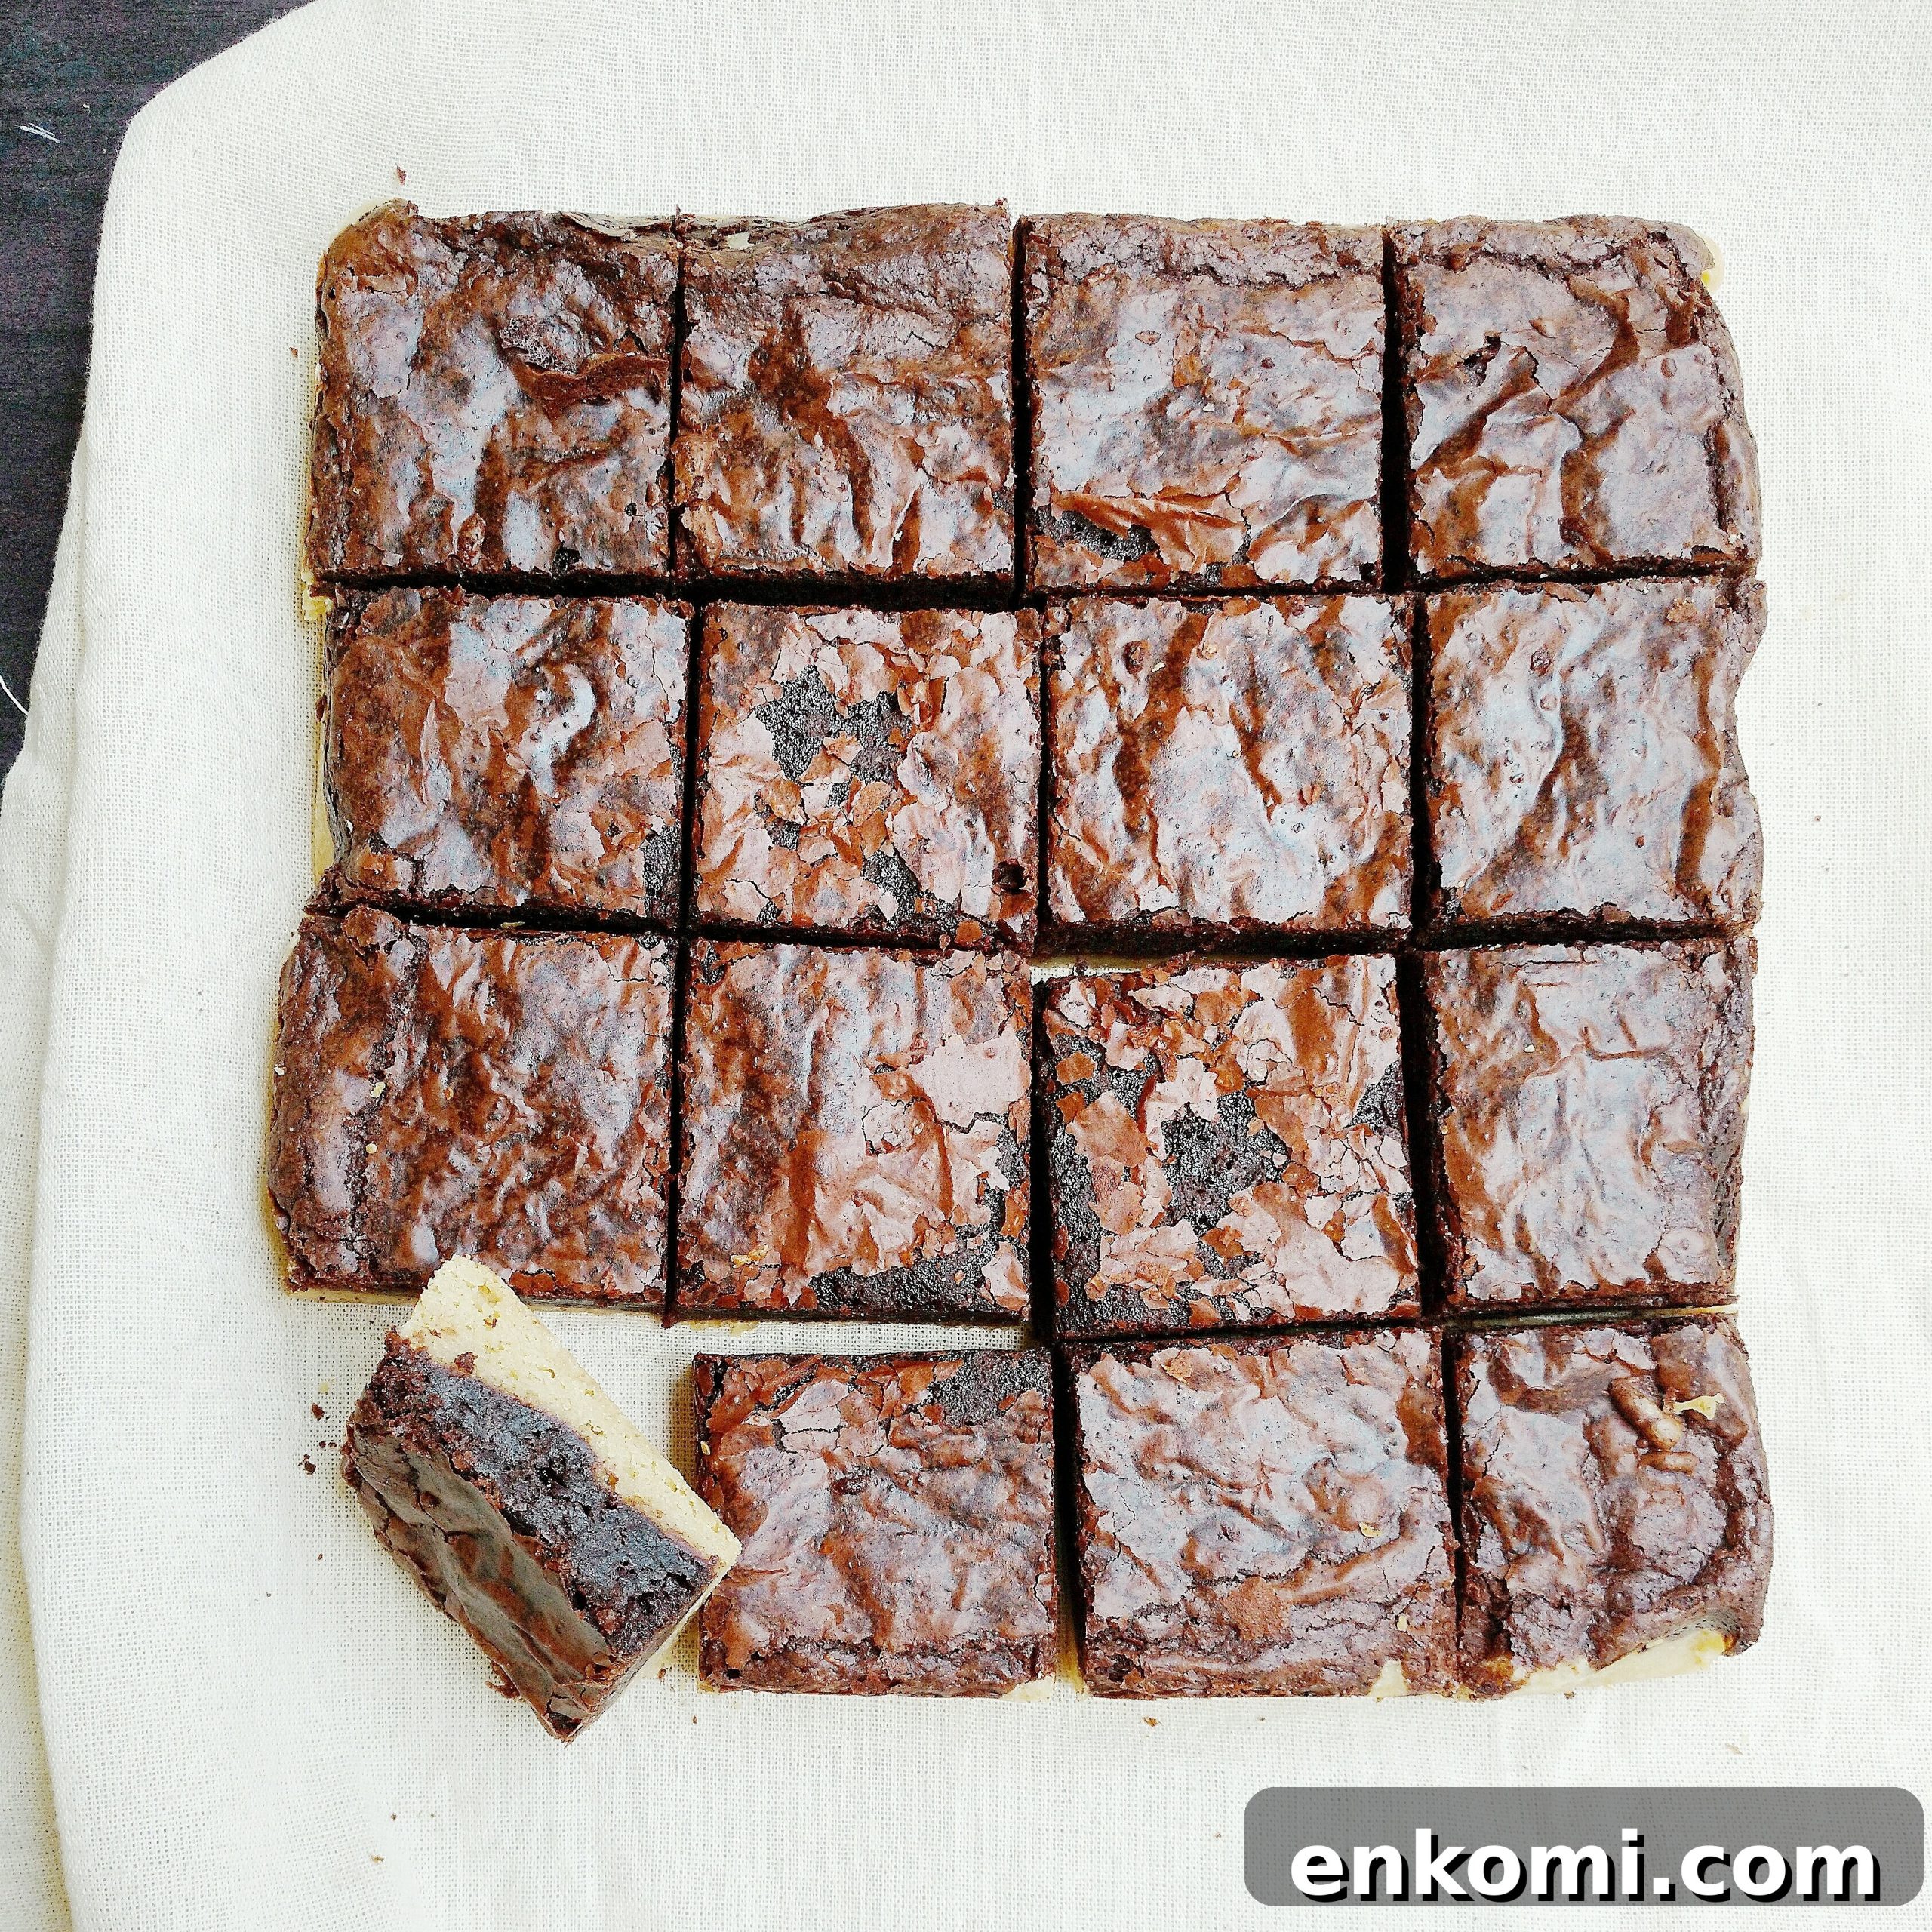
The recipe I followed was adapted from a version I found online; credit goes to the original baker who popularised this combination. I compared earlier variations and tried to stay true to the version that produced the perfect crackly top and balanced layers. If you have a favorite brownie and blondie recipe, you can experiment by combining them — just scale both recipes down so the layers stay reasonably thin, and make sure their baking times and temperatures are similar.
That said, I highly recommend trying this specific version. The results did not disappoint. I was hooked by the crackly top, and one bite into the layered bar confirmed it: pure indulgence. The contrast between the fudgy chocolate layer and the chewy, butterscotch-forward blondie layer is exactly what you’d hope for in a dessert mashup.
Brondies
A delightful dessert mashup: chewy brownies paired with fudgy blondies in every indulgent bite.
Ingredients
For the brownie layer
- 75 grams (1/3 cup) butter
- 90 grams (1/2 cup) dark or semi-sweet chocolate
- 60 grams (1/3 cup) brown sugar
- 60 grams (1/3 cup) granulated sugar
- 1 egg, at room temperature
- 1 teaspoon vanilla extract
- 20 grams (1/4 cup) cocoa powder
- 42 grams (1/3 cup) all-purpose flour
For the blondie layer
- 75 grams (1/3 cup) butter
- 125 grams (1/2 cup plus 2 tablespoons) brown sugar
- 1 egg, at room temperature
- 1 teaspoon vanilla extract
- 125 grams (1 cup) all-purpose flour
Instructions
- Preheat your oven to 180°C (350°F).
- Line an 8 x 8 inch square pan with parchment paper or foil, or butter and flour the pan well.
- Make the brownie layer: melt the chopped chocolate and butter together in a saucepan over low heat or in short bursts in the microwave, stirring until smooth. In a separate bowl, whisk the egg, vanilla and both sugars for a couple of minutes until light and fluffy. Pour the chocolate-butter mixture into the egg-sugar mixture and whisk until smooth. Add the cocoa powder and flour, whisking until fully incorporated. Set aside.
- Make the blondie layer: melt the butter and whisk in the brown sugar until combined. Add the egg and vanilla, whisking until incorporated. Stir in the flour and mix until just combined.
- Spread the blondie batter evenly in the prepared pan and smooth the top with a spatula.
- Carefully spread the brownie batter on top of the blondie layer, trying to distribute it as evenly as possible.
- Bake at 180°C (350°F) for 28–32 minutes, or until a toothpick inserted into the center comes out with a few moist crumbs but not wet batter.
- Allow the brondies to cool completely in the pan before slicing into bars.
Notes
Store brondies in an airtight container at room temperature for 3 to 4 days. I used a 52% dark chocolate for the brownie layer, but other dark chocolates or compound chocolate should work. Use salted or unsalted butter according to your preference.
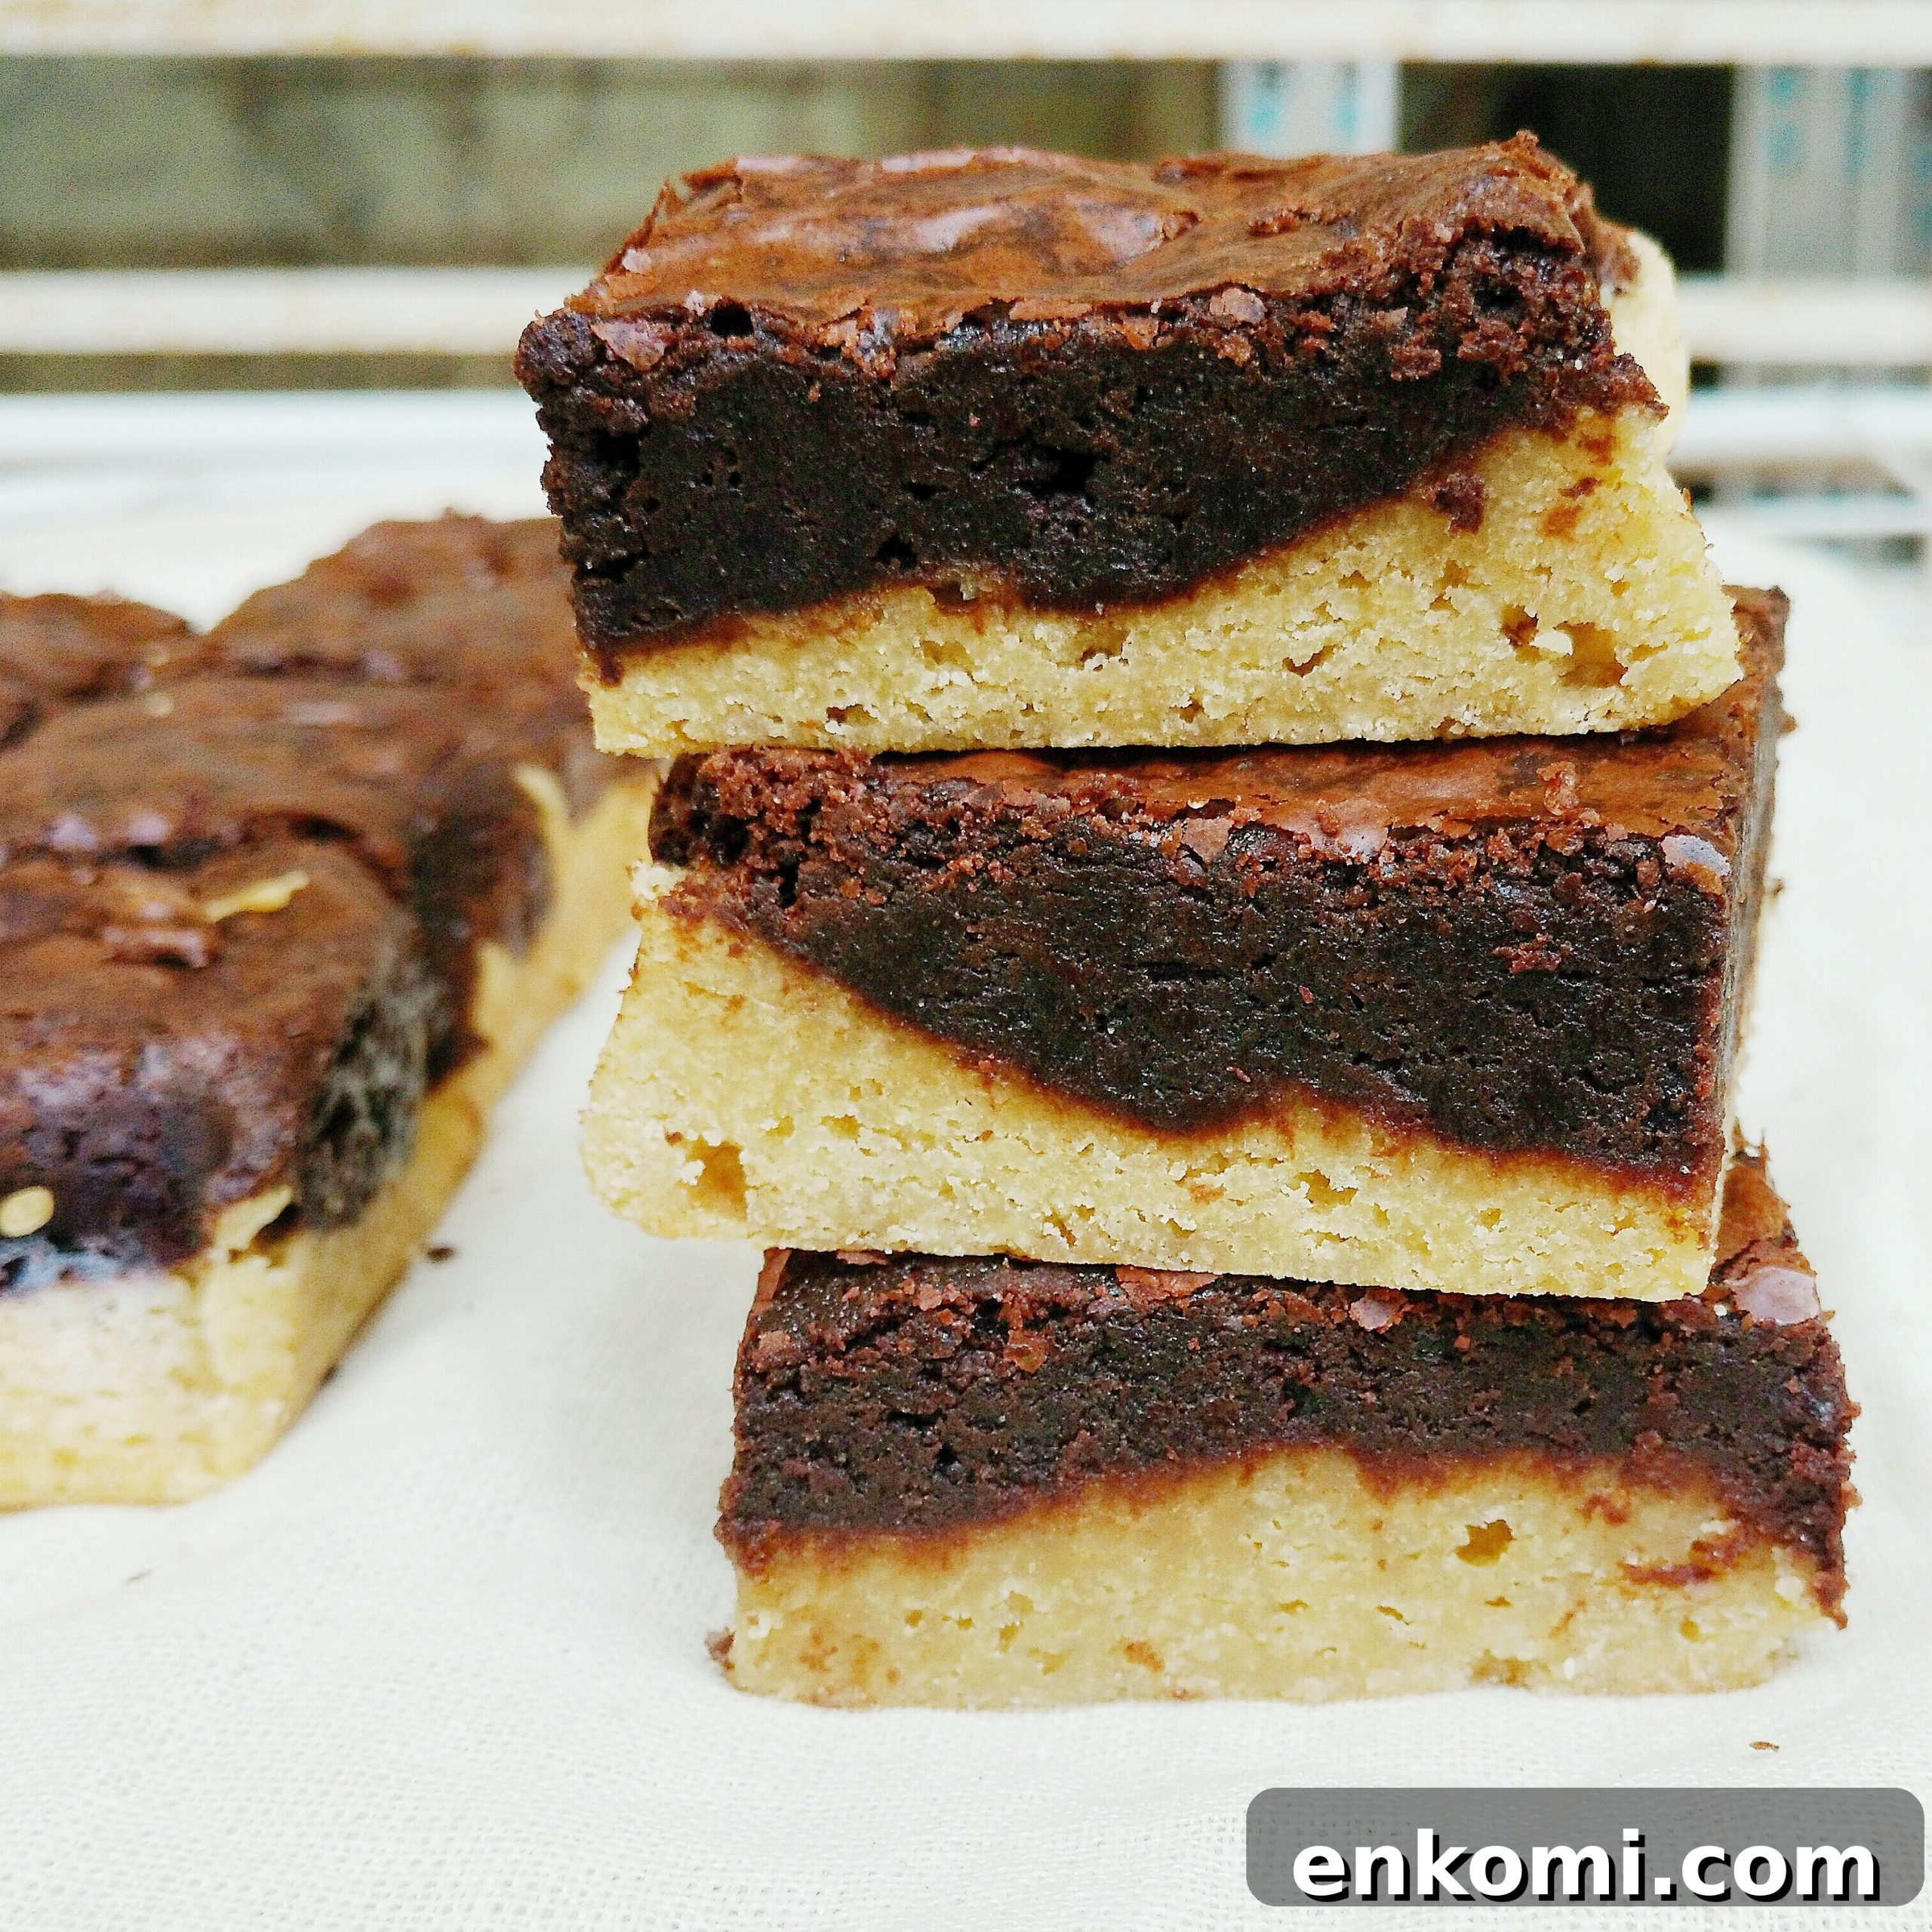
Yes, you will end up with a few more dishes because you’re making two batters, but each recipe is straightforward, and the payoff is worth it. These bars are rich and calorie-dense, so enjoy them in small portions and save them for special occasions.
If you enjoy baking, give these brondies a try — they’re a fun twist on two classic treats and perfect for anyone who loves a layered dessert with contrasting textures and flavors. Happy baking!