
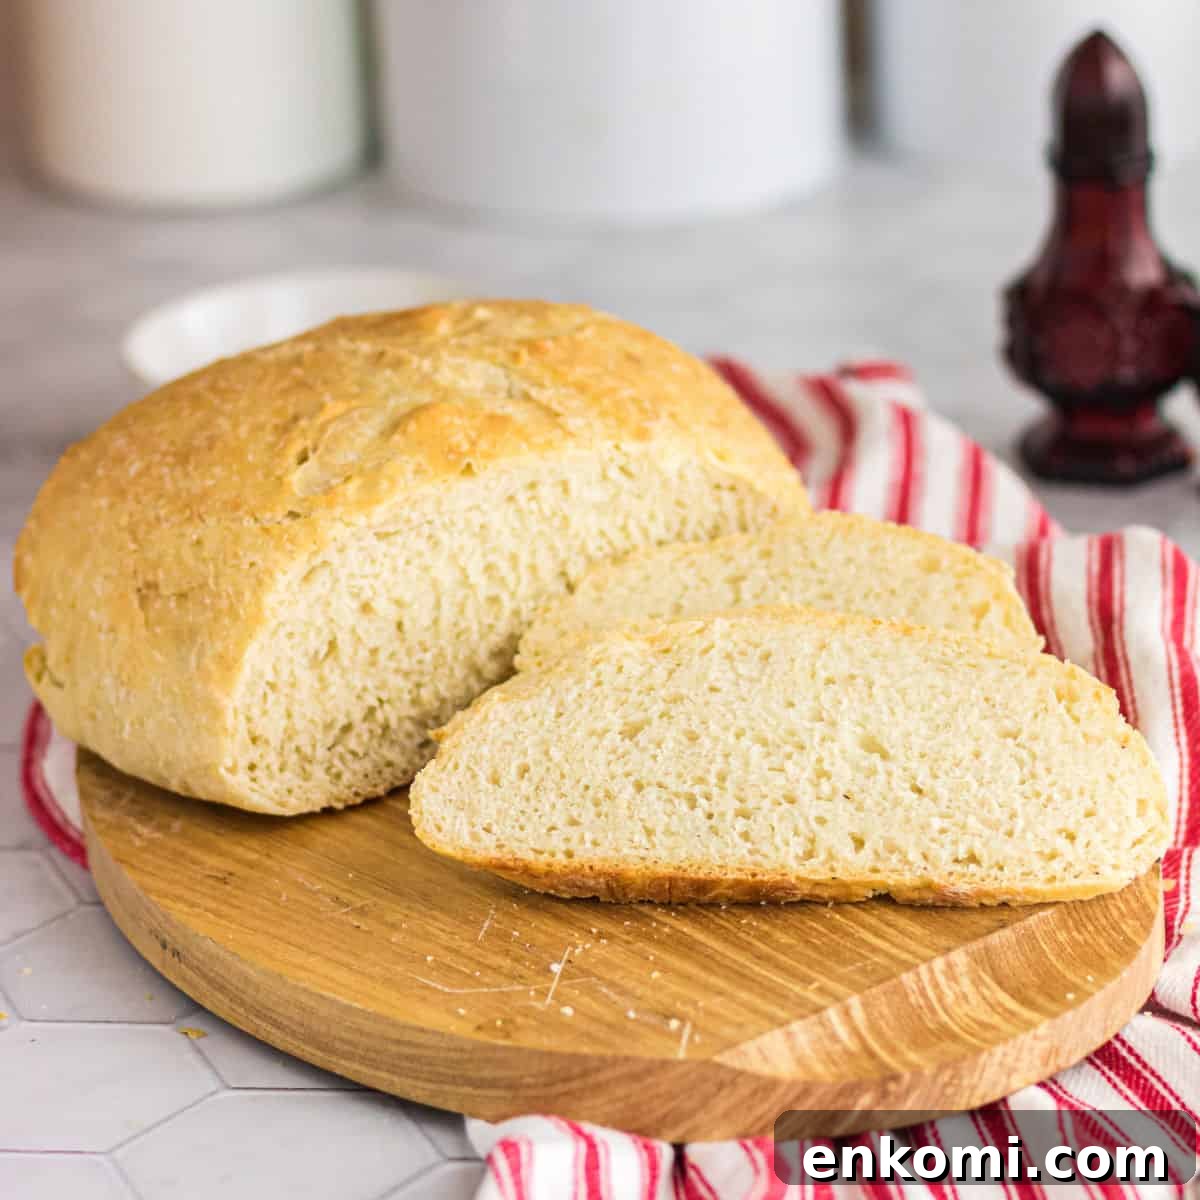
Are you having trouble baking yeast bread? Yeast bread baking troubleshooting is here to help.
Troubleshooting is an essential skill for any baker—especially with yeast doughs. There’s always something new to learn, and even experienced bakers occasionally end up with a loaf that looks… odd. Save this page as a reference so you can quickly diagnose problems the next time a loaf doesn’t behave.
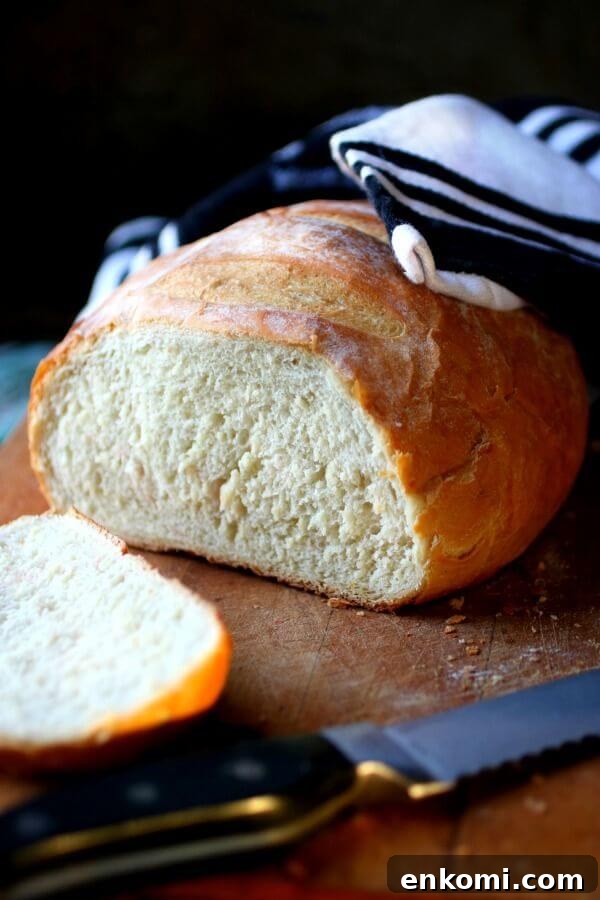
If you’ve read the Bread Baking Tips article, congratulations — you already know the basics. With practice and attention to detail, you can consistently produce good loaves. If you followed those steps and still ran into problems, the likely causes and fixes are below. If you don’t find your issue here, leave a comment and I’ll help you figure it out. With patience and careful recipe-following, you’ll bake a fantastic loaf.
-
I was amazed how light and fluffy it was…
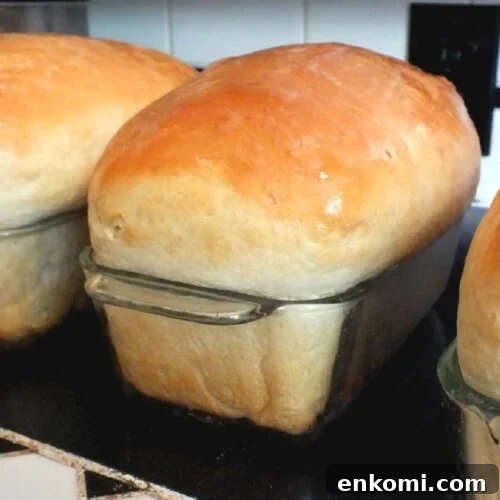
I just love how these loaves turned out after following your tips and recipe! I was amazed how light and fluffy it was, like eating homemade Wonderbread! this is worth teaching to my kiddos! thanks so much for sharing and explaining!
Rachel G.
What makes a perfect loaf of bread
You can’t reach perfection without knowing what it looks like. While the ideal loaf may be elusive, it’s useful to aim for a clear standard so you can judge and improve your results.
So what does a well-made loaf look and taste like?
The standard:
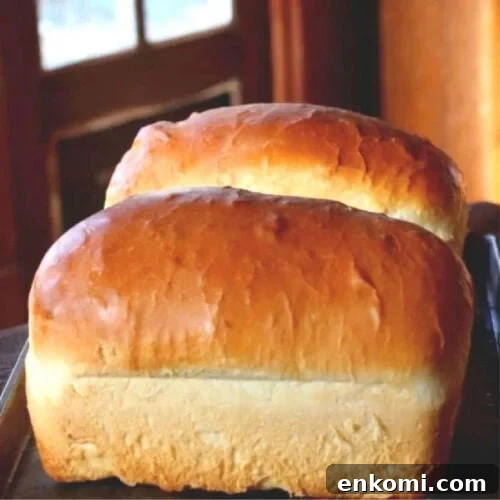
A high-quality yeast loaf should have an evenly rounded top and symmetrical shape with no cracks, bulges, or bumps. There should be a distinct, even “break” where the top meets the sides with a well-defined, shredded look.
The crust should be crisp yet tender. The interior color should be uniform with a soft, fine texture and no crumbliness. The crumb should show many small, even holes rather than large irregular gaps.
Farm Journal Country Fair Cookbook, 1975
If you’re experiencing a problem, use the lists below to identify likely causes and fixes.
My dough didn’t rise or rose very slowly
The ideal rising temperature is a draft-free 85°F to 95°F. Cooler temperatures slow the rise; below about 70°F a dough may hardly rise at all.
- Not enough time—rising can take twice as long in a cool kitchen.
- House too cold—if the room is very cold, the dough may not rise.
- Water was too hot and killed the yeast. Active dry yeast prefers 110–115°F; rapid-rise yeast 120–130°F; fresh yeast 90–95°F. Use a thermometer until you’re comfortable judging by touch.
- Water was too cold and put the yeast to sleep—aim for 110–115°F for active dry yeast.
- Too much or too little sugar or sweetener. Excess sugar inhibits yeast; too little may not feed it adequately. Follow the recipe closely, especially at first.
- Too much salt—salt limits yeast activity. Add salt where the recipe indicates.
- Not enough yeast used.
- Dough too stiff from too much flour.
- Yeast was old or inactive—always proof yeast if you’re unsure.
- Not enough flour (less common, but can cause problems).
- Rising period was too short.
- Insufficient kneading to develop the gluten structure.
- Pan too large—too much spread can prevent proper rising.
My dough is too sticky
- Not enough flour—add a bit at a time until manageable.
- Overkneading can make dough sticky—knead until elastic, not endlessly.
- Low-gluten flour—use bread flour or a strong all-purpose flour. Avoid pastry or cake flour for yeast breads.
Cracks, bulges, or lumps
- Too much yeast.
- Improper kneading.
- Too much dough for the pan.
- Overproofed—left to rise too long.
- Oven started too cold or oven temperature too low.
- Cooled in a cold draft after baking.
No shred or break between the top and the sides of the loaf
- Not kneaded enough to develop structure.
- Low-gluten flour—use stronger flour next time.
Too much shred or break between top and sides
- Oven too hot, causing rapid oven spring.
- Proofing time was too short.
- Poor shaping—reshape more tightly next time.
Flat top
- Dough rose too long and then collapsed.
- Insufficient kneading.
- Too much yeast.
- Low-gluten flour.
Collapsed in the oven
- Overproofed before baking.
- Low-gluten flour—use bread flour or add vital wheat gluten.
- Oven temperature too low during baking.
Heavy or dense loaf
- Water too hot—killed the yeast.
- Ingredients not mixed well.
- Room too cool during rising.
- Not enough gluten in the flour or insufficient kneading.
- Dough didn’t rise enough before baking.
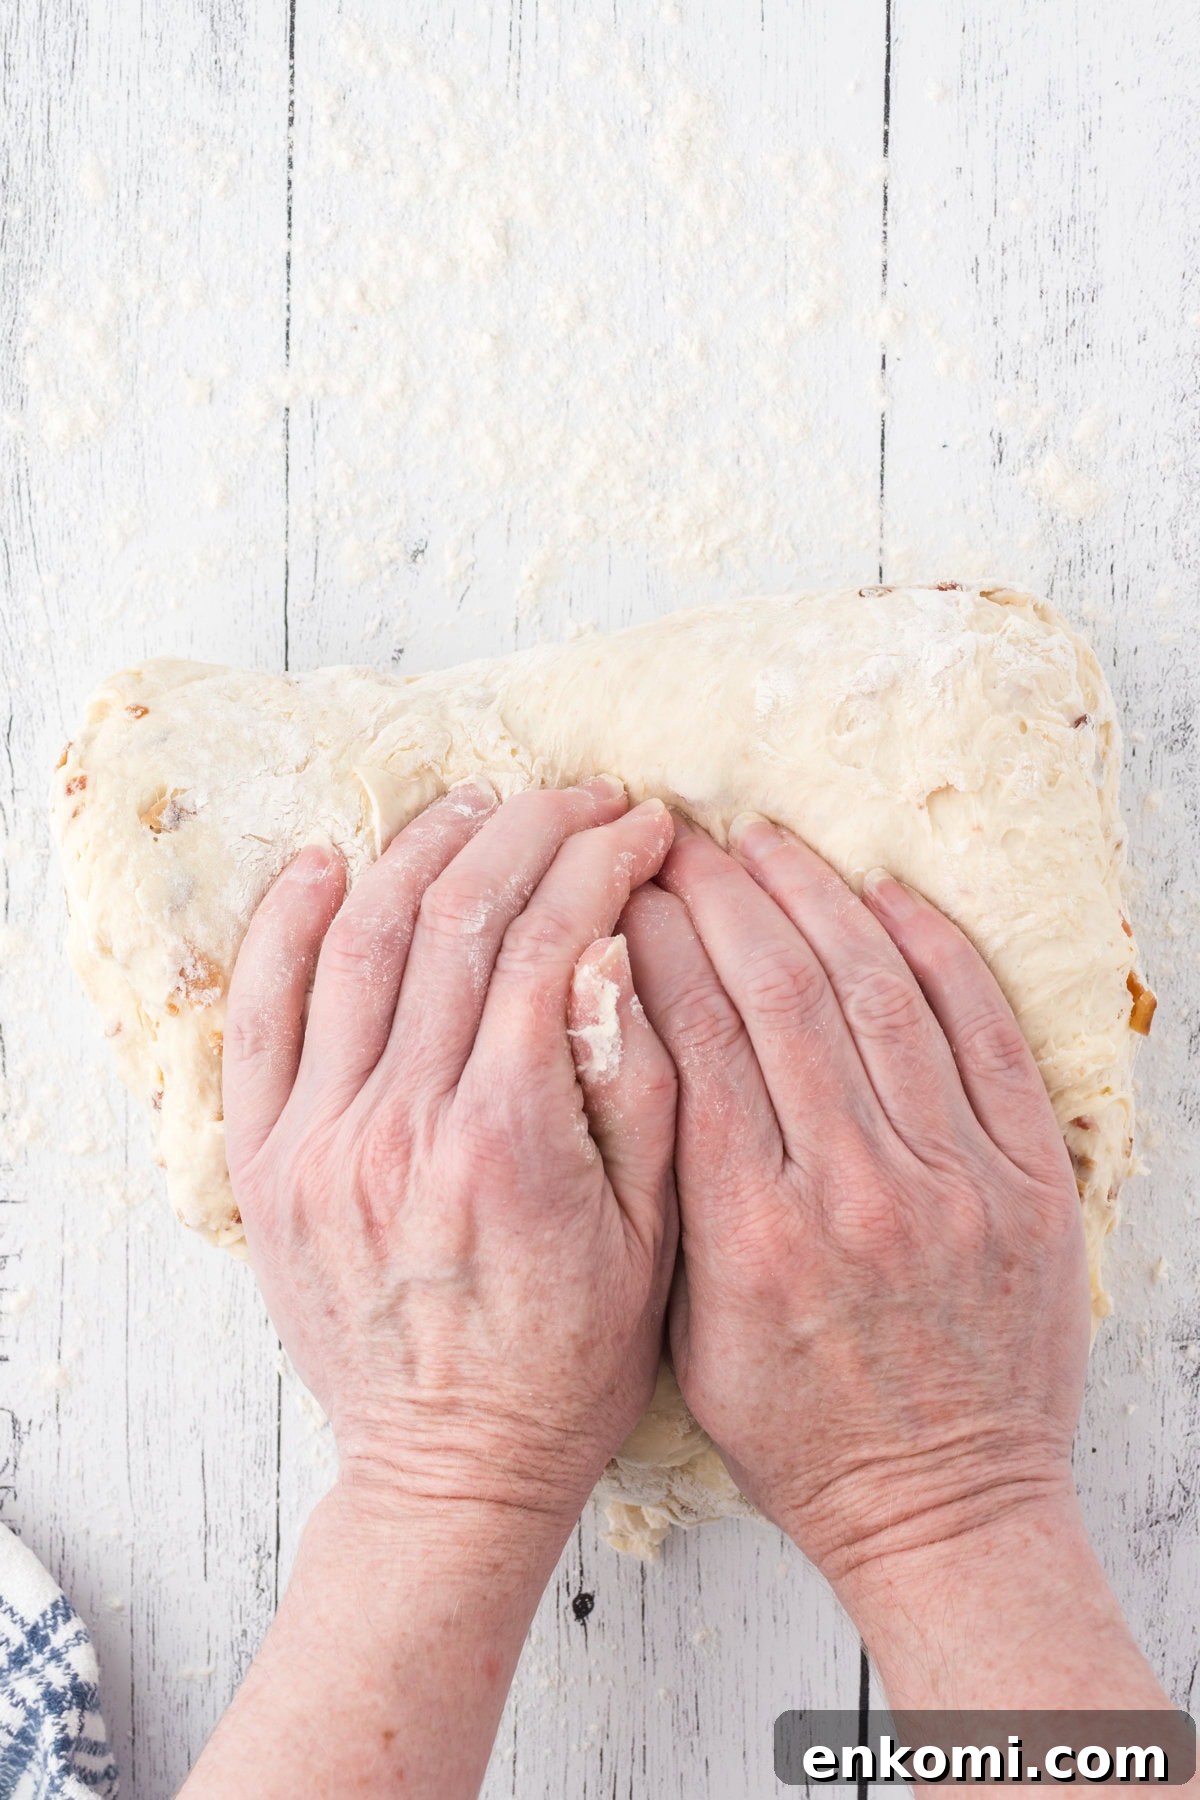
Holes in bread
Open holes are desirable in artisan loaves but not in sandwich bread.
- Overproofing after shaping can create large holes.
- Oven too cool—insufficient set during bake.
- Not enough flour in the dough.
- Insufficient kneading to distribute gas pockets.
- Air not properly expelled during punching down.
- Poor shaping technique allowed trapped air.
Crumbly bread
- Dough wasn’t kneaded enough (most common).
- Flour lacks sufficient gluten.
- Too much flour added.
- Overproofed—rising time too long.
Gummy or doughy bread
- Oven temperature was too high, causing the exterior to set before the interior baked.
- Bread removed too soon—check by tapping the bottom for a hollow sound or measuring center temperature (about 190°F for most loaves).
Off flavors
- Yeasty—overproofed or the dough rose in too-warm conditions.
- Sour—overproofed or inferior ingredients.
- Stale flavor—old flour or fats that have absorbed odors.
Crust problems
- Tough: excessive handling or insufficient rising.
- Pale crust: too much salt, too low baking temperature, too little sugar, or a crust formed during rising. Keep dough oiled and covered while proofing.
- Wrinkled crust: cooled too quickly in a draft.
- Soggy: left to cool entirely in the pan—remove after a few minutes to finish cooling on a rack.
- Too thick: too much flour, crust formation during rising, or slow baking in a cool oven.
- Crust separates: surface crust developed before baking—grease and cover dough while rising.
Bread doesn’t brown on the sides
- Bright or reflective pans can prevent side browning.
- Overcrowding pans in the oven blocks airflow and prevents even browning.
👩🍳 Let’s answer those questions: FAQs
If you have other questions, ask in the comments.
Yes. Weather and humidity affect dough. Let it rise in a warmer, drier spot such as a warmed oven (turned off) or a proofing drawer. You can also add a tablespoon of vital wheat gluten per cup of flour to strengthen the dough.
Bumpy tops can result from cooling too quickly or the dough slightly overproofing before baking.
“Shred” refers to the lines or tear where the top of the loaf connects to the sides after baking—the visual break between crown and crust.
Gently pop bubbles with a toothpick or the tip of a knife. Bubbles often come from uneven handling or over-kneading; reshape and press out excess air before the final proof.
📚 More Southern comfort: related recipes you’ll love
-
No-Fail Amish White Bread
-
Honey Buttermilk Bread
-
Honey Oatmeal Sandwich Bread
-
Bacon Bread
If your yeast bread is misbehaving, its cause likely appears in one of the above sections. If it doesn’t, ask in the comments and I’ll help troubleshoot with you. You can do this!
First published March 6, 2014. Last updated June 26, 2024 for editorial improvements.