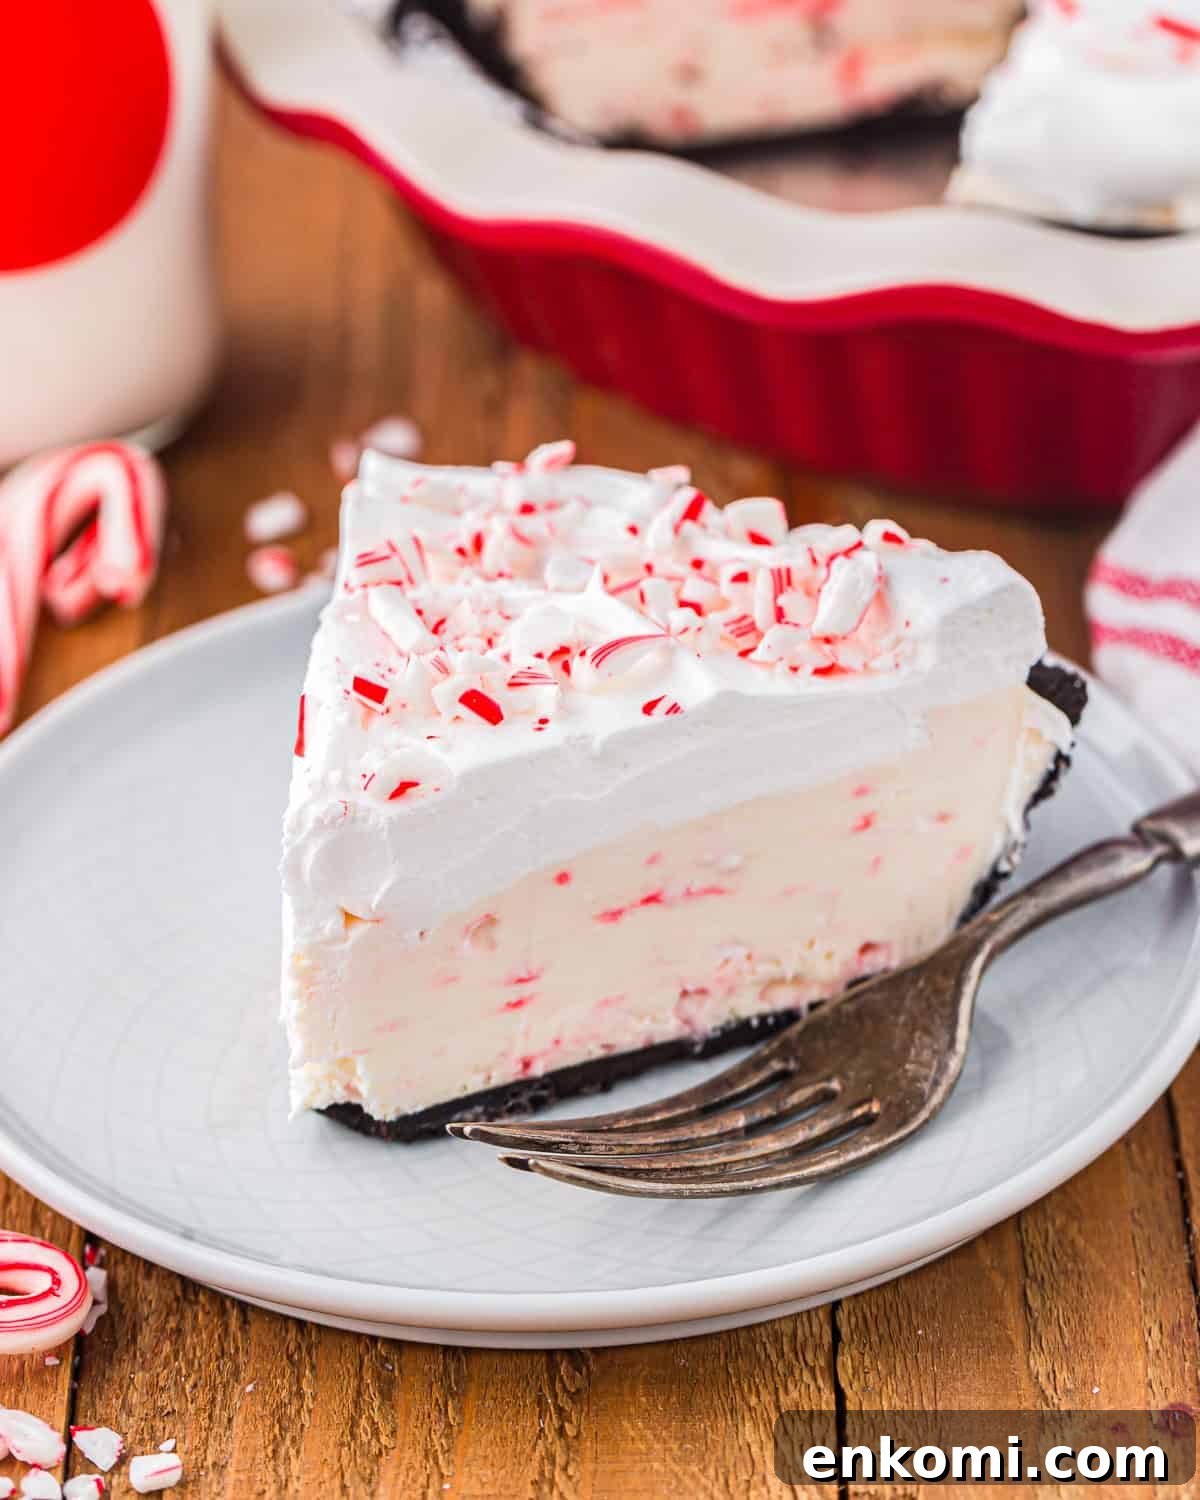
My homemade Thin Mints recipe recreates the crisp, minty cookie you love—without waiting for a store box. Instead of a finicky chilled dough, this version uses a food processor to bring the dough together in seconds. The result is a crisp-tender chocolate-mint wafer: sturdy enough to dip in chocolate but delicate enough to melt in your mouth.

Girl Scout Thin Mint Cookies Copycat
Commercial Thin Mints can sometimes taste waxy or lack a deep chocolate flavor. For this copycat, I use high-quality semisweet chocolate (about 60% cacao) so the coating has real cocoa depth and balances the peppermint. The only special ingredient you need is pure peppermint extract—don’t substitute generic mint or spearmint extracts, which can give an unpleasant, toothpaste-like flavor.
The food processor method keeps the dough effortless: dry ingredients are combined, oil and liquids are pulsed in, and the dough comes together quickly for easy rolling or slice-and-bake shaping.

Pro Tip for a Clean Coating
Because these wafers include vegetable oil to get that signature snap, they can produce crumbs when dipped at room temperature. Flash-freezing the baked wafers for 10–15 minutes before dipping chills them enough that the chocolate sets immediately, preventing crumbs from floating in the coating and giving you a smooth, neat finish.

Homemade Thin Mints Recipe
Equipment
- Kitchen scale (optional)
- Food processor
- Baking sheet
- Rolling pin
Ingredients
For the Wafer Cookies
- 1¼ cups all-purpose flour, sifted
- ½ cup unsweetened cocoa powder, sifted
- 1 cup granulated sugar
- ¼ teaspoon baking soda
- ¼ teaspoon kosher salt
- ¾ cup vegetable oil
- 3 tablespoons milk
- 1 teaspoon pure vanilla extract
- ¾ teaspoon pure peppermint extract
For the Chocolate Coating
- 2 cups chopped semisweet chocolate
- 1 tablespoon milk, warmed (or 1 teaspoon coconut oil for a firmer snap)
- 1 teaspoon pure peppermint extract
Instructions
-
Using a food processor, pulse the flour, cocoa powder, sugar, baking soda, and salt until evenly combined.
-
Add the vegetable oil, milk, vanilla, and peppermint extract. Pulse on low until the mixture comes together into a solid round—avoid overprocessing to keep the wafers tender.
-
Transfer the dough to a bowl and knead briefly by hand until smooth. Cover and chill in the refrigerator for 1 hour (optional but recommended).
-
Preheat the oven to 350°F and line a baking sheet with parchment paper.
-
Roll the dough to a ¼-inch thickness on a lightly floured surface (or between parchment). Cut small circles using a 2–3 inch cookie cutter or a fluted glass.
-
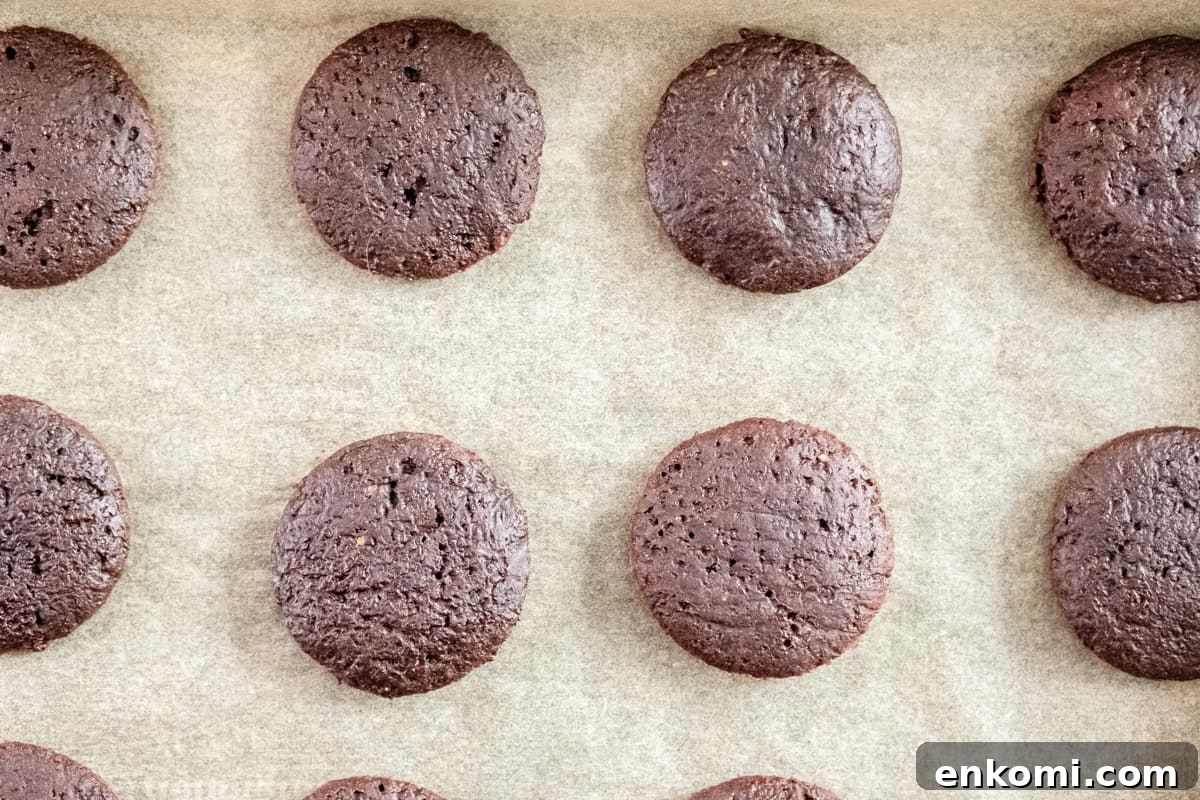
Place wafers on the prepared sheet and bake 14–20 minutes, depending on whether you like them softer or crisper. Let cool completely.
-
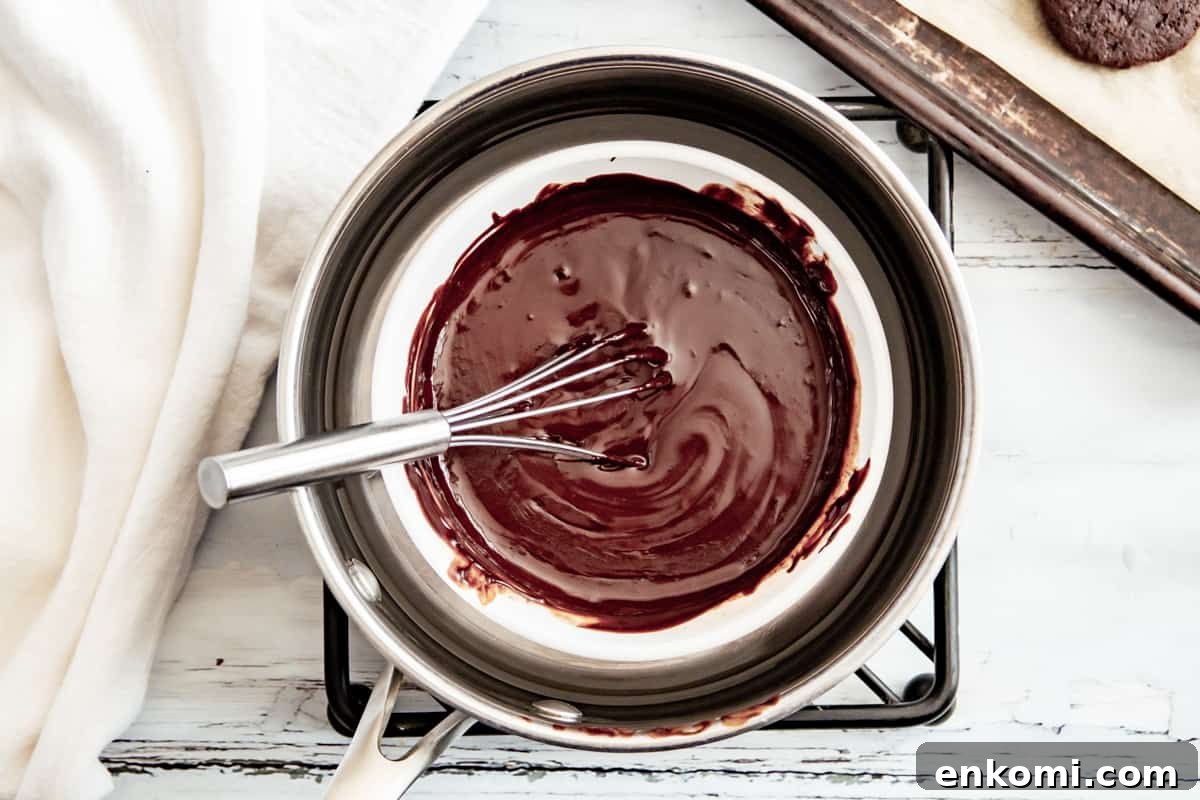
For the coating, melt the chopped semisweet chocolate in a heatproof bowl over a saucepan of simmering water, stirring until smooth.
-
Stir in the warmed milk (or coconut oil) and peppermint extract until glossy and combined.
-
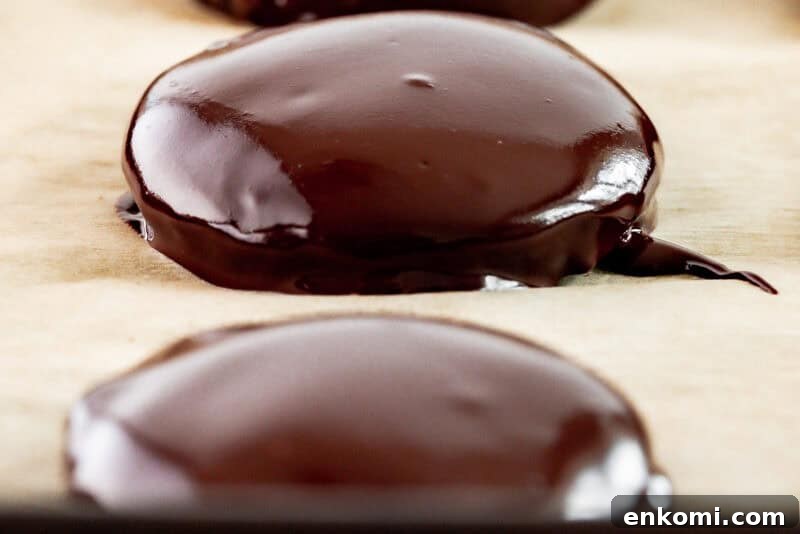
Flash-freeze the cooled wafers 10–15 minutes, then dip each one in the chocolate, letting excess drip off. Set on parchment and chill until the coating sets.
Notes
I do not recommend using generic mint or spearmint extract—use pure peppermint extract for the best flavor.
The warmed milk creates a softer-set coating; replace it with 1 teaspoon coconut oil for a firmer, snappier chocolate shell.
Dough Tips:
- Sift flour and cocoa together before pulsing to avoid lumps.
- If the dough is sticky, roll it between two sheets of parchment.
- For slice-and-bake, roll into a log, chill, and slice into rounds.
Chocolate Tips:
- If chocolate looks grainy after adding milk, whisk in a little extra warm milk or oil to smooth it.
- Use a fork to dunk and tap your wrist against the bowl edge to remove excess chocolate without dislodging the cookie.
- Slide the cookie forward slightly when setting it on parchment to avoid a chocolate puddle at the base.
Make-Ahead: Dough can be refrigerated up to 3 days (wrapped) or frozen up to 2 months; thaw in the fridge before rolling.
Storage: Store in an airtight container at room temperature up to 3 days, in the refrigerator up to 1 week, or frozen up to 2 months. Enjoy chilled or at room temperature.
Tip For Enjoying Frozen Cookies
The version made with coconut oil in the coating holds up better in the freezer; the milk-coated cookies can develop a bit of condensation when thawed.
How to Make Thin Mints Step-by-Step
Prep: Gather ingredients and chop the semisweet chocolate.
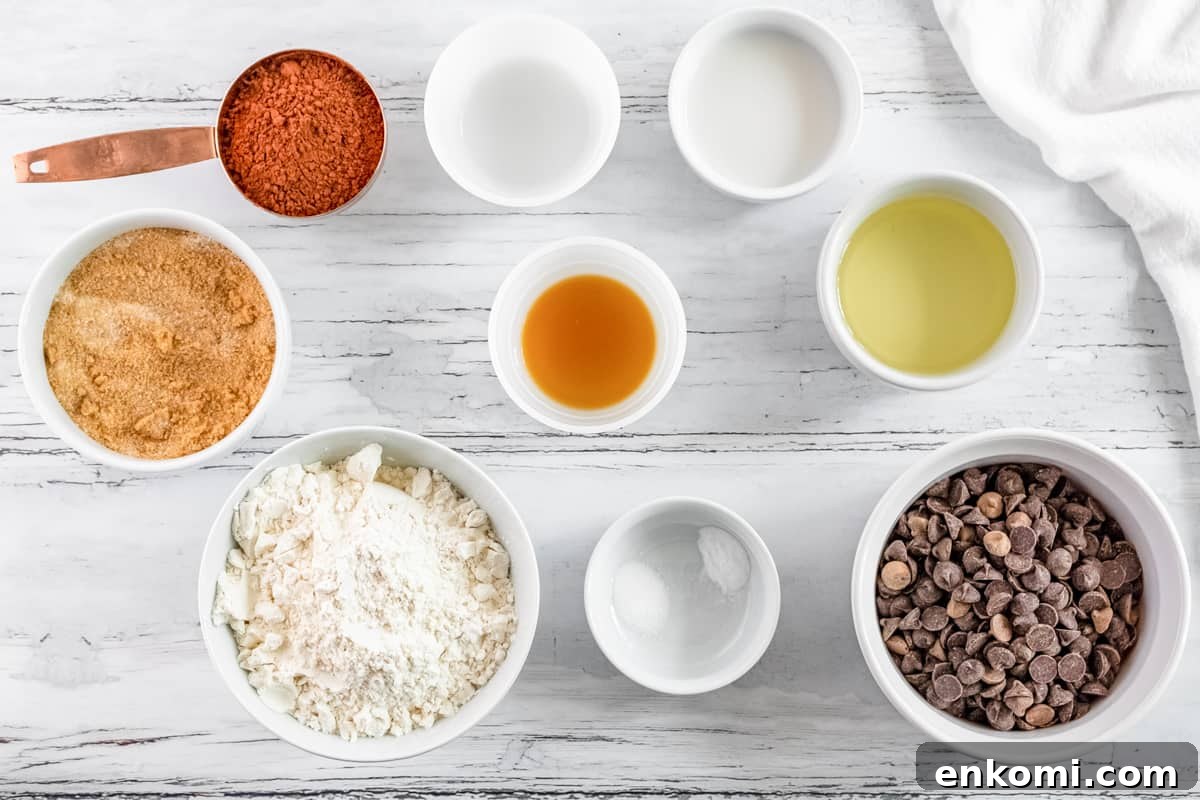
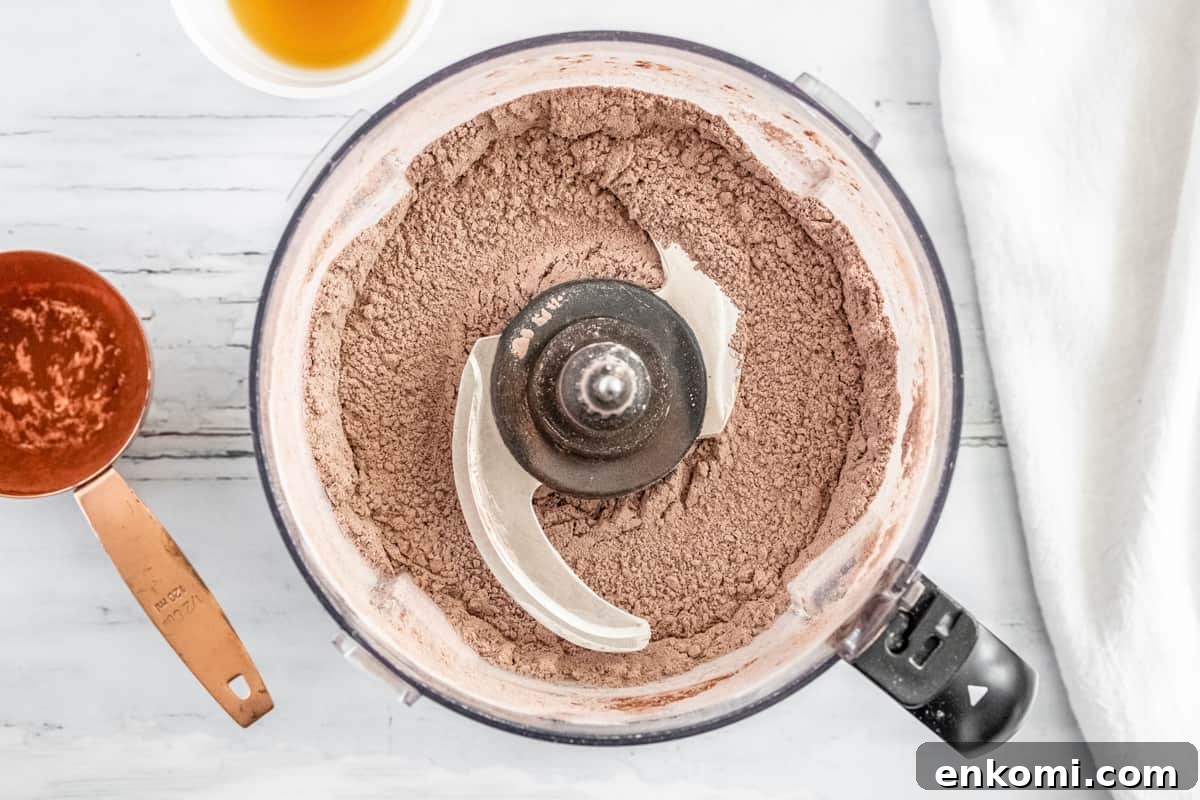
Mix the Dry Ingredients: In a food processor, combine 1¼ cups sifted all-purpose flour, ½ cup sifted unsweetened cocoa powder, 1 cup granulated sugar, ¼ teaspoon baking soda, and ¼ teaspoon kosher salt. Pulse until blended.
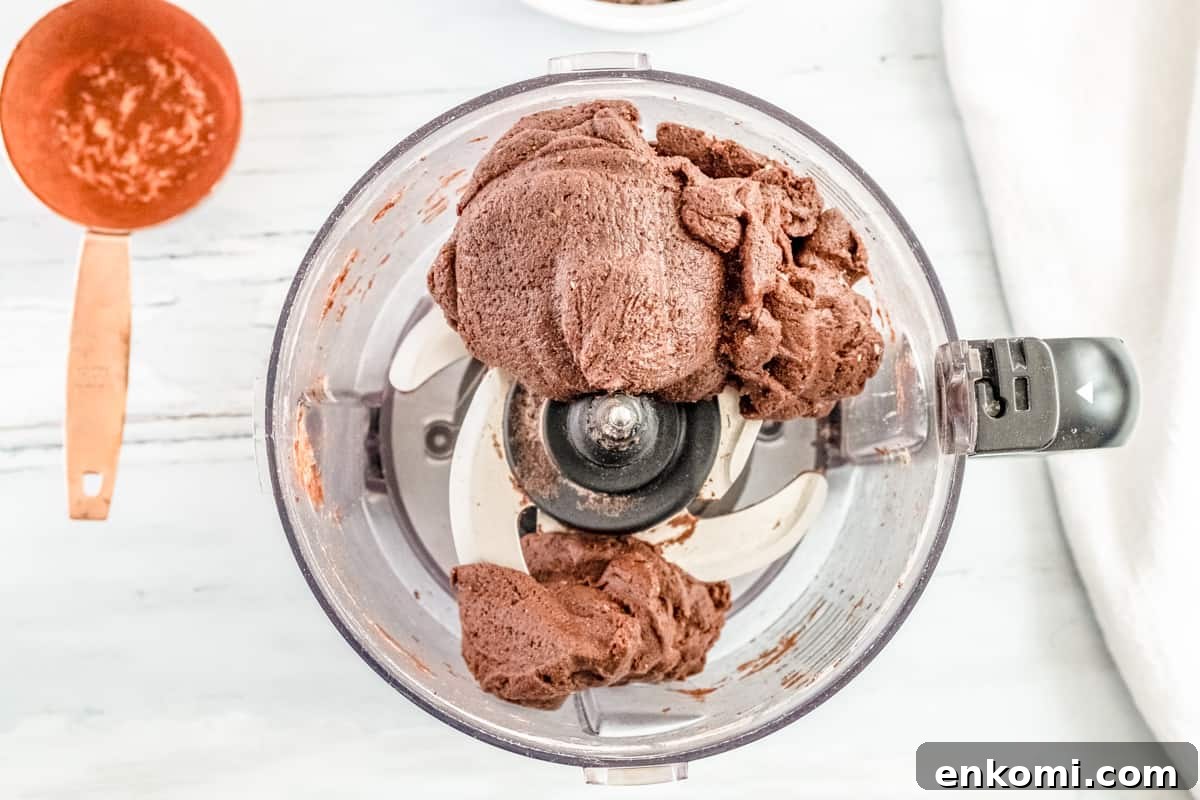
Form and Chill the Dough: Add ¾ cup vegetable oil, 3 tablespoons milk, 1 teaspoon vanilla extract, and ¾ teaspoon peppermint extract. Pulse on low until the dough begins to form a ball. Transfer to a bowl, knead briefly, and chill for 1 hour.
Portion the Cookies: Preheat the oven to 350°F and line a baking sheet with parchment. Roll the chilled dough to ¼-inch thickness and cut small circles.
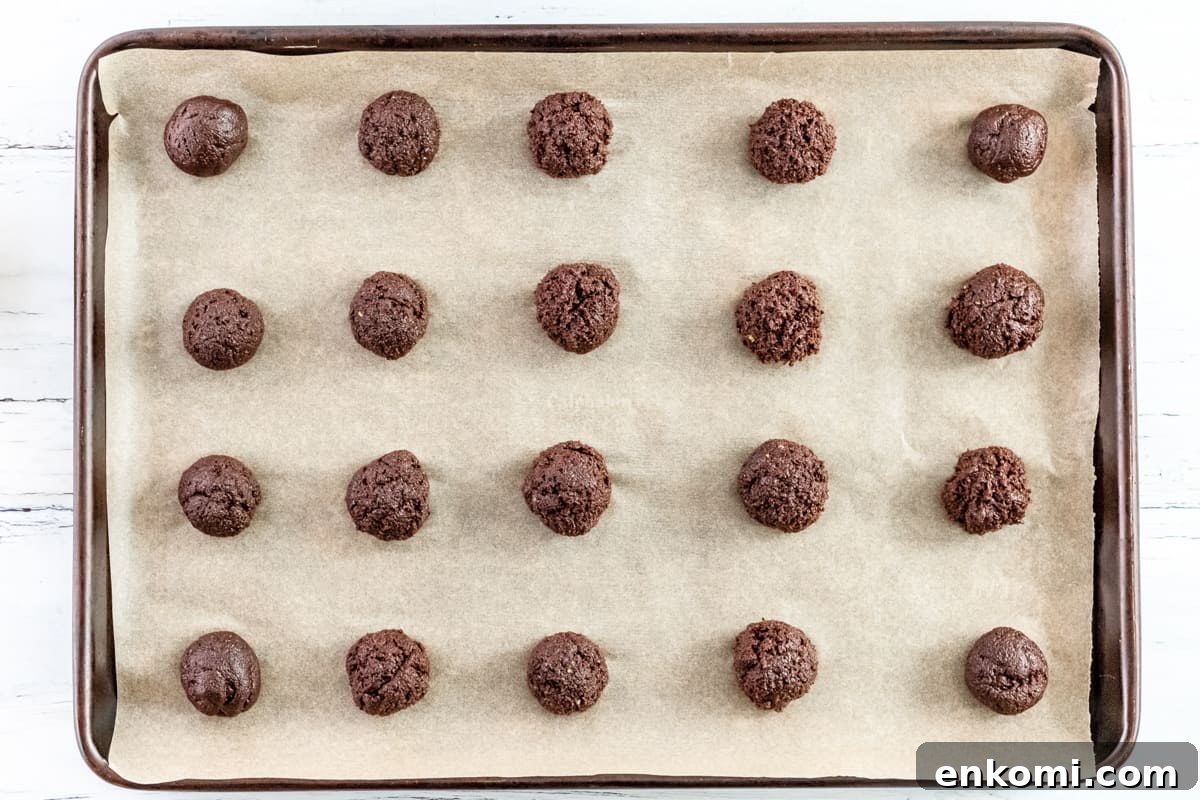
Bake: Bake wafers 14–20 minutes until they reach your preferred crispness. Cool completely before coating.
Melt the Coating: Melt 2 cups chopped semisweet chocolate in a heatproof bowl over simmering water. Stir in 1 tablespoon warmed milk (or 1 teaspoon coconut oil) and 1 teaspoon peppermint extract until smooth.
Dip the Cookies: Flash-freeze wafers briefly, dip each into the chocolate, and set on parchment. Chill until the coating is firm.
How to Store and Freeze
Store cookies in an airtight container at room temperature up to 3 days, refrigerate up to 1 week, or freeze up to 2 months. Thaw in the fridge if frozen and enjoy chilled or at room temperature.
More Mint Chocolate Dessert Recipes to Try!
-

Homemade Peppermint Patties
-
Mint Chocolate Truffles
-
Andes Chocolate Cookies
-
Peppermint Pie