
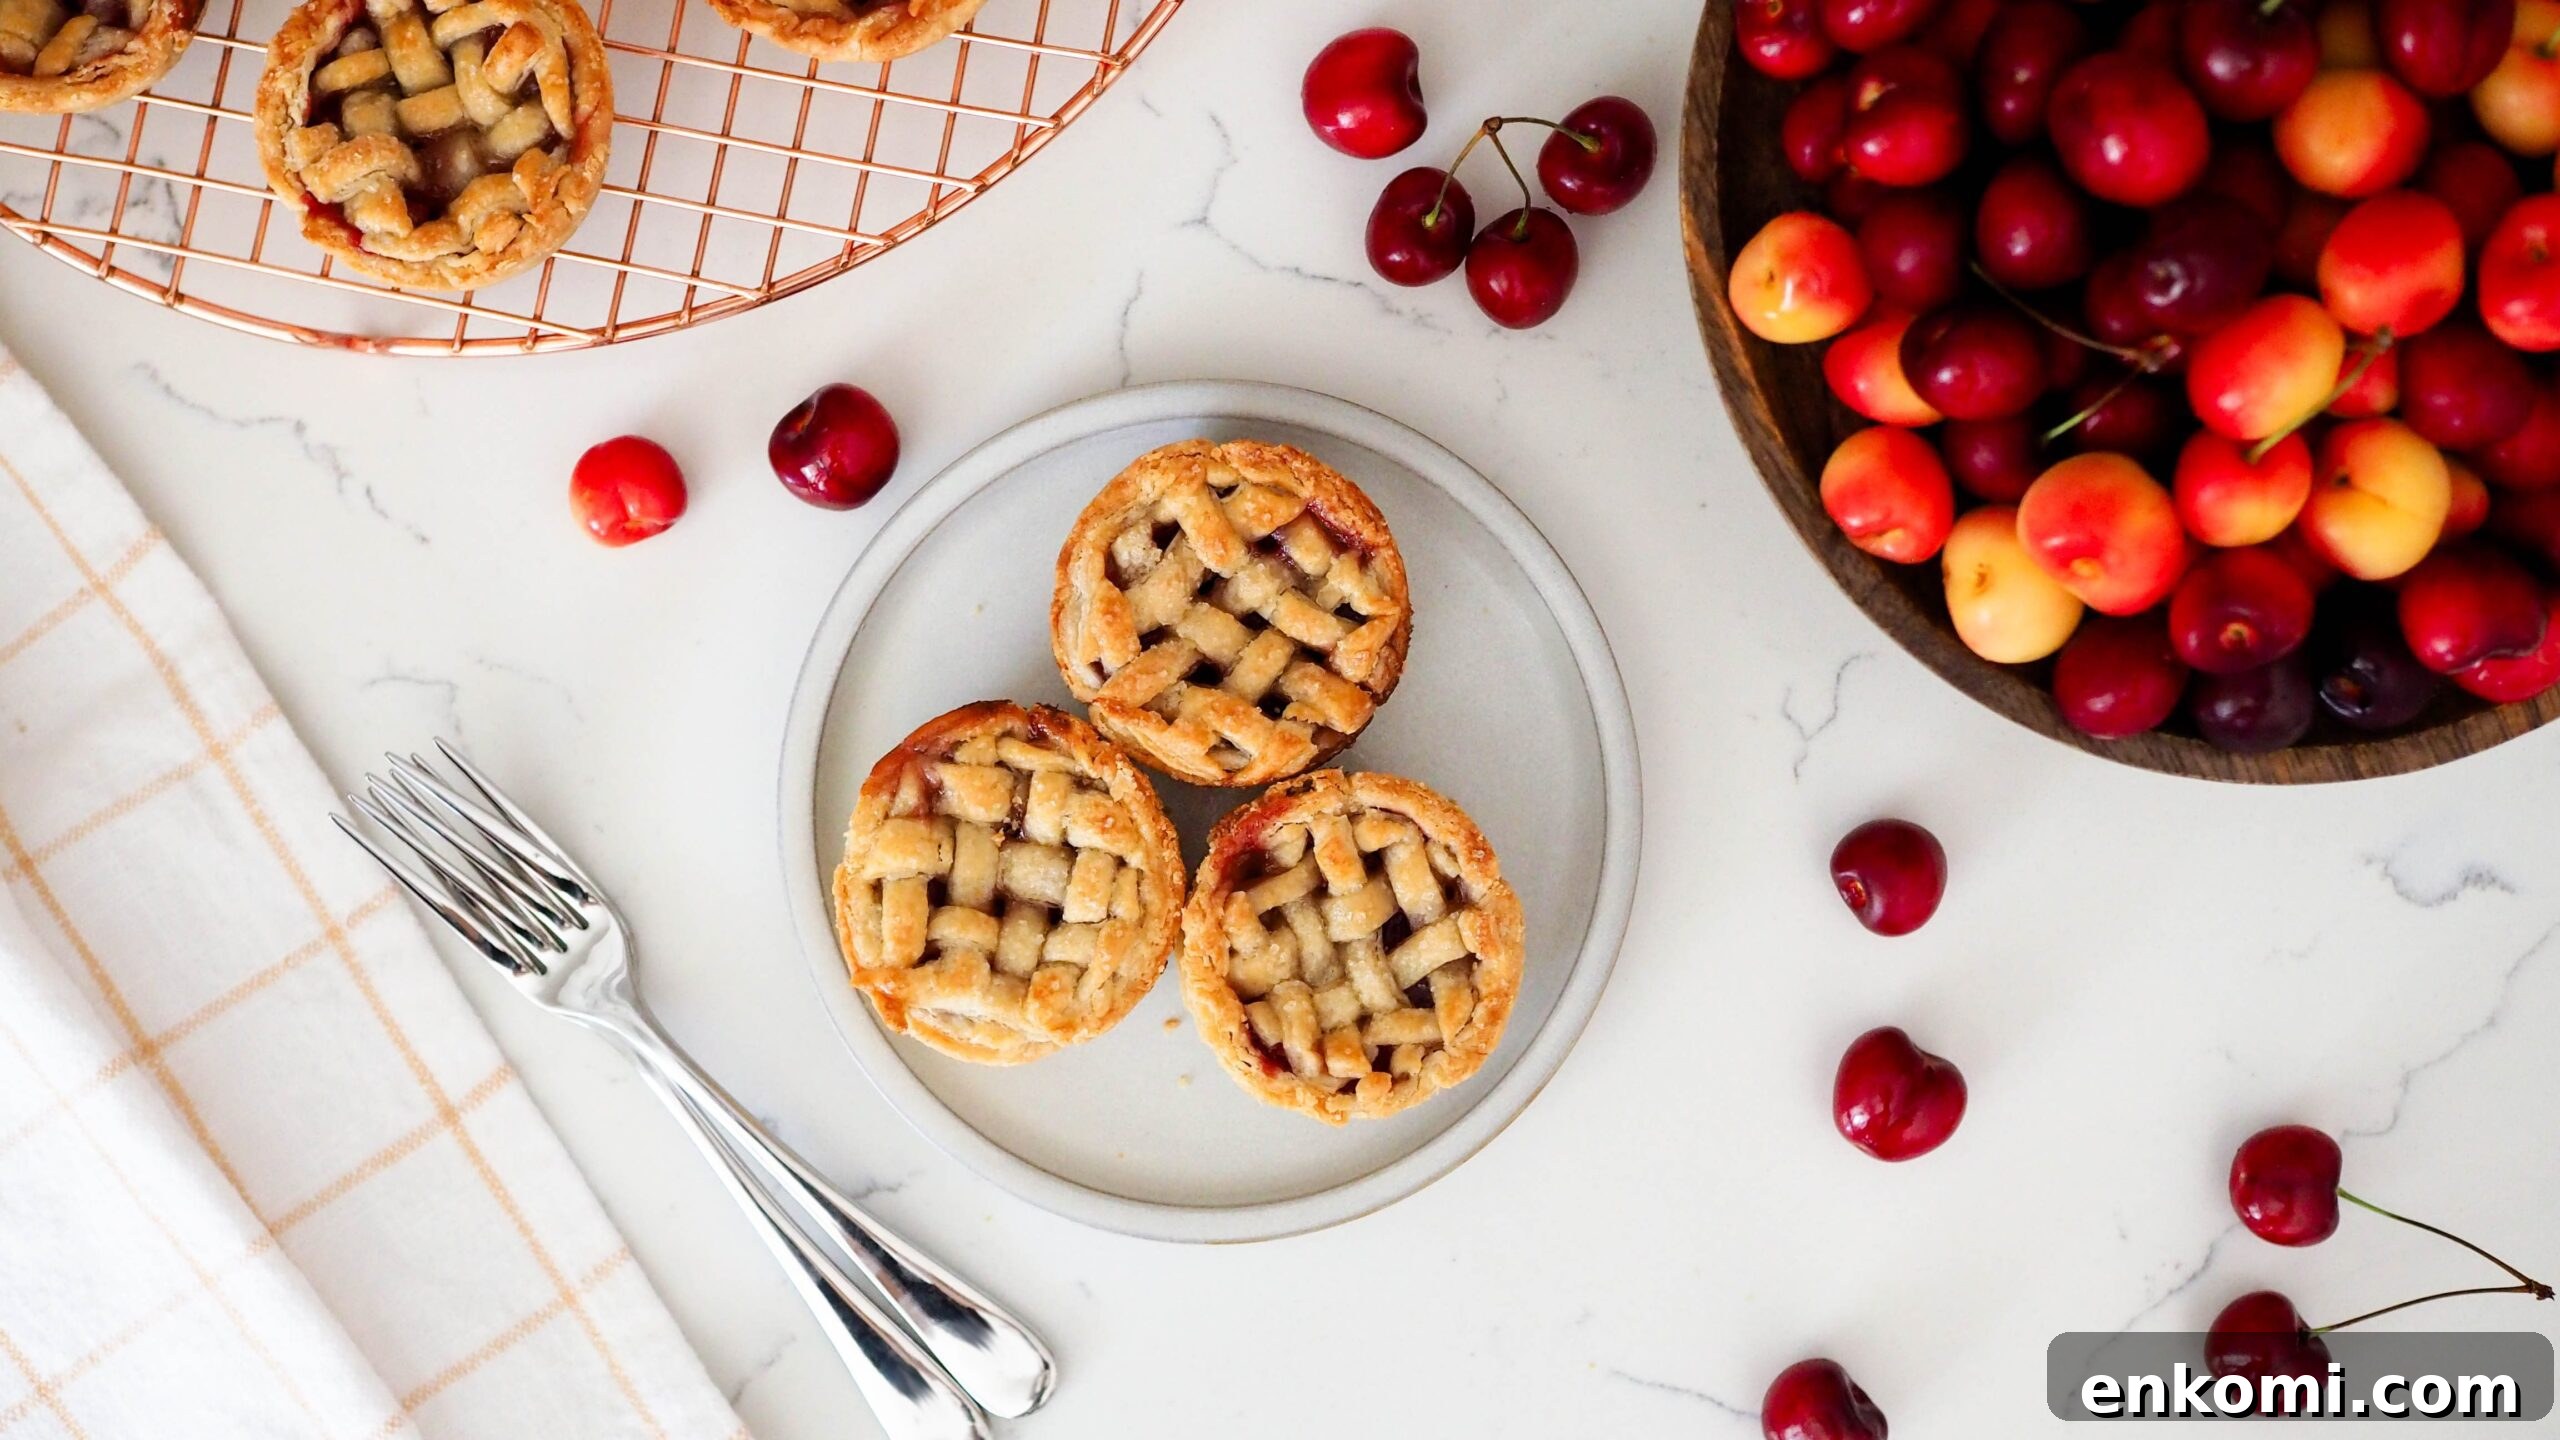
Topped with a charming lattice crust, these mini cherry pies are the perfect handheld summer dessert. Use fresh or thawed frozen cherries for the filling, then bake the pies in a muffin pan for a portable version of classic cherry pie. This recipe uses a fresh cherry pie filling rather than jam, so it’s slightly more involved than simple hand pies but still approachable for beginners.
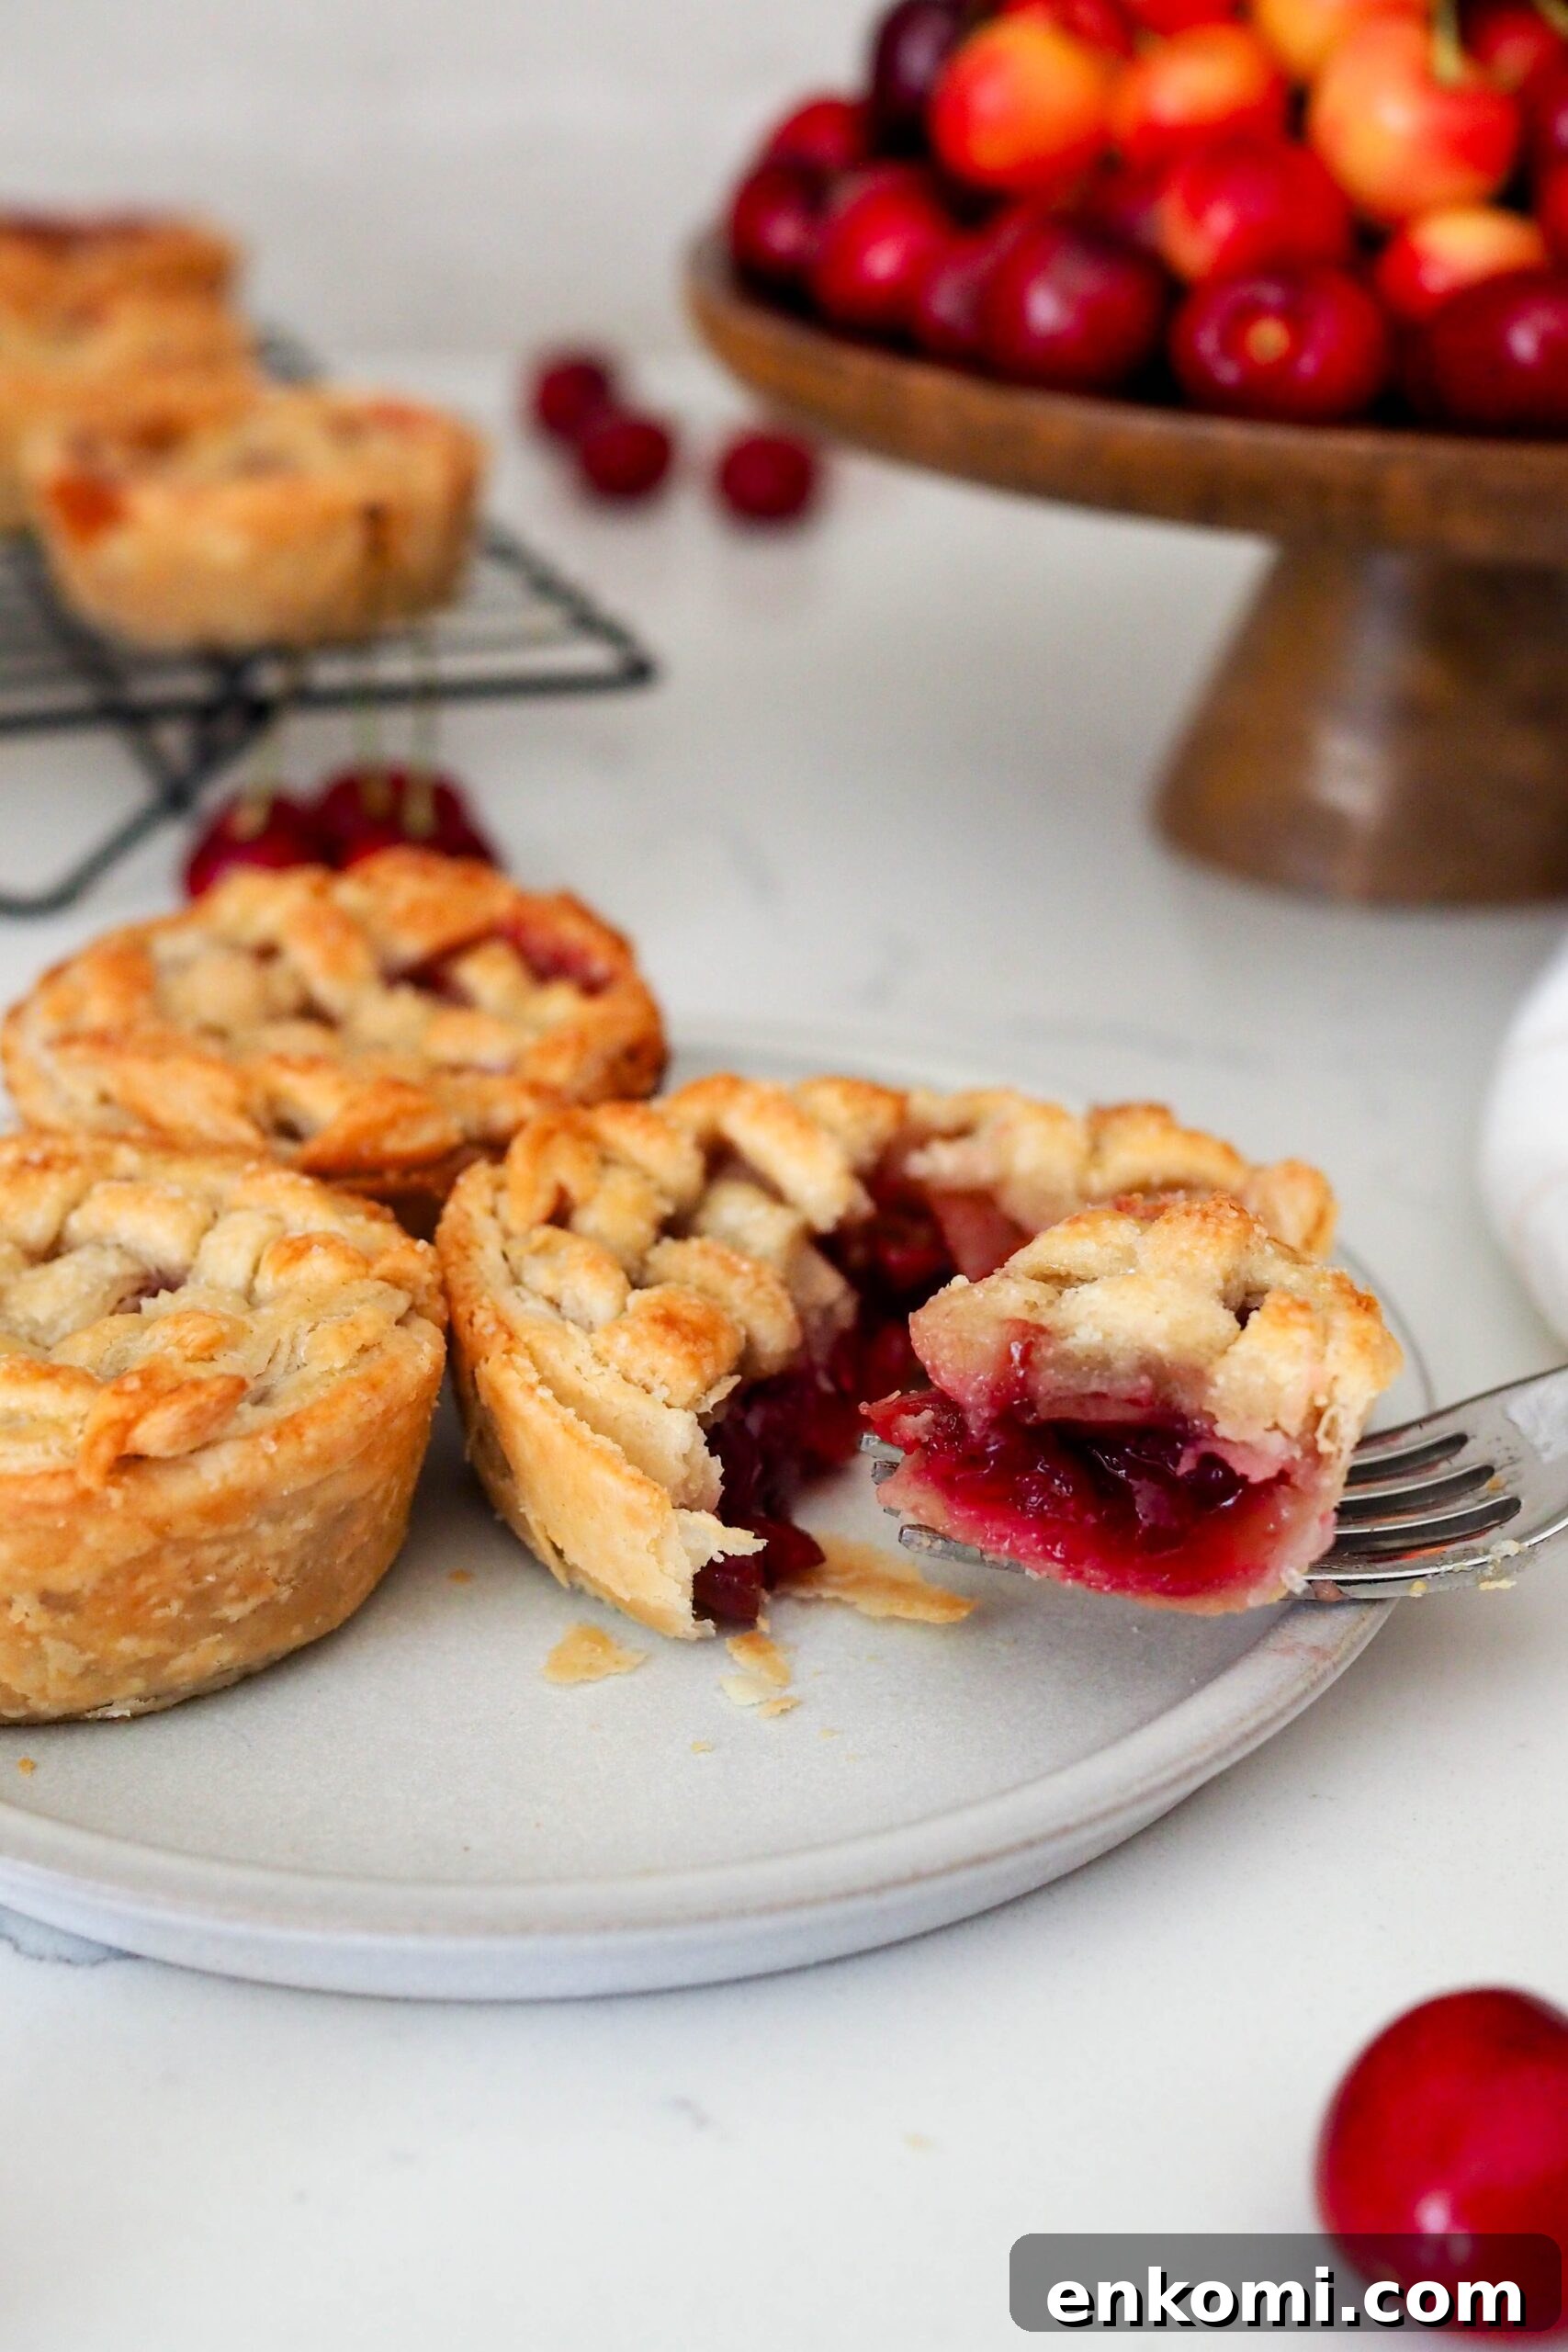
If you’re new to pie baking, don’t worry — the post and recipe card include detailed, beginner-friendly instructions. For an easier step before attempting these minis, consider making a full-size cherry pie to build confidence.
Ingredients for Mini Cherry Pies
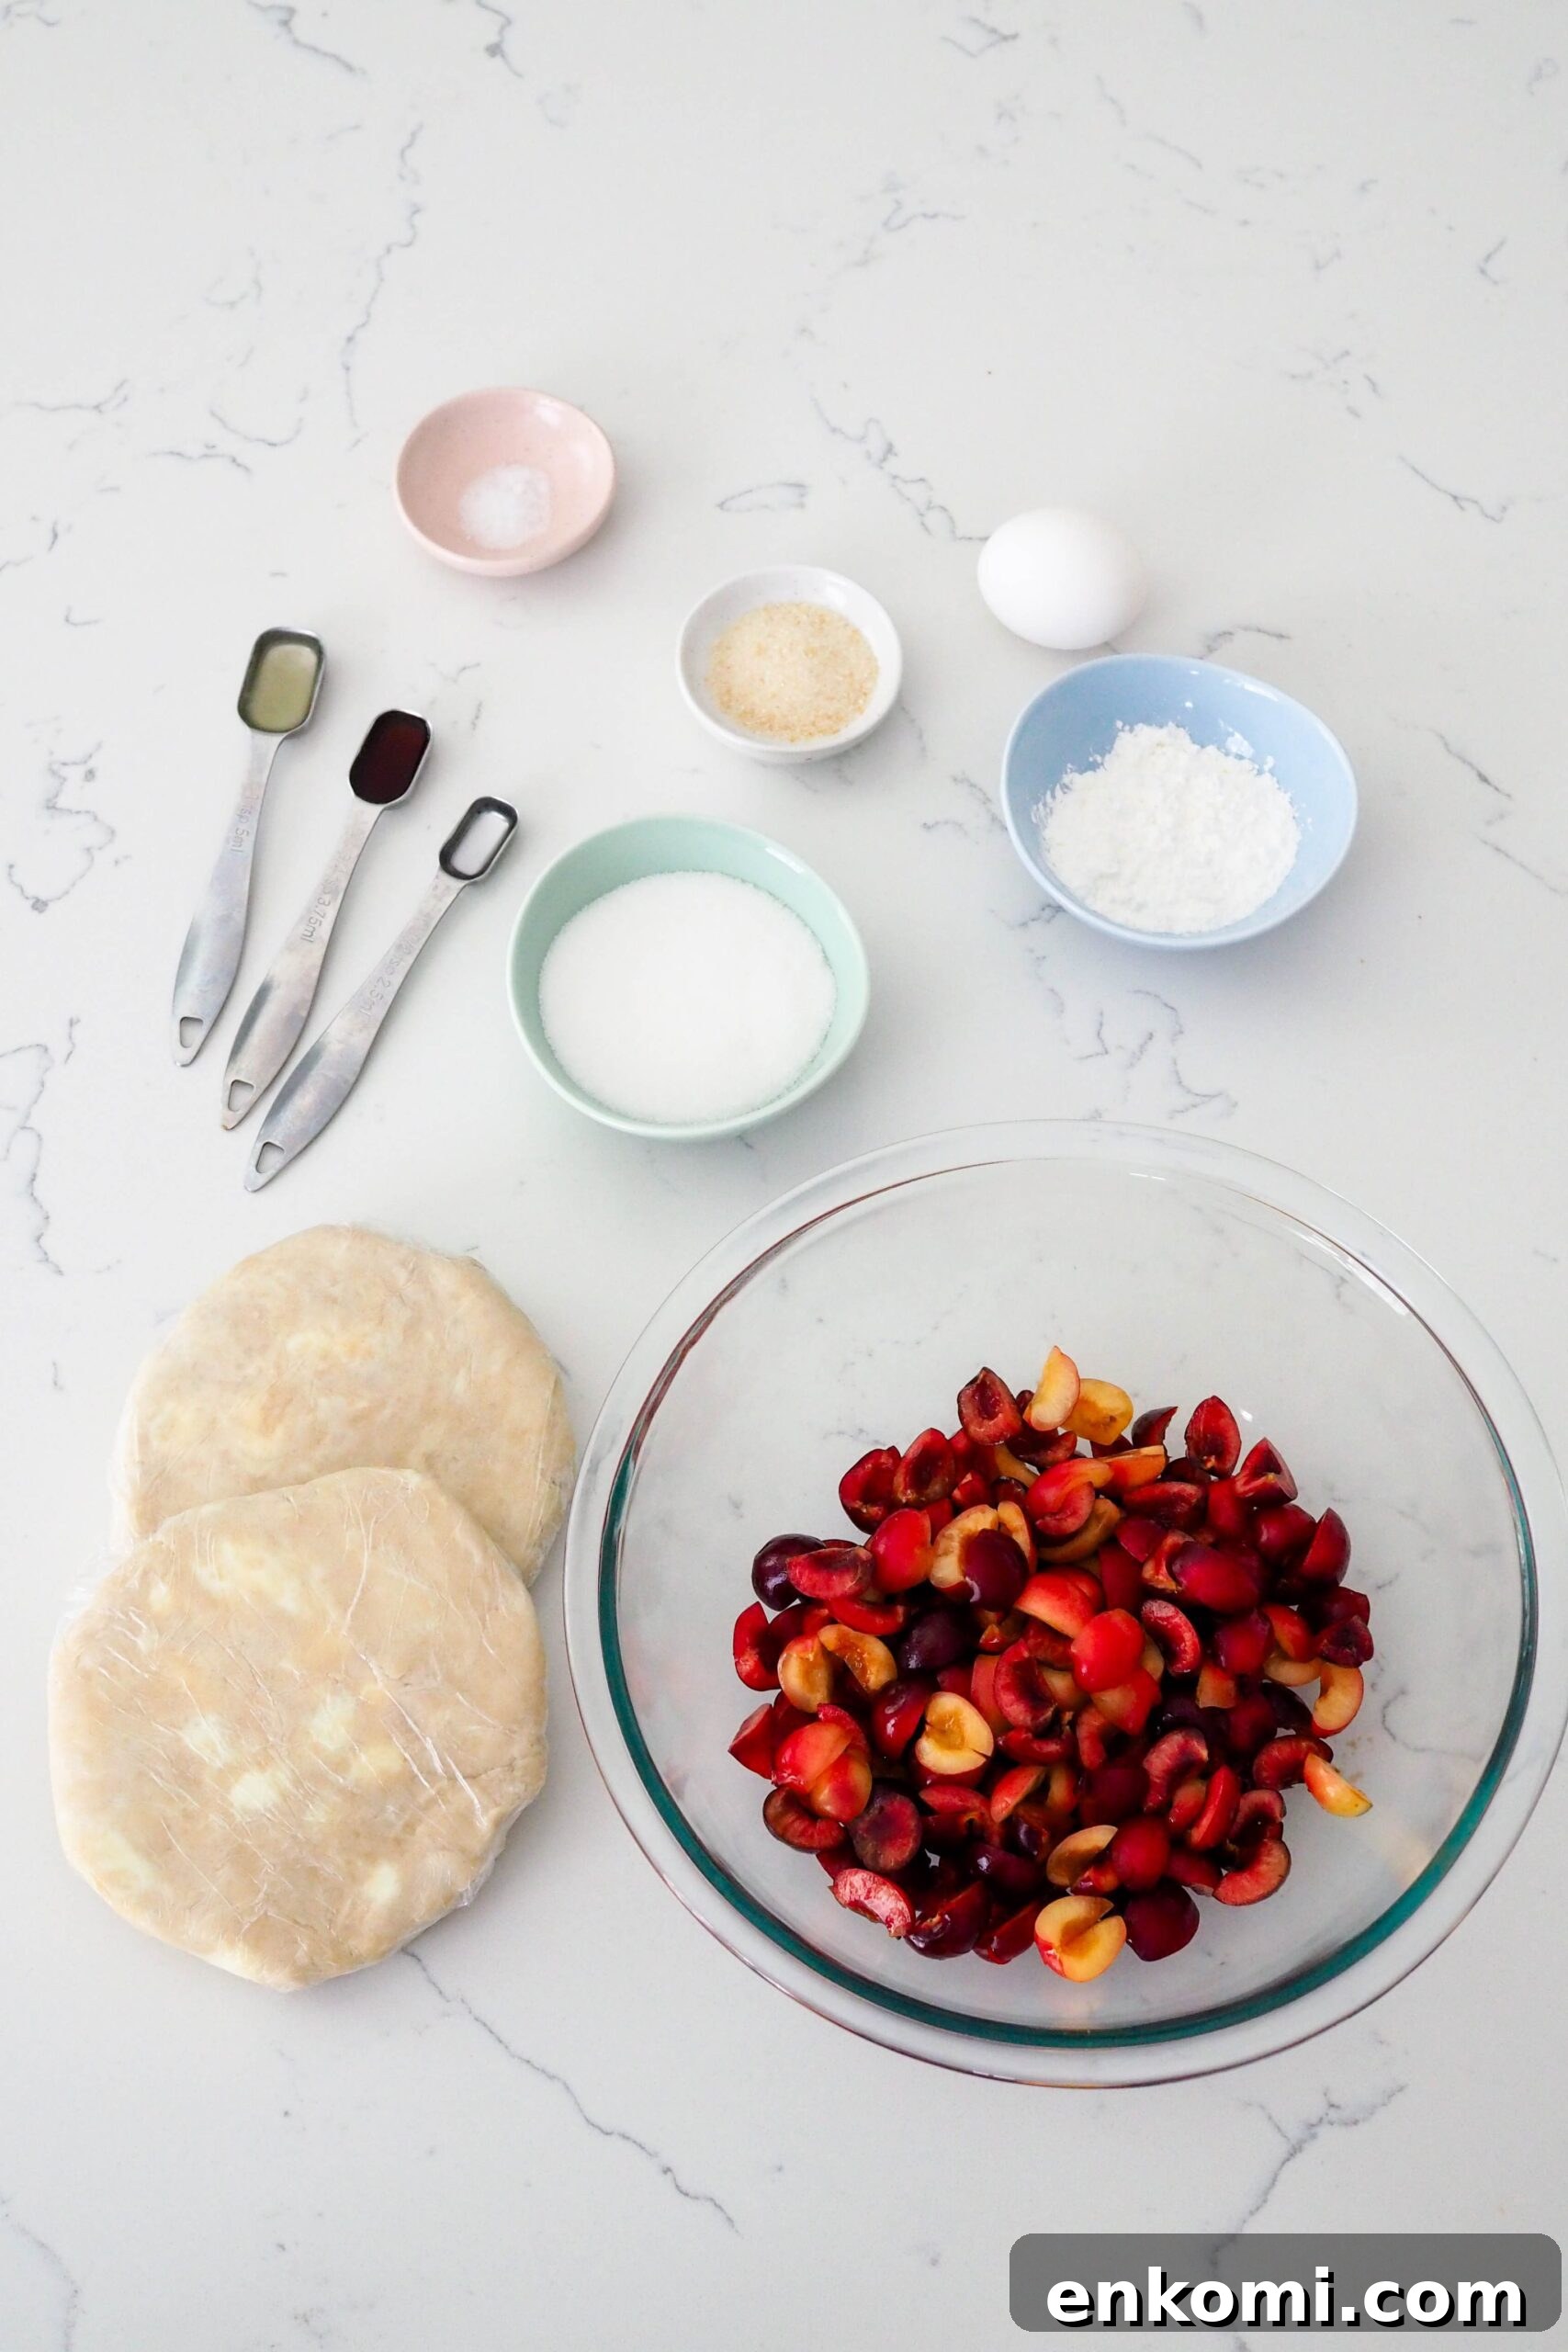
This recipe uses just a handful of pantry staples and fresh fruit. You’ll need:
- Cherries — fresh or frozen (thawed). Pitted and quartered for best texture.
- Sugar — sweetens the filling and helps draw out fruit juices for a jammy result.
- Cornstarch — thickens the filling so it sets nicely after baking.
- Salt — a pinch to enhance flavors.
- Lemon juice — brightens and balances the sweetness.
- Vanilla and almond extracts — vanilla is essential; almond is optional but lovely with cherries.
- Pie crusts — homemade or store-bought; an all-butter crust produces a flaky, tender crust.
- Egg — for an egg wash to give the crust a glossy, golden finish.
- Coarse sugar — optional sprinkling for added crunch and sparkle.
Note on bakeware: dark-colored muffin pans brown crusts more quickly and yield a crisp, golden edge. Light-colored pans work too, but may require a few extra minutes of bake time.
Quick Tips for Making Cherry Pie Filling
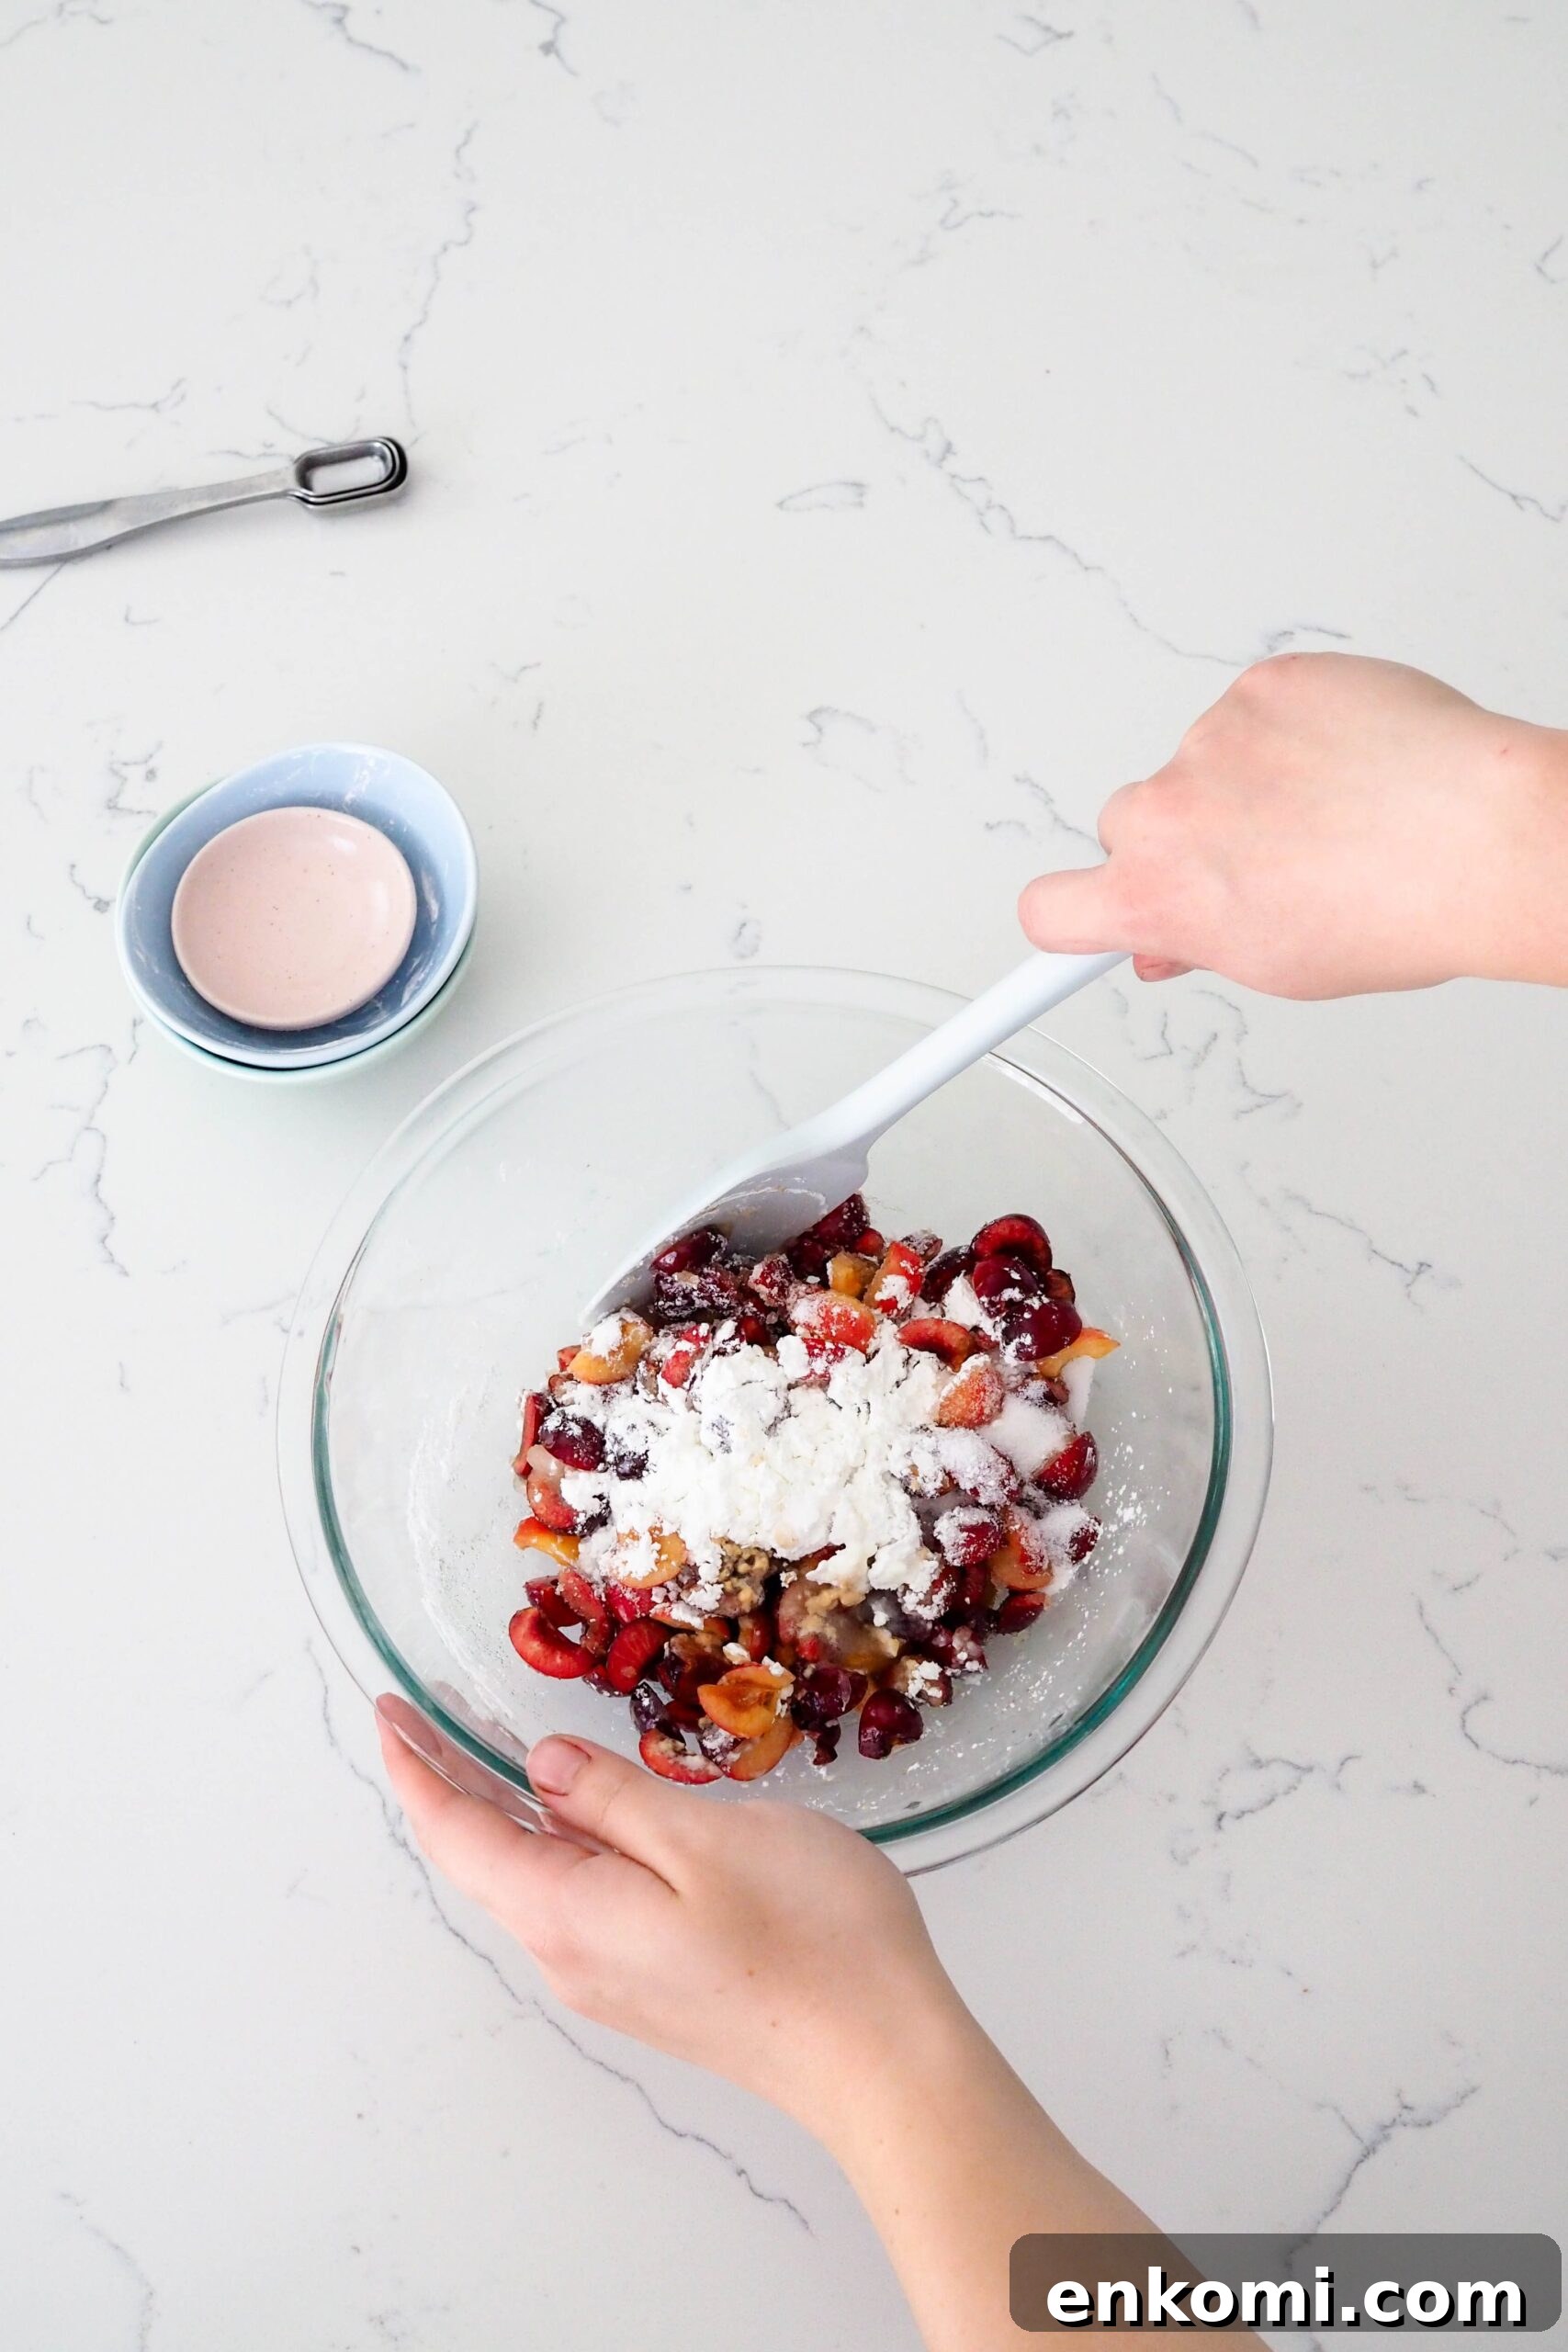
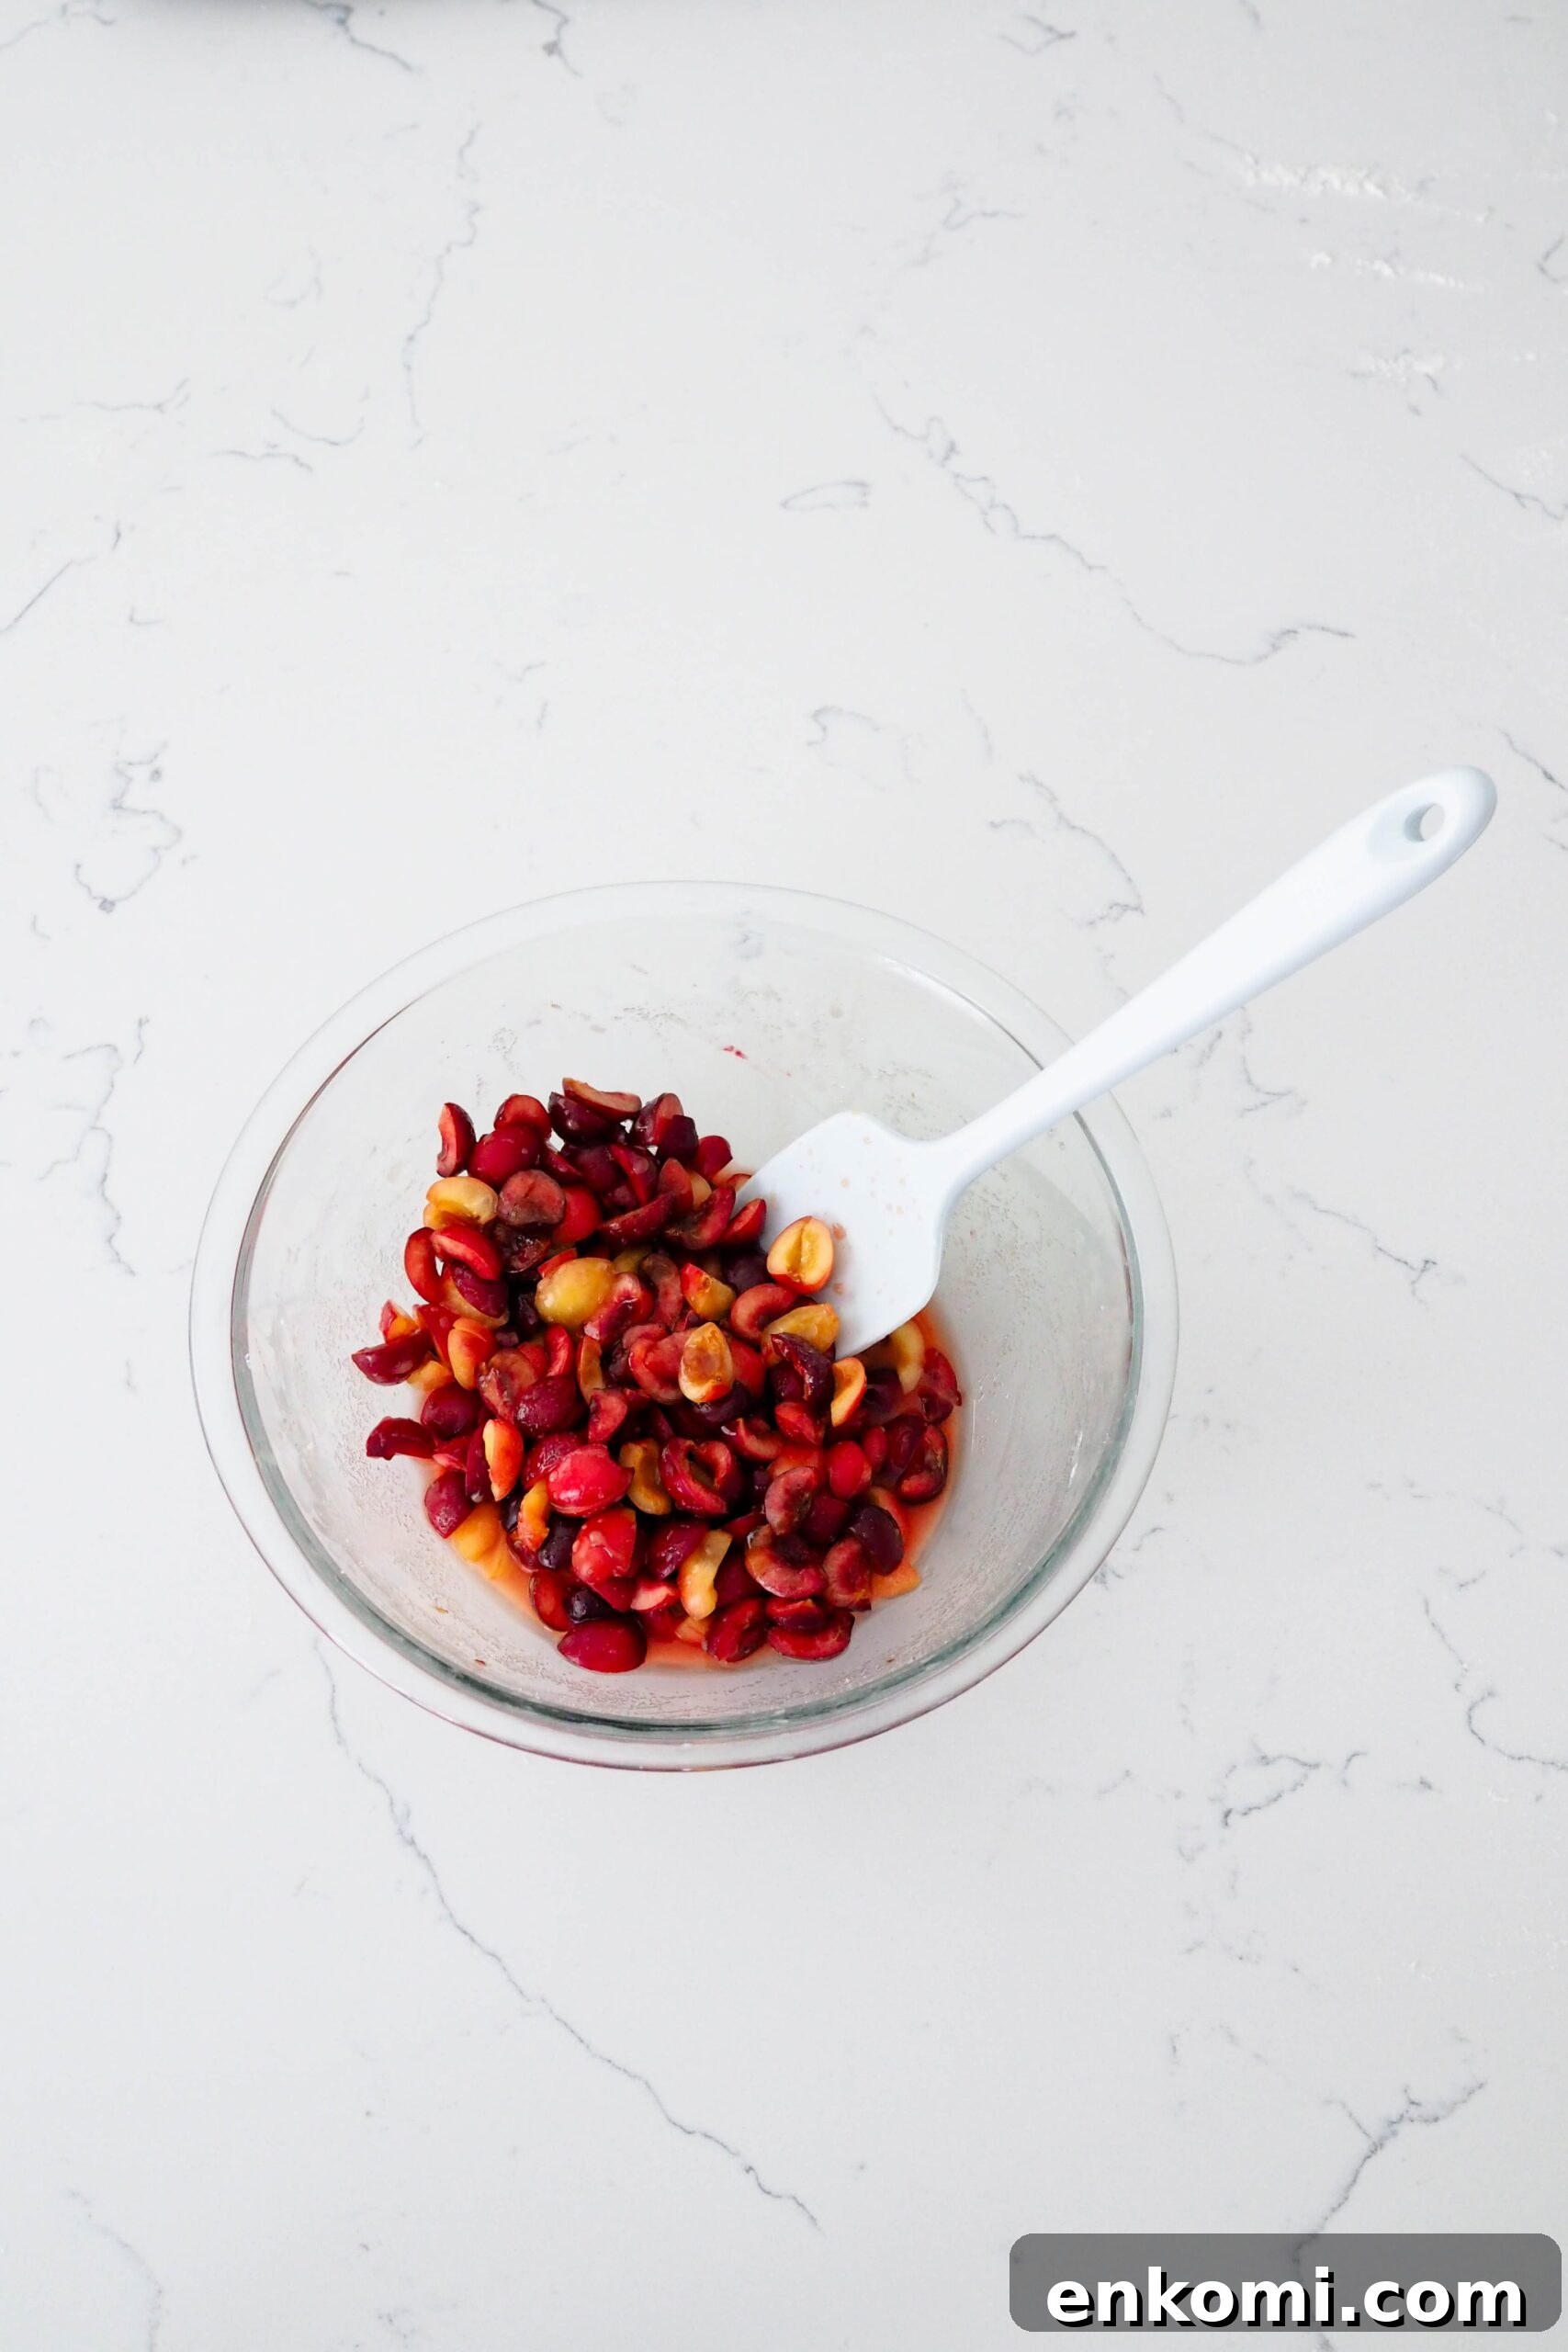
Making the filling is straightforward and doesn’t require pre-baking. Toss pitted, quartered cherries with sugar, cornstarch, and salt, then stir in lemon juice and extracts. Let the mixture rest at room temperature for at least 10 minutes to macerate — the sugar pulls juice from the fruit and creates the liquid your cornstarch will thicken into a jammy filling.
Quick Tips for Making Mini Pie Crusts
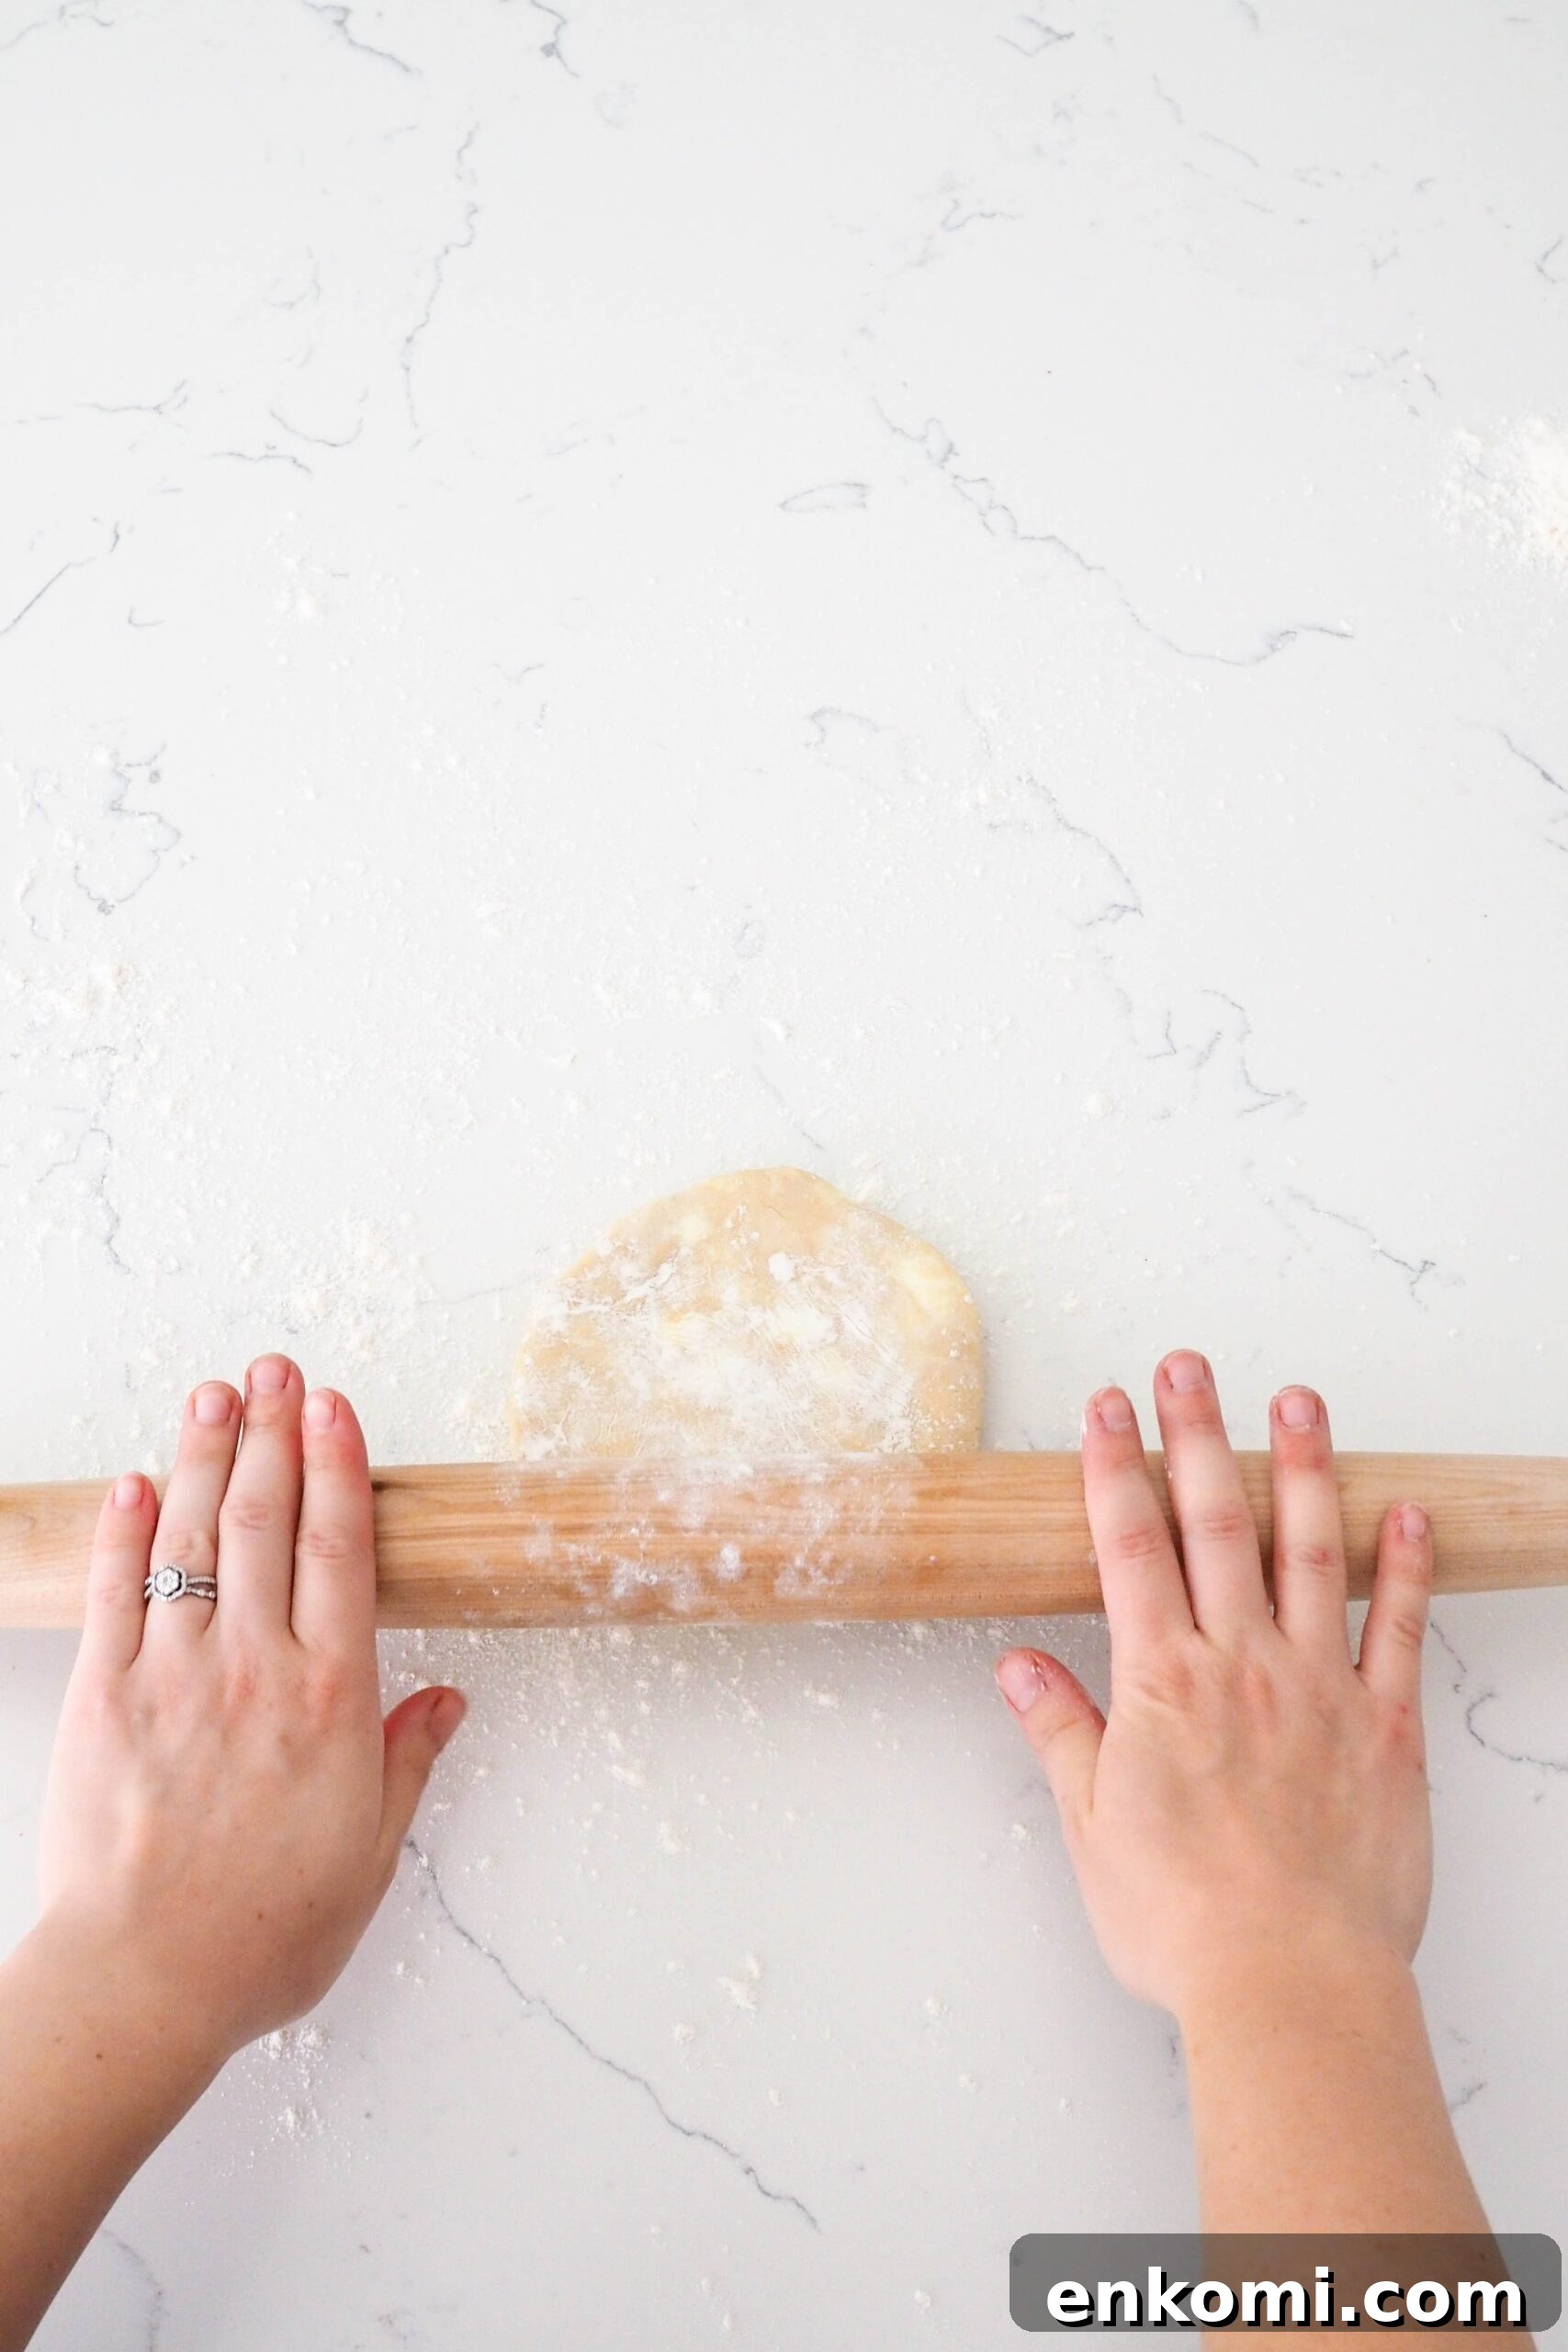
Good mini crusts start with properly rolled dough. Roll from the center outward in one direction and keep your workspace lightly floured to prevent sticking. For these minis, roll the dough to about 11–12 inches (28–30 cm) diameter so it’s thin and flaky but still yields eight or nine 4-inch (10 cm) circles per crust.
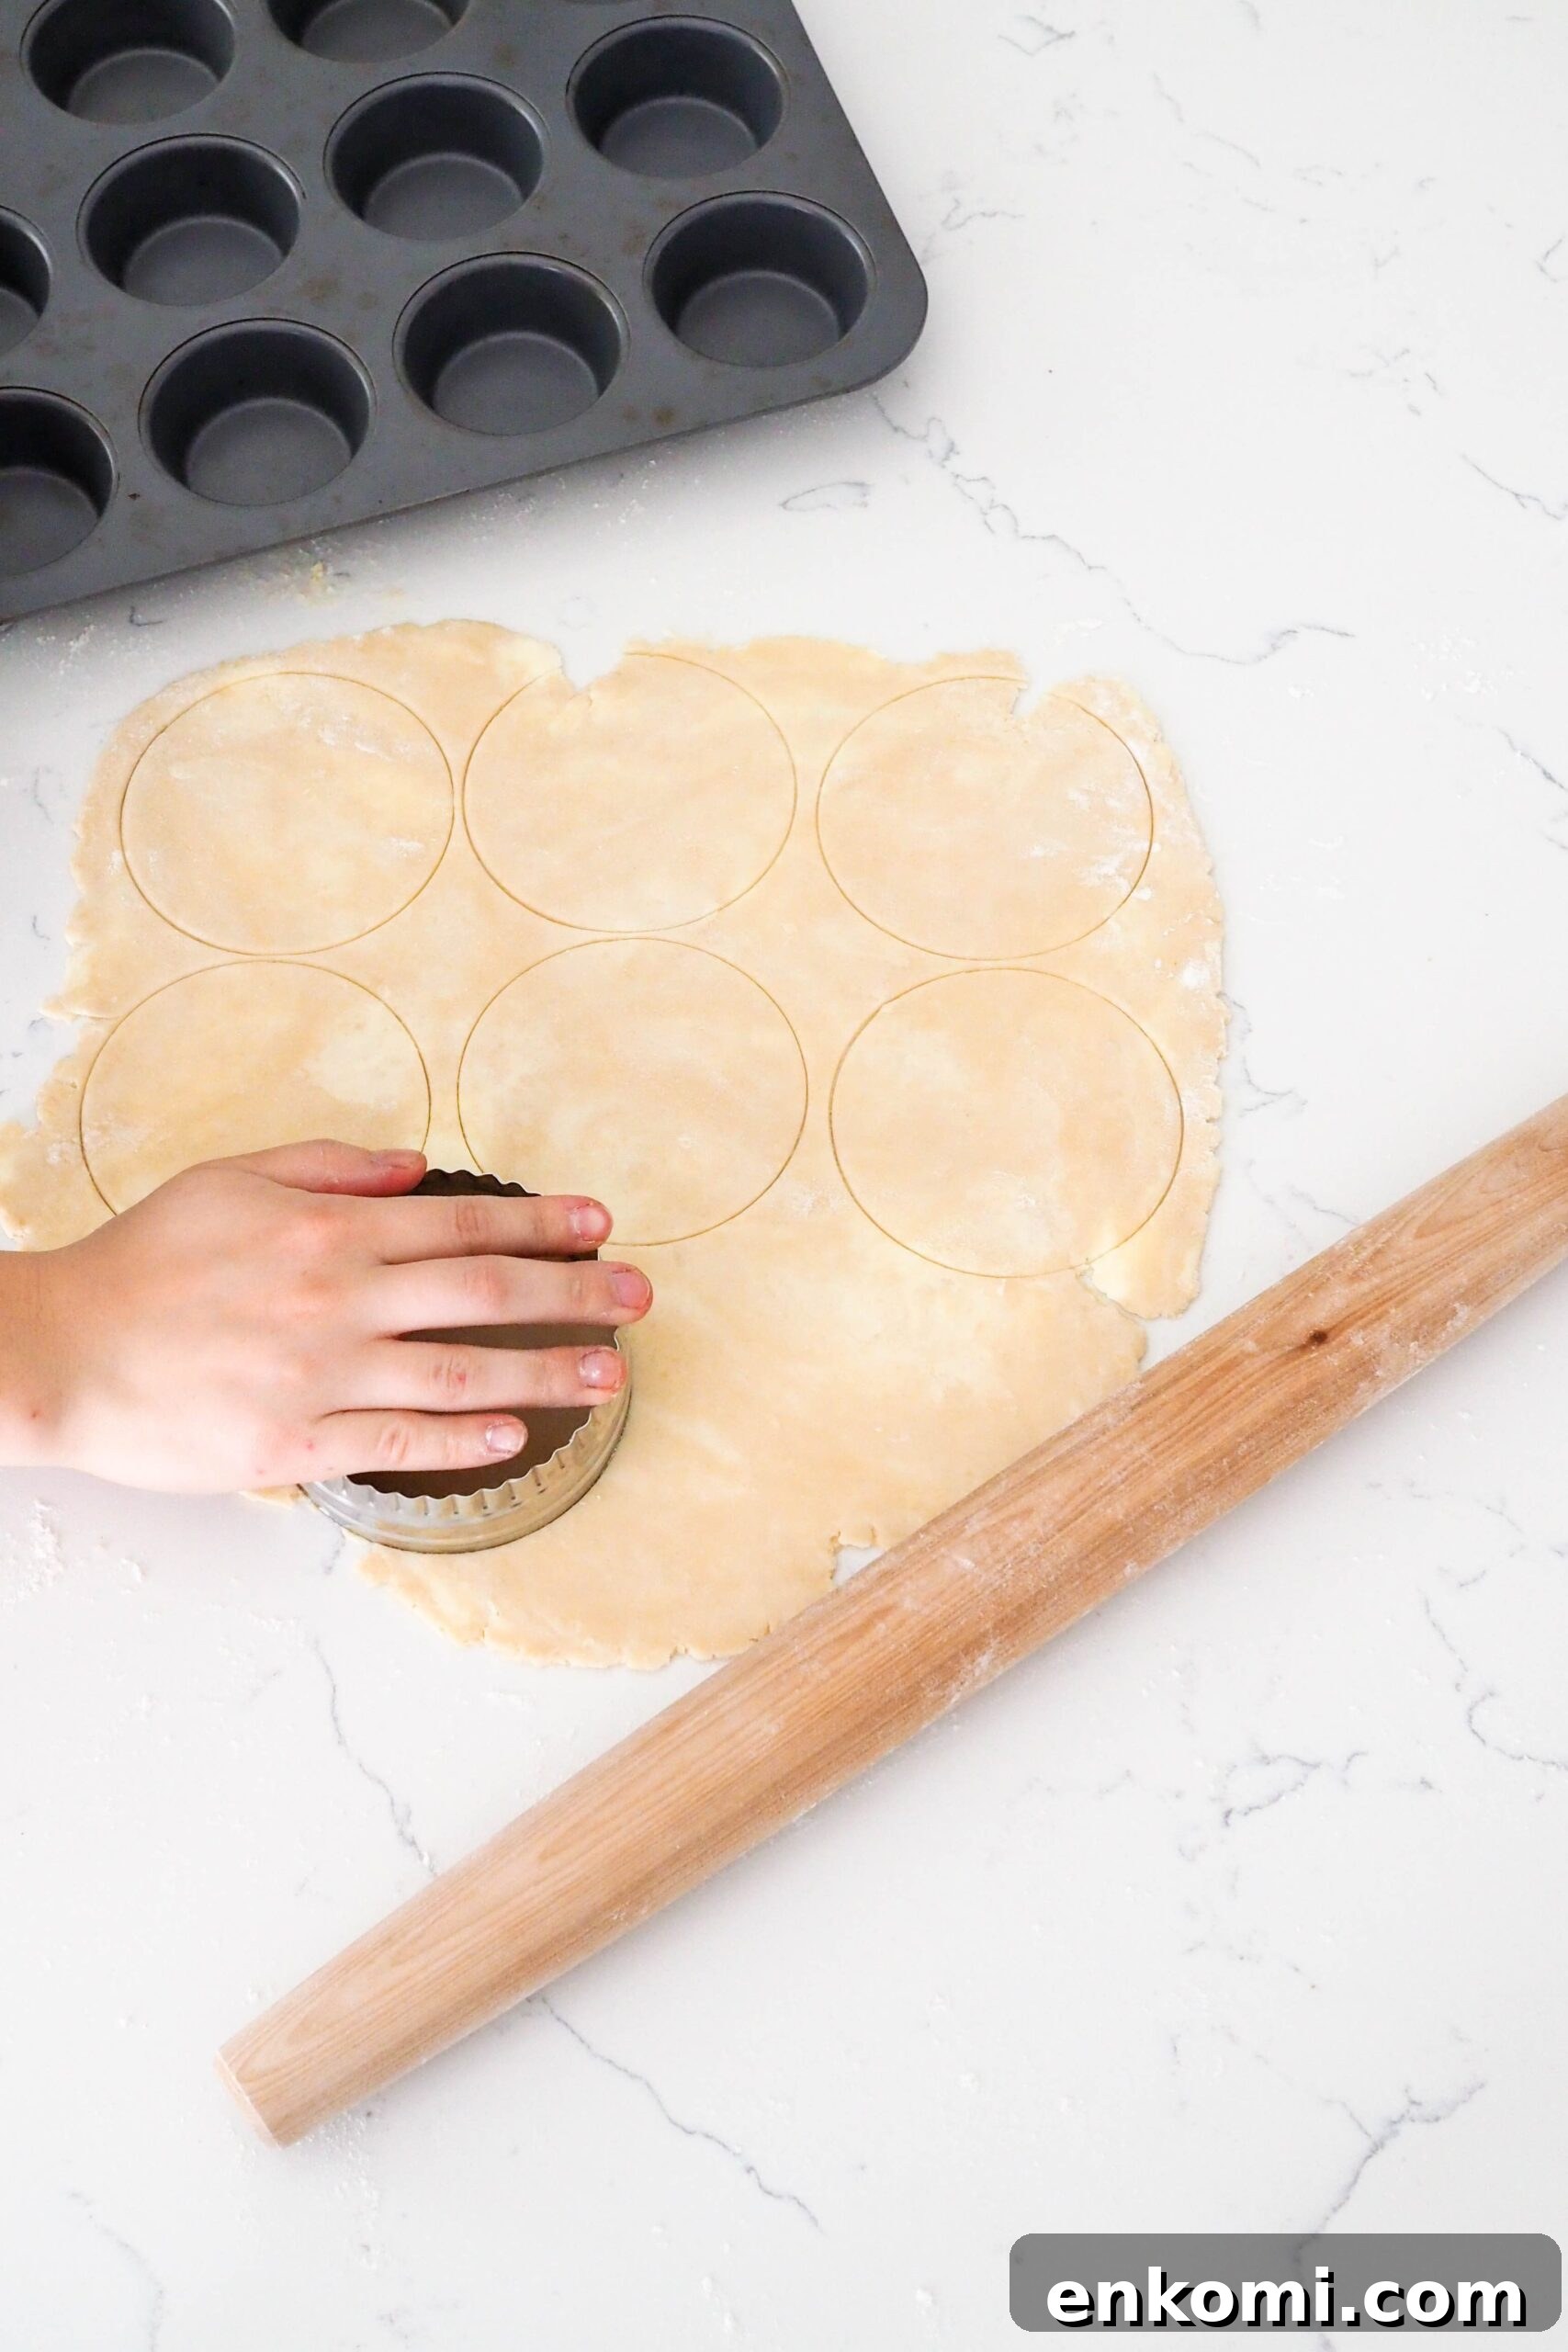
Use a 4-inch round cutter to cut circles, then gently press each round into a muffin pan cup with your fingertips. If the dough stretches unevenly, trim or pinch the edges to tidy each cup.
Quick Tips for Filling Mini Cherry Pies
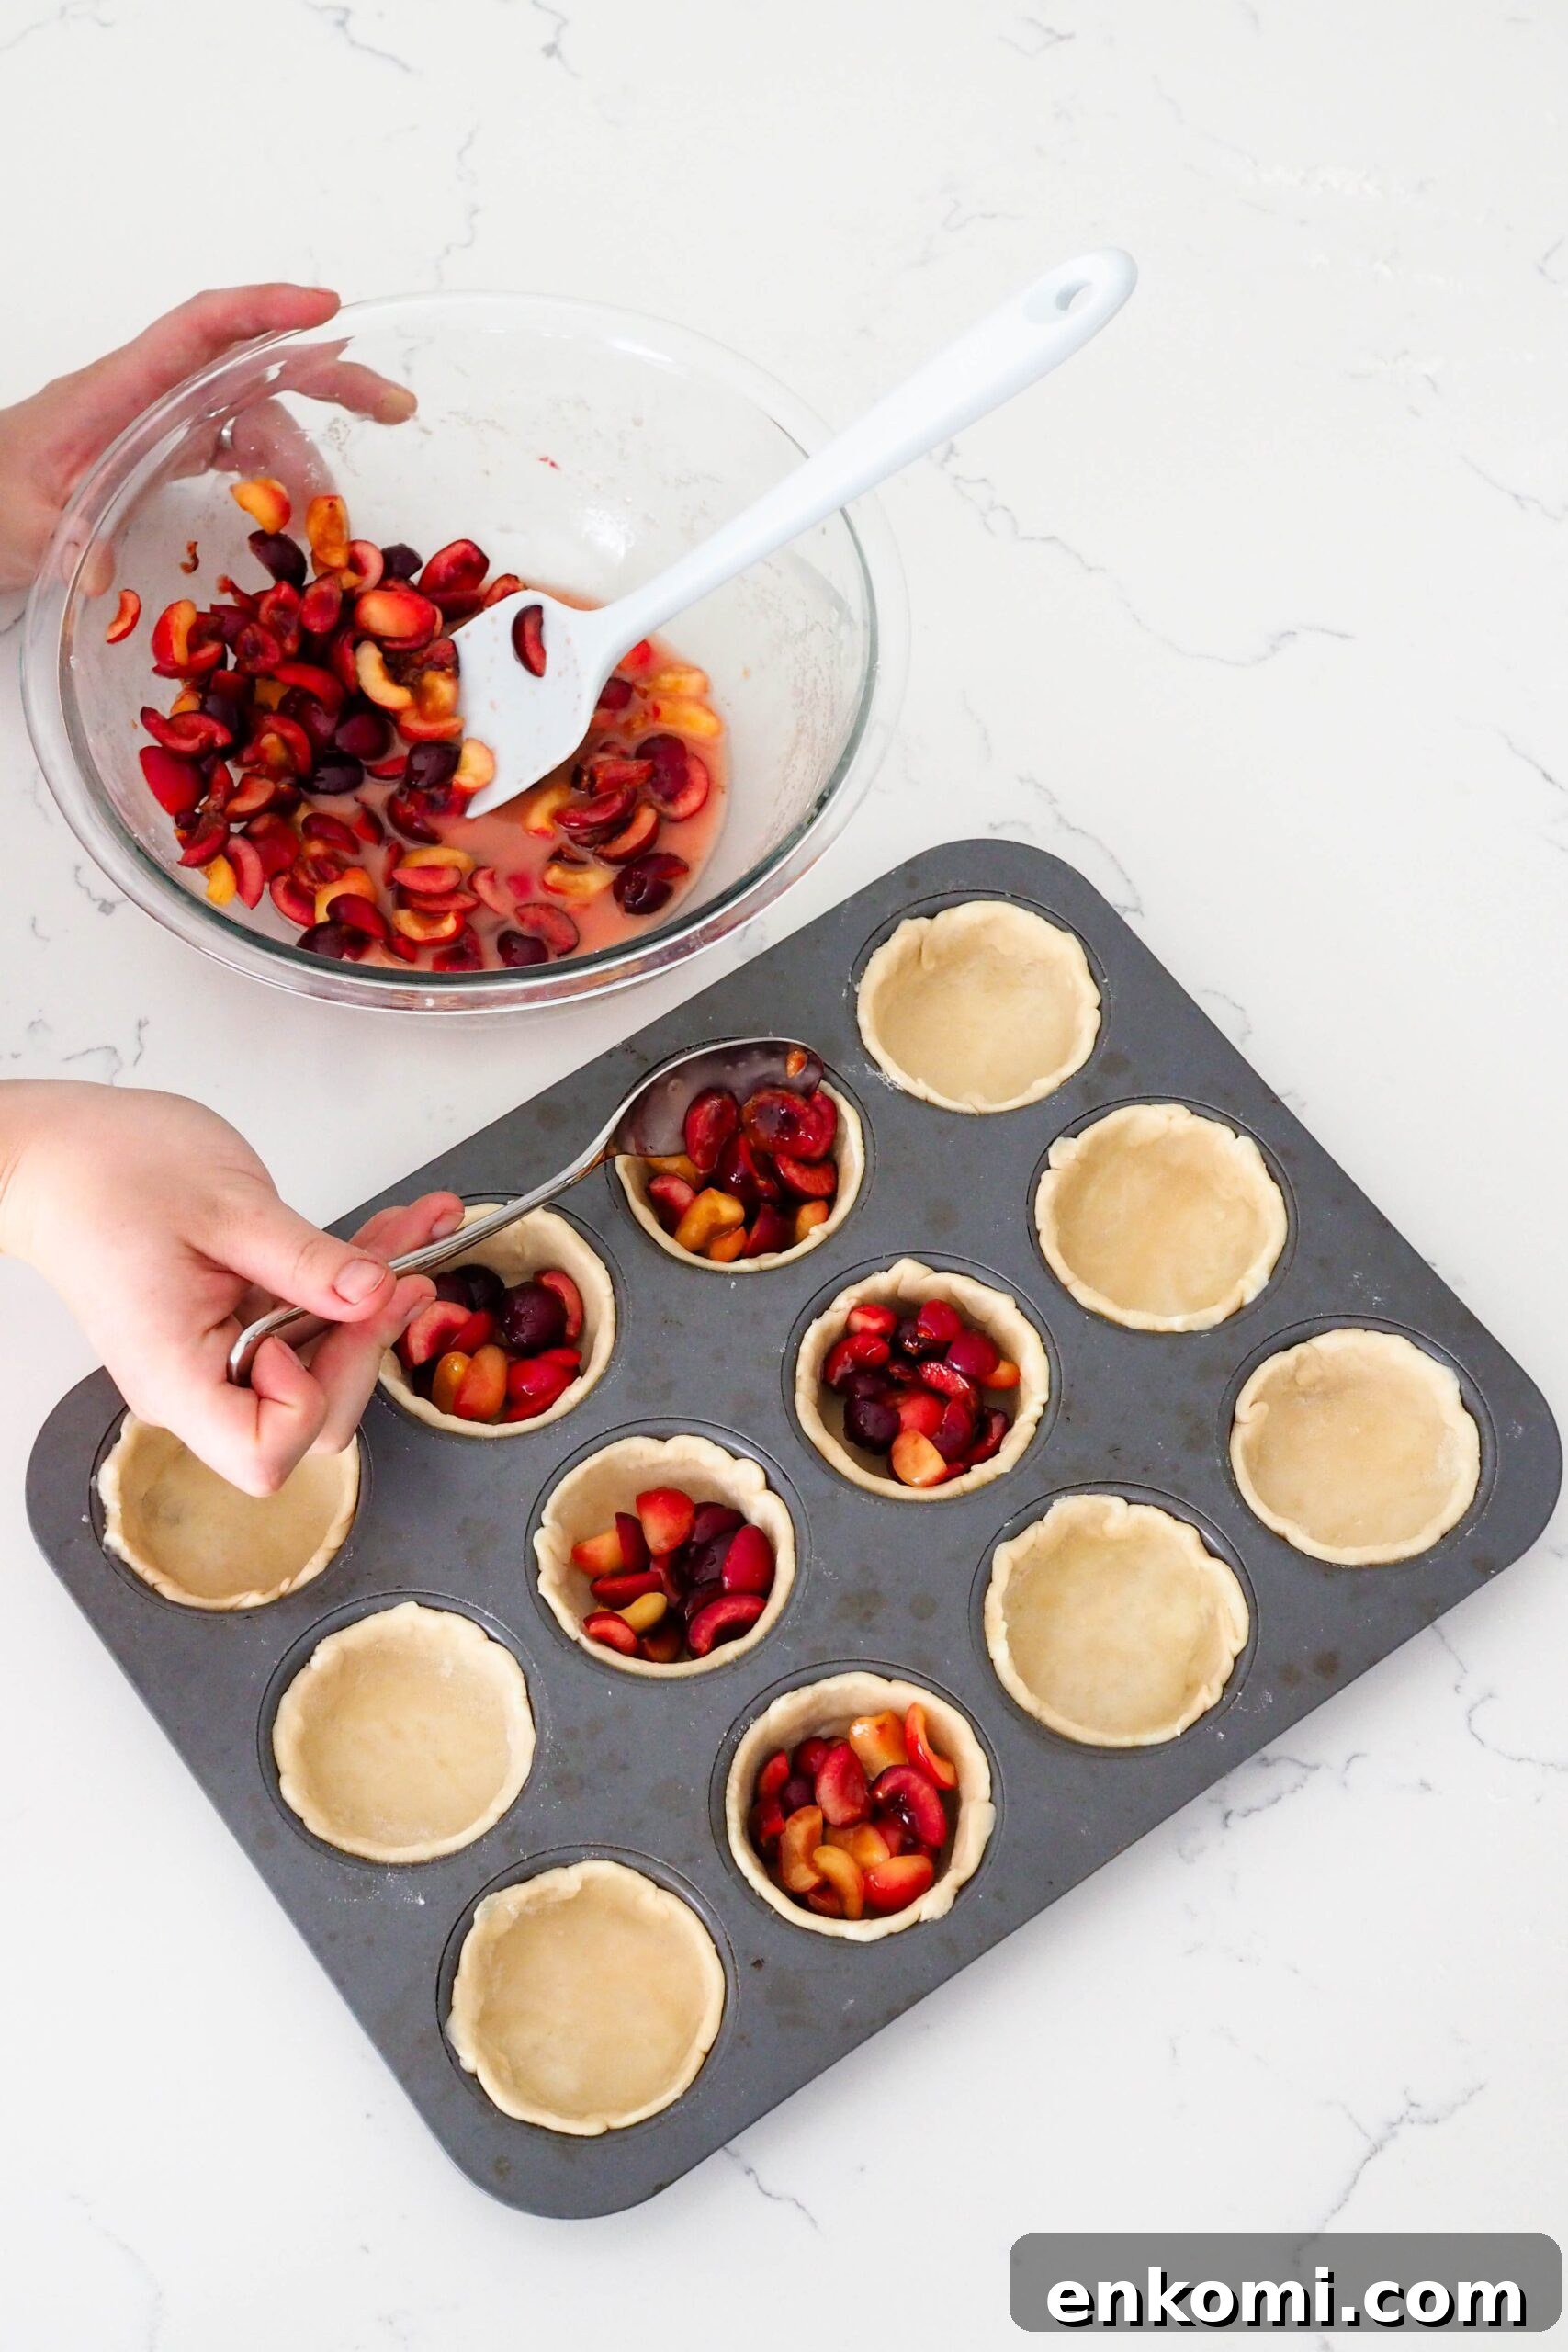
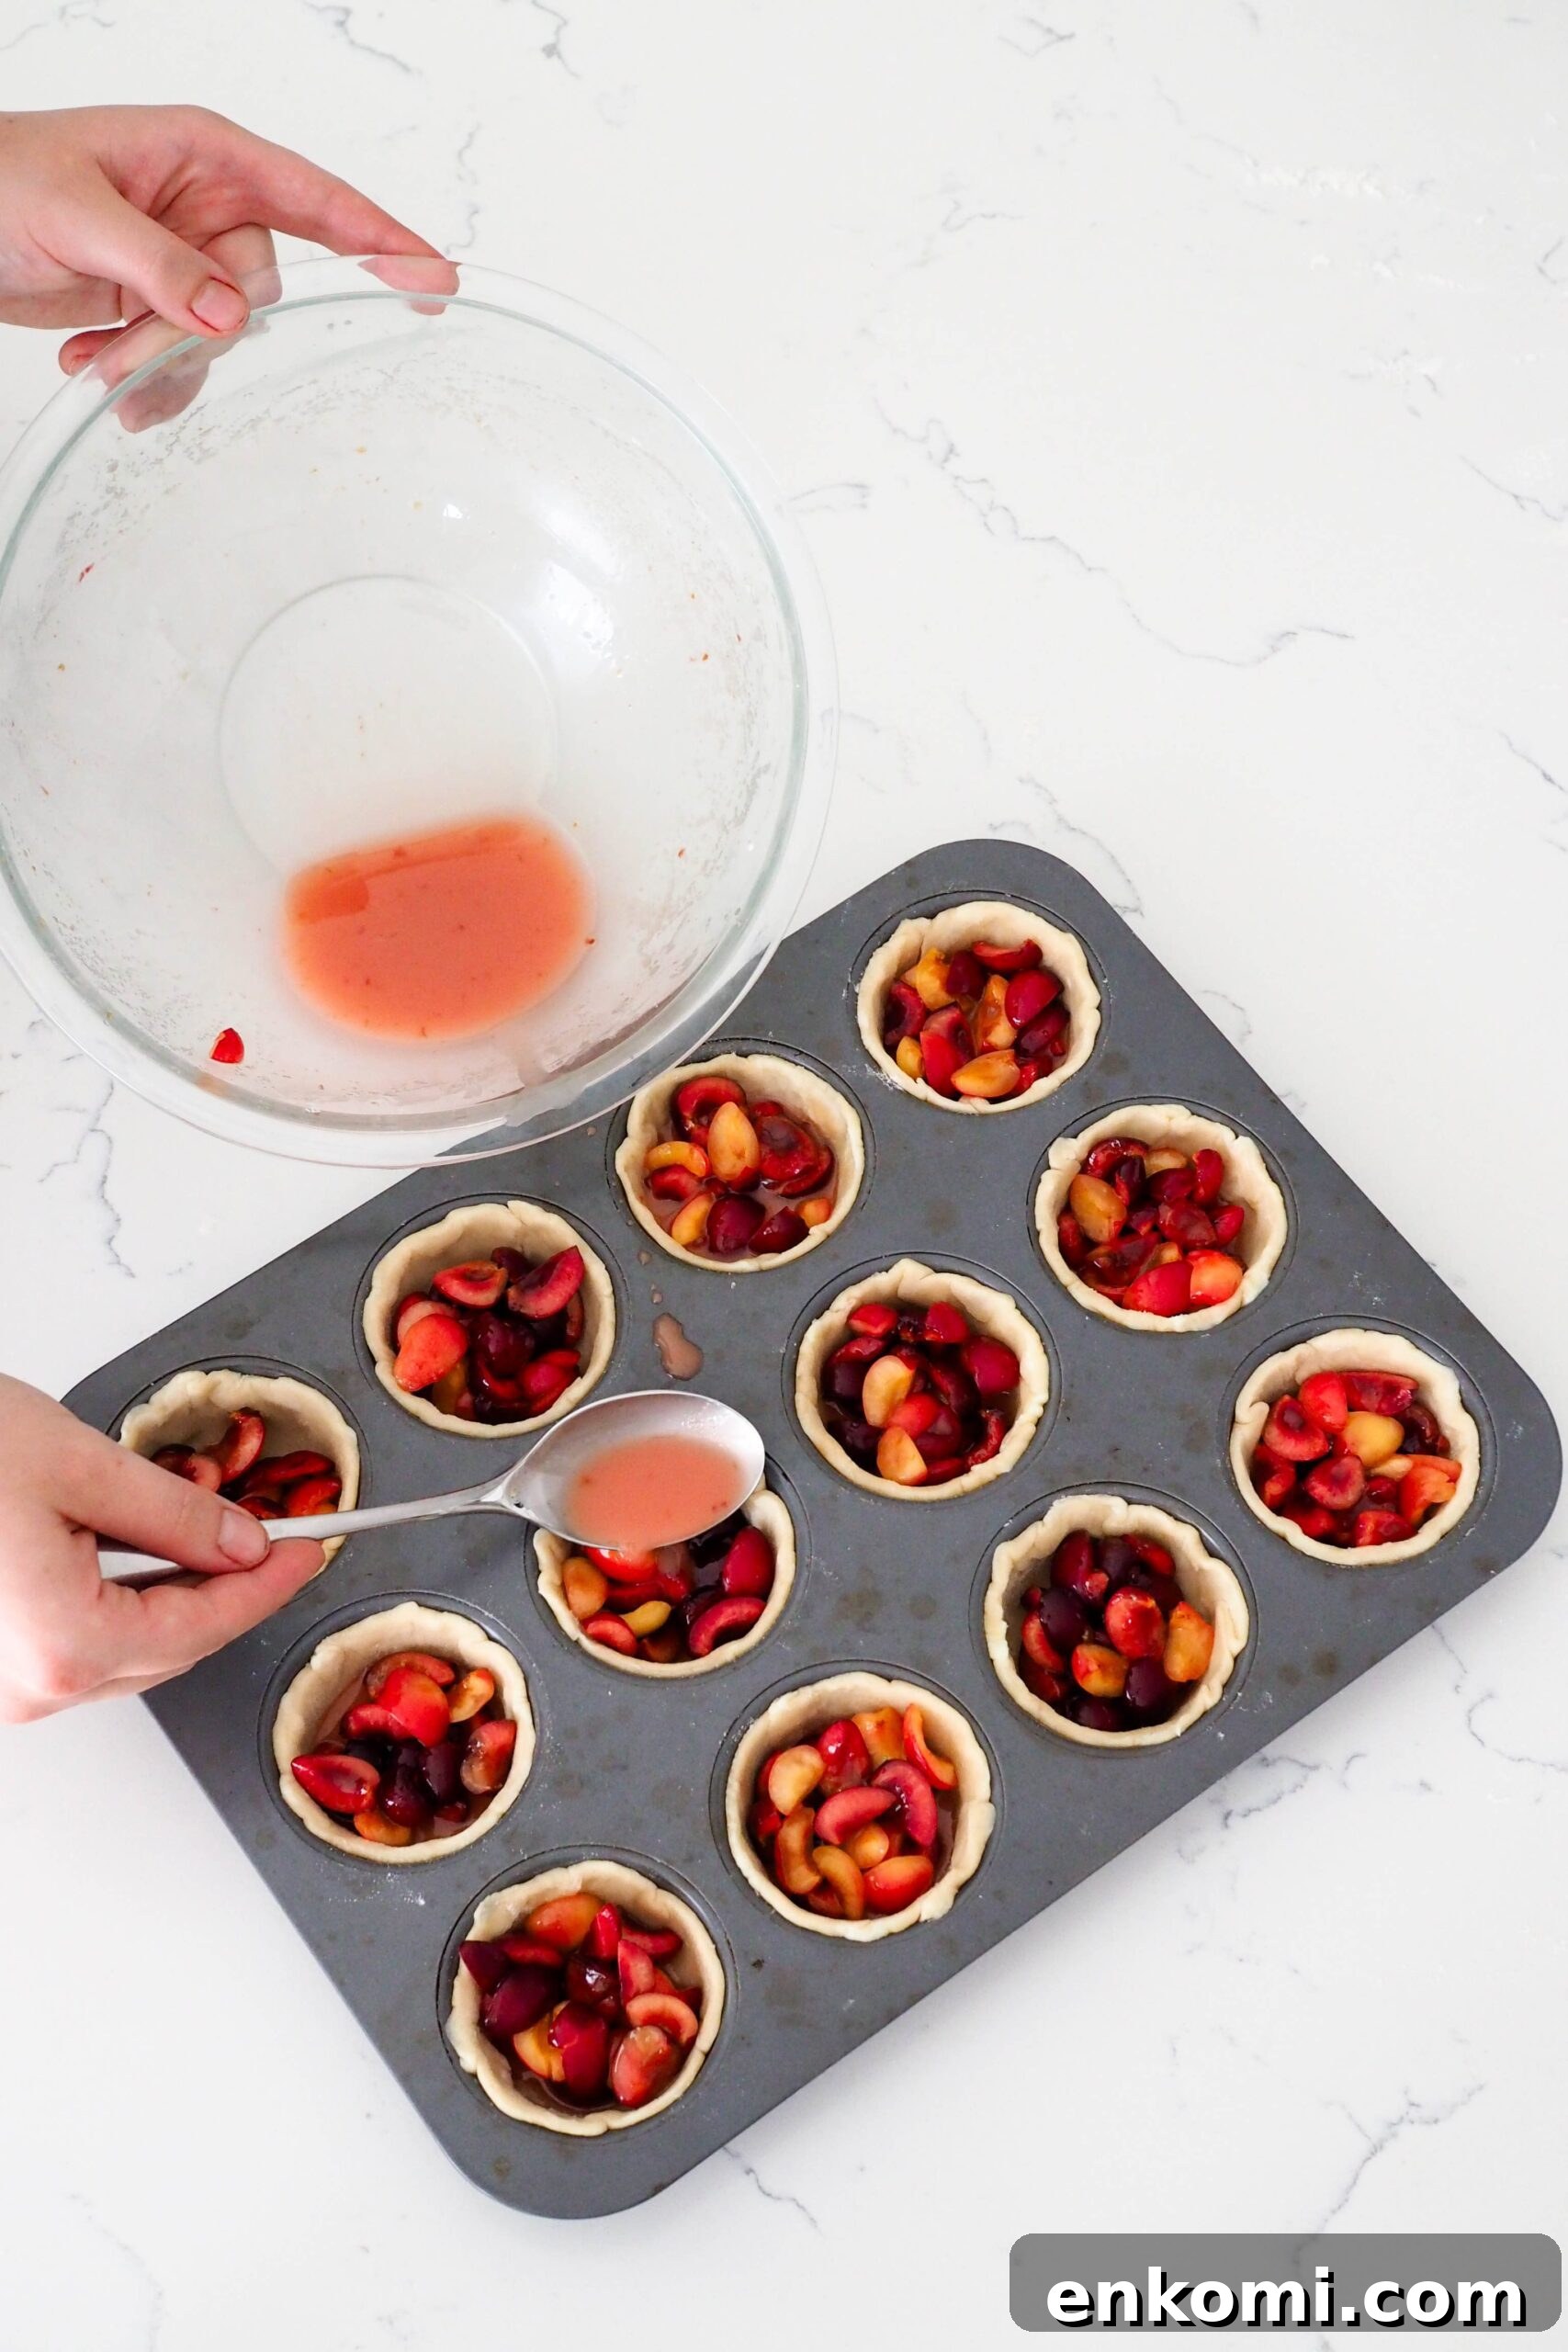
Spoon roughly one rounded tablespoon of cherries into each dough-lined muffin cup. Divide the reserved liquid from the macerated cherries between the pies — usually a little less than a tablespoon per pie. Chill the filled pan in the fridge while you prepare tops or lattices.
How to Make Mini Lattices for Hand Pies
Making a mini lattice seems tricky at first, but once you fold and weave a few strips it becomes intuitive. If you prefer, you can skip the lattice and bake the pies as simple open-faced or covered minis — they’ll still be delicious.
Weaving Mini Pie Lattices
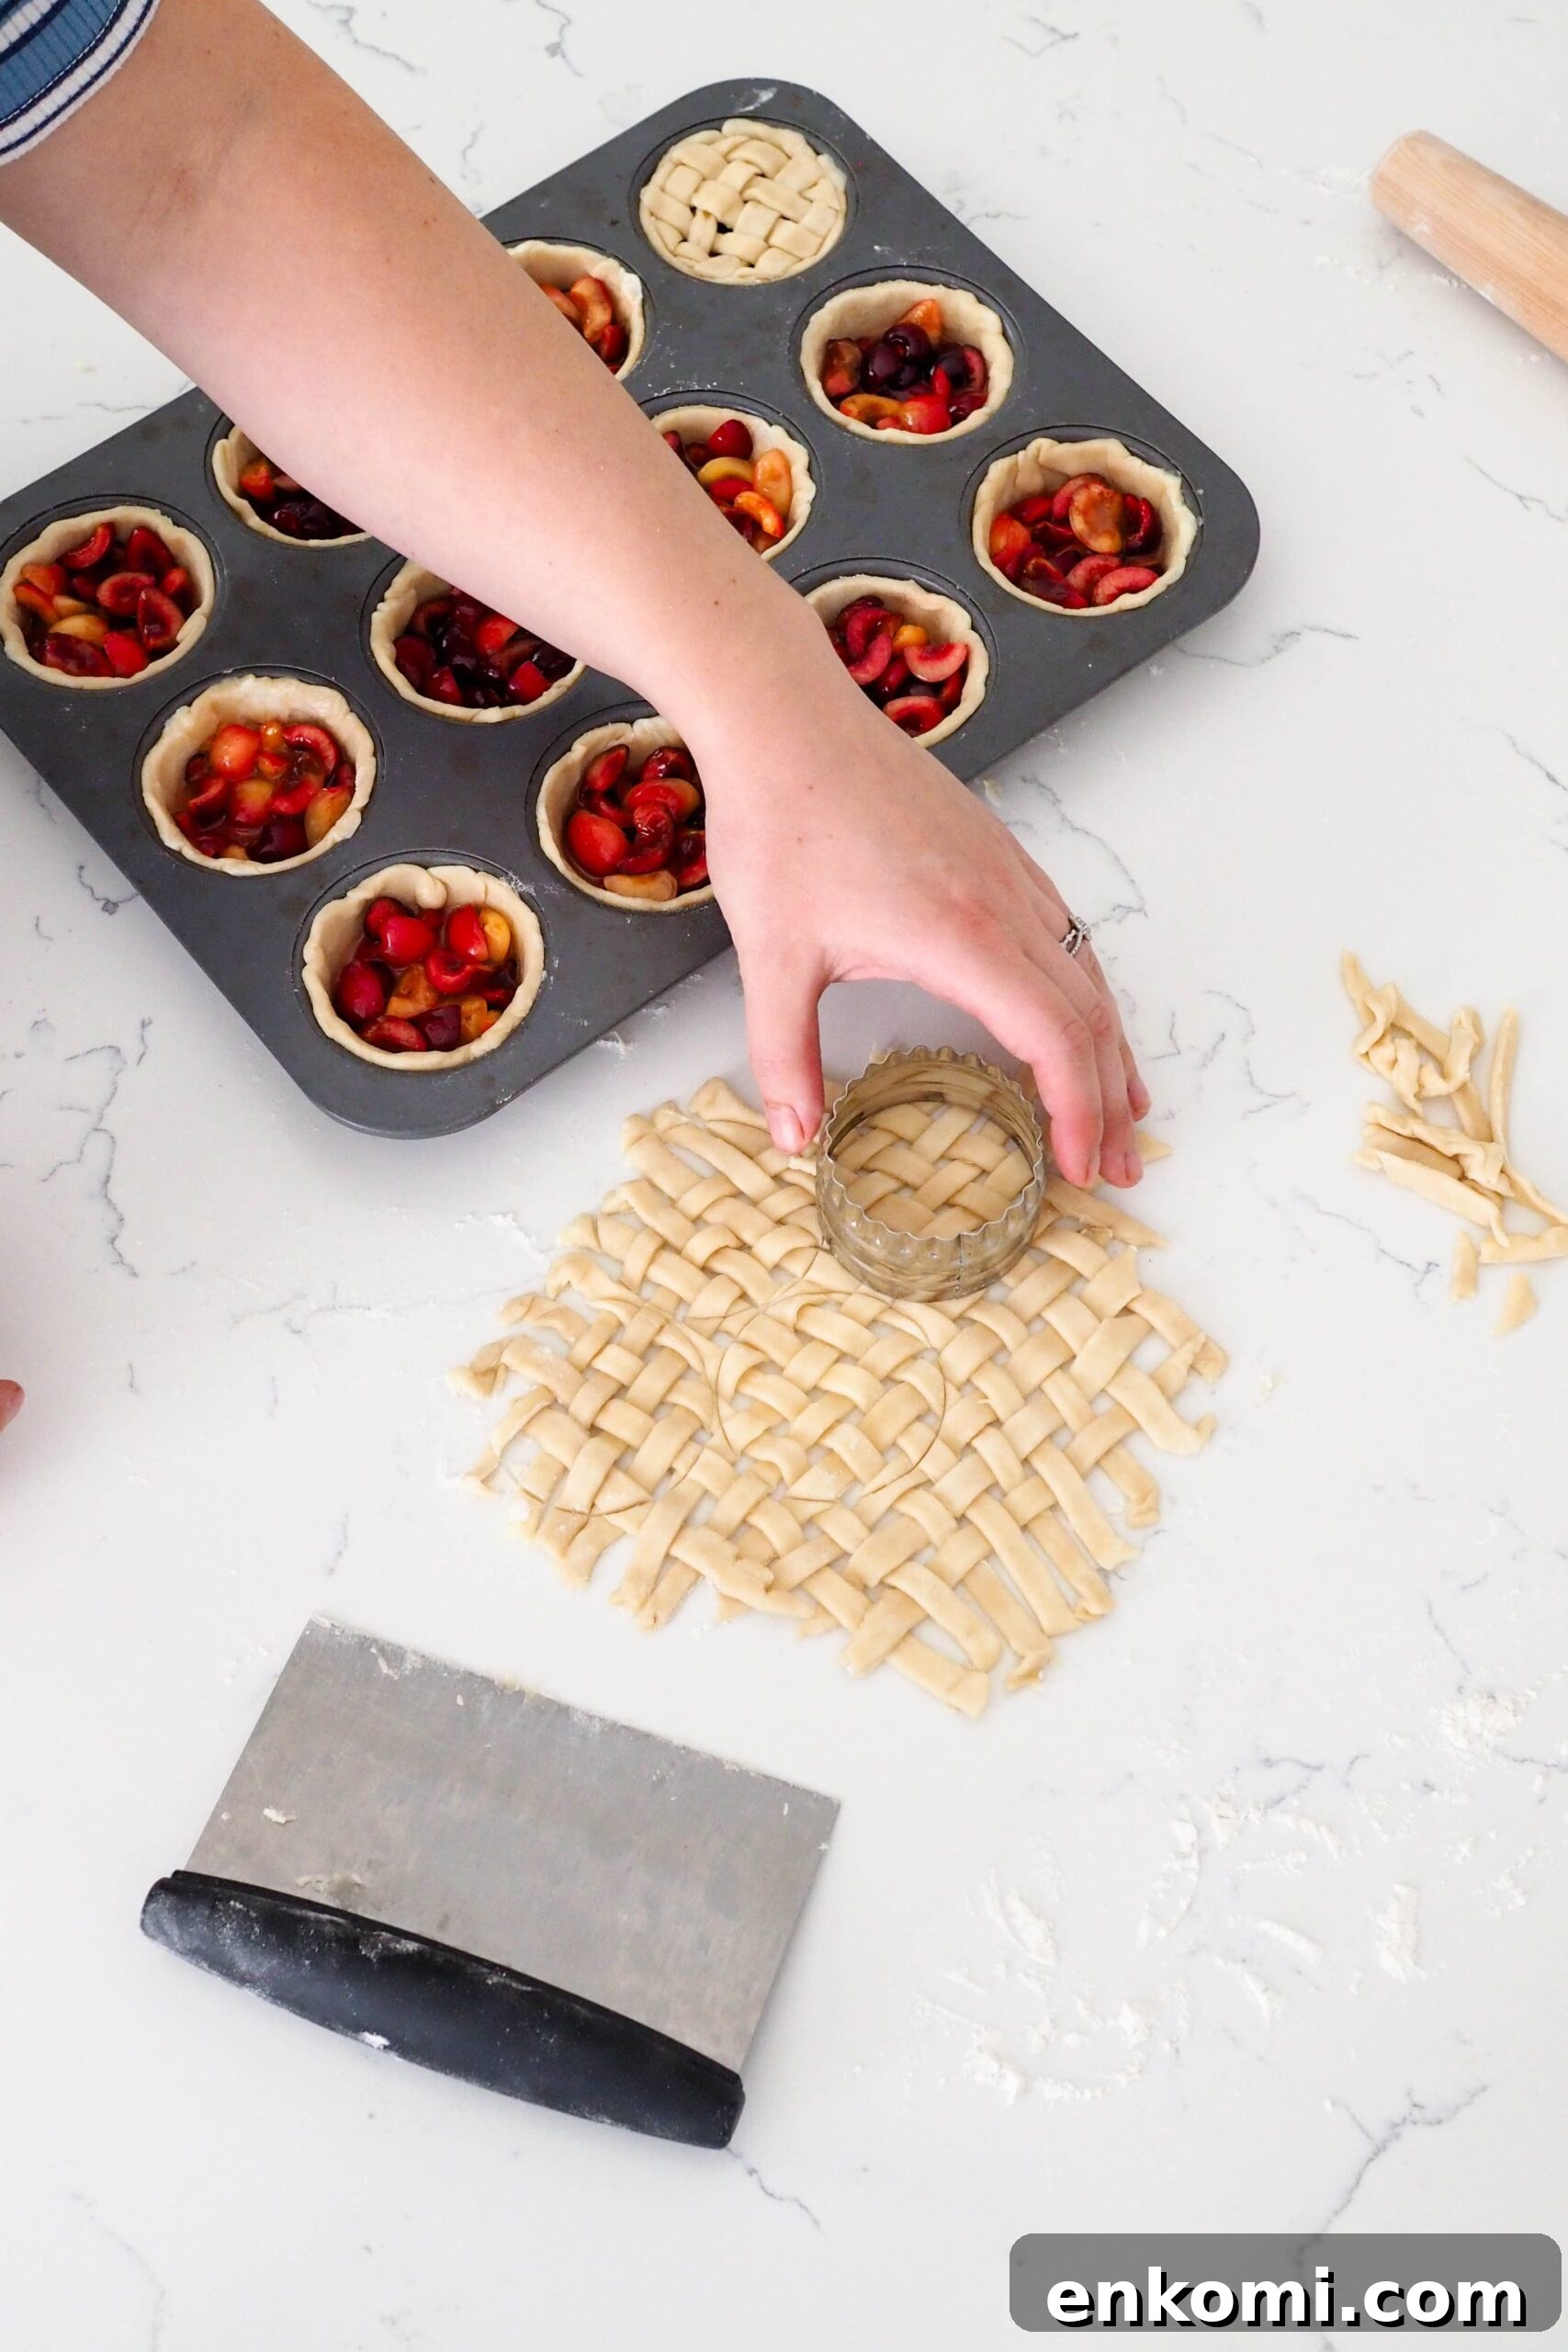
Cut leftover dough into strips about 1/4 inch (6 mm) wide. Lay half the strips vertically, fold every other vertical strip back, and lay a horizontal strip across the fold. Fold the vertical strips back over the horizontal strip to lock it in place. Continue adding horizontal strips and alternating the folded verticals until you’ve woven a lattice large enough — roughly 10 by 8 inches (25 by 20 cm) or until your strips run out.
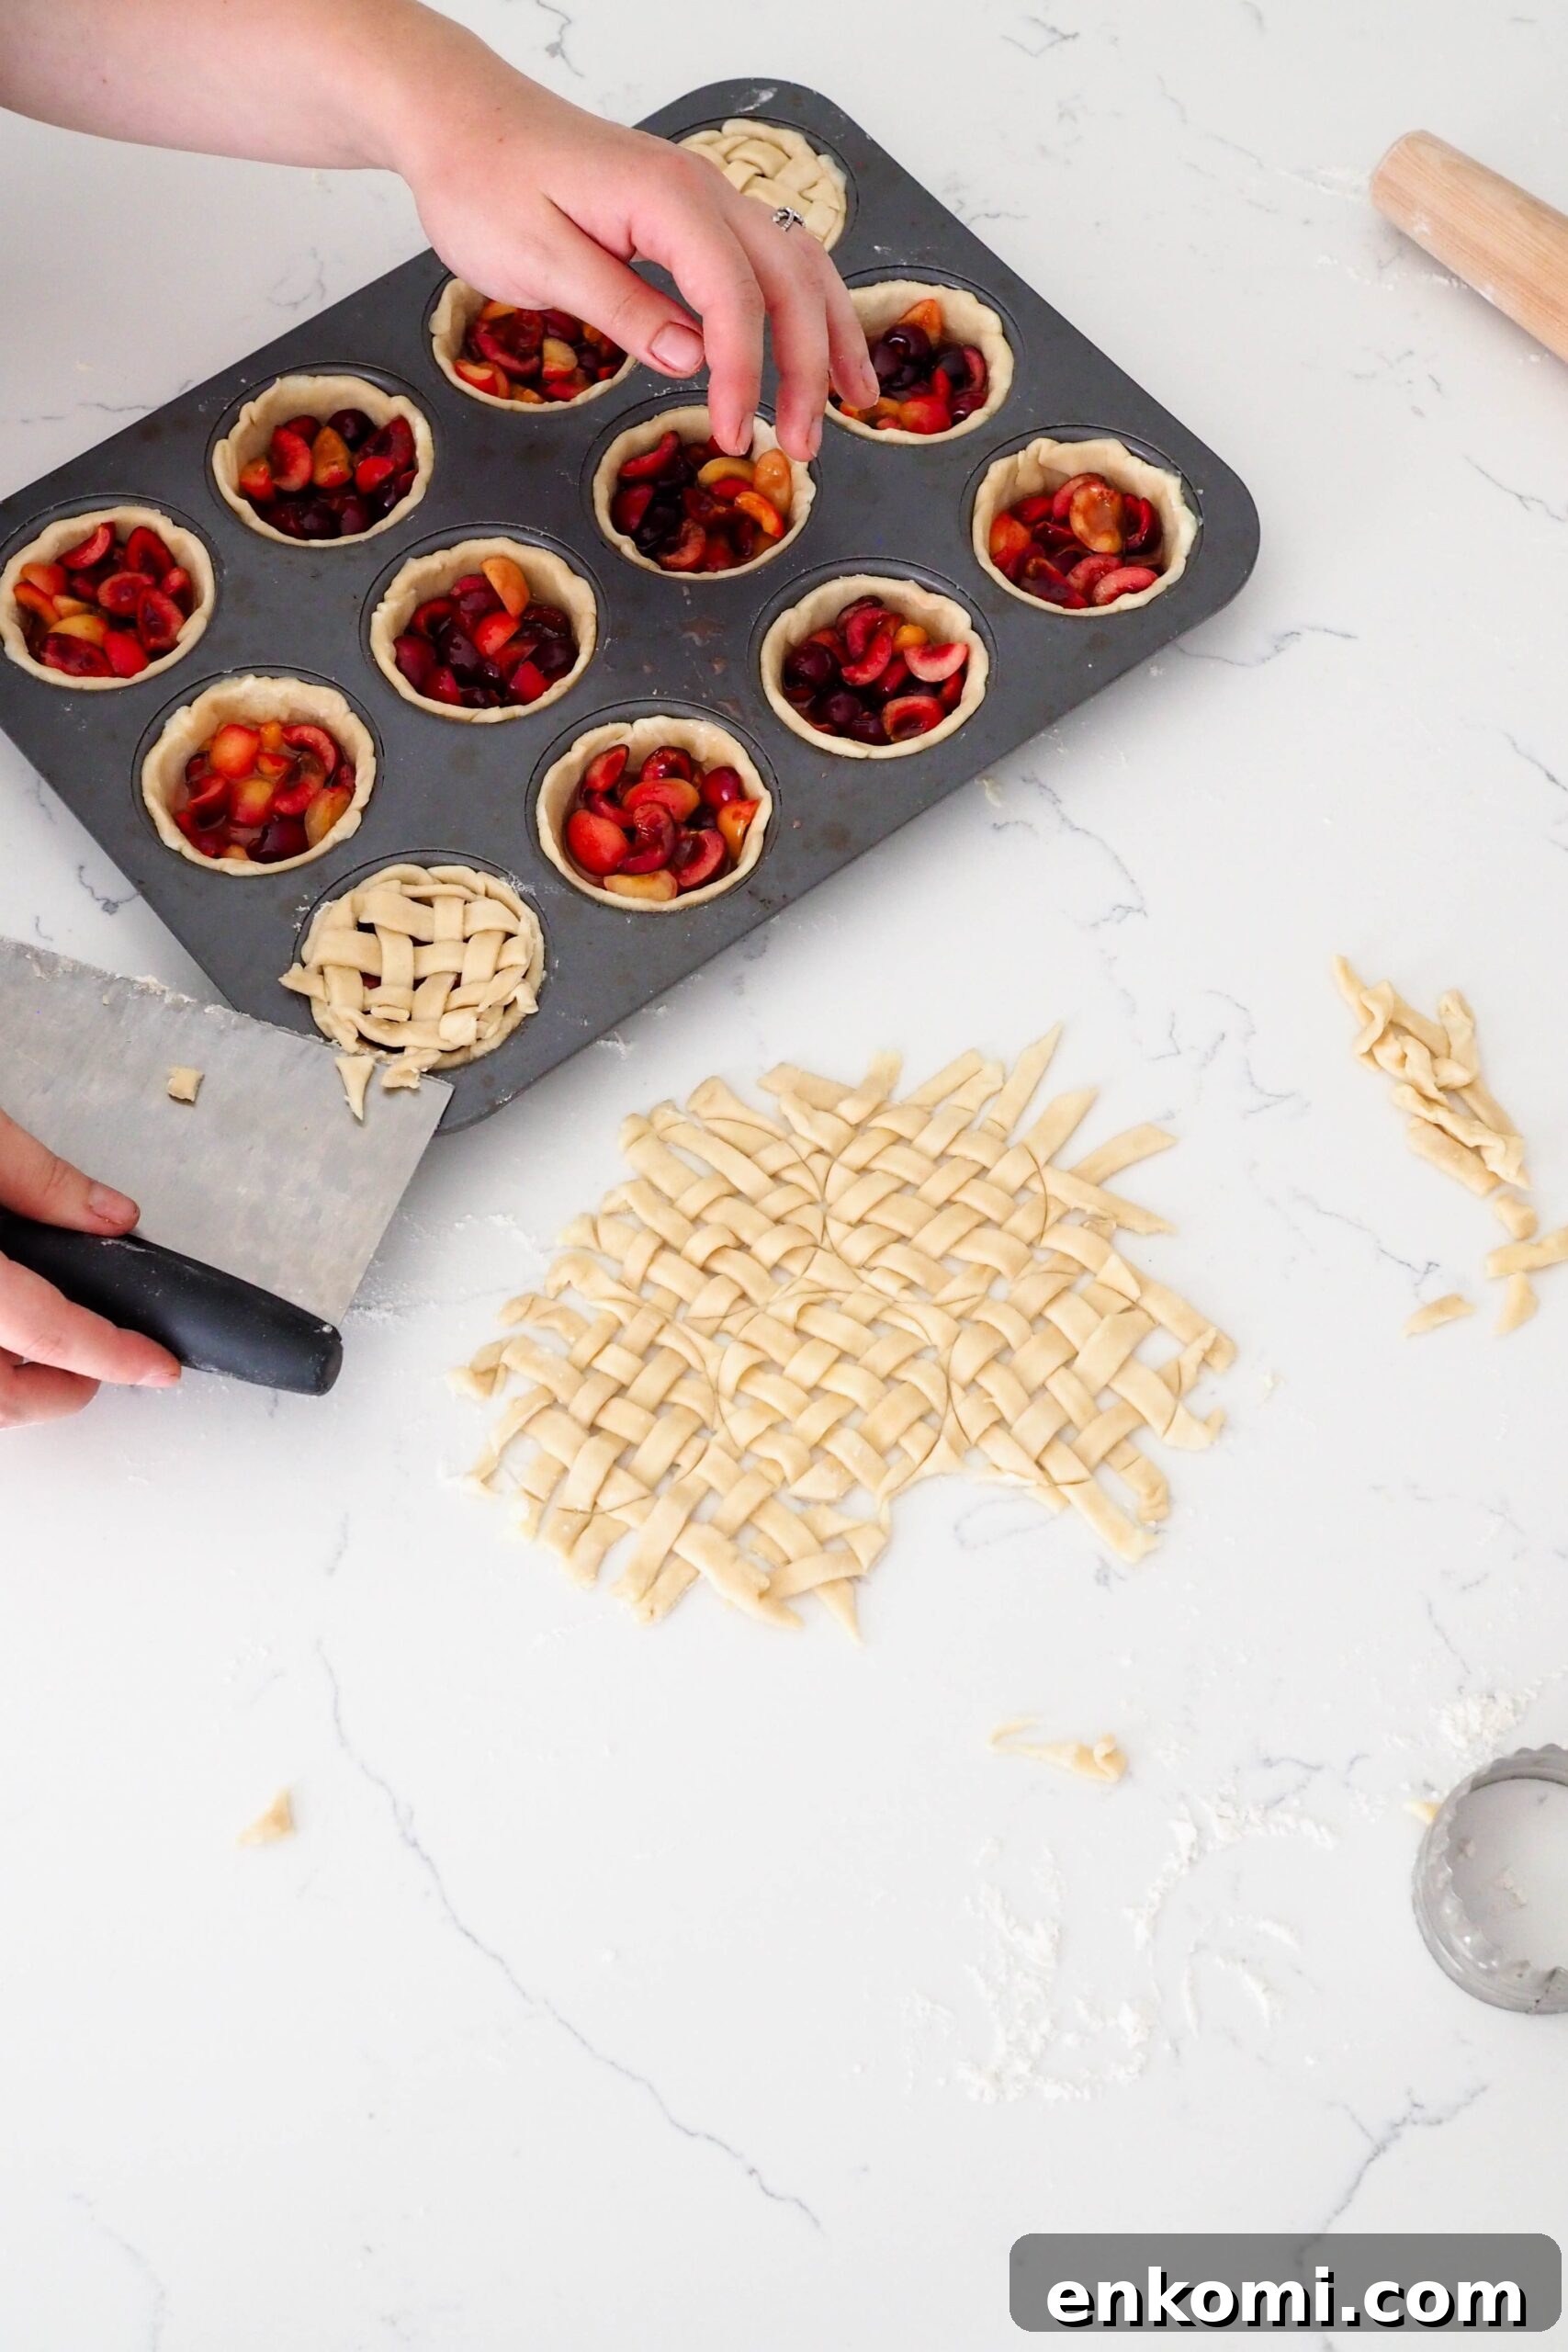
Use a 2.5-inch (6 cm) round cutter to cut circles from the lattice, then transfer each lattice circle to a chilled mini pie and press lightly into the edges. You don’t need to crimp the top and bottom crust together; they’ll bake snugly without pinching.
Quick Tips for Baking Mini Cherry Pies
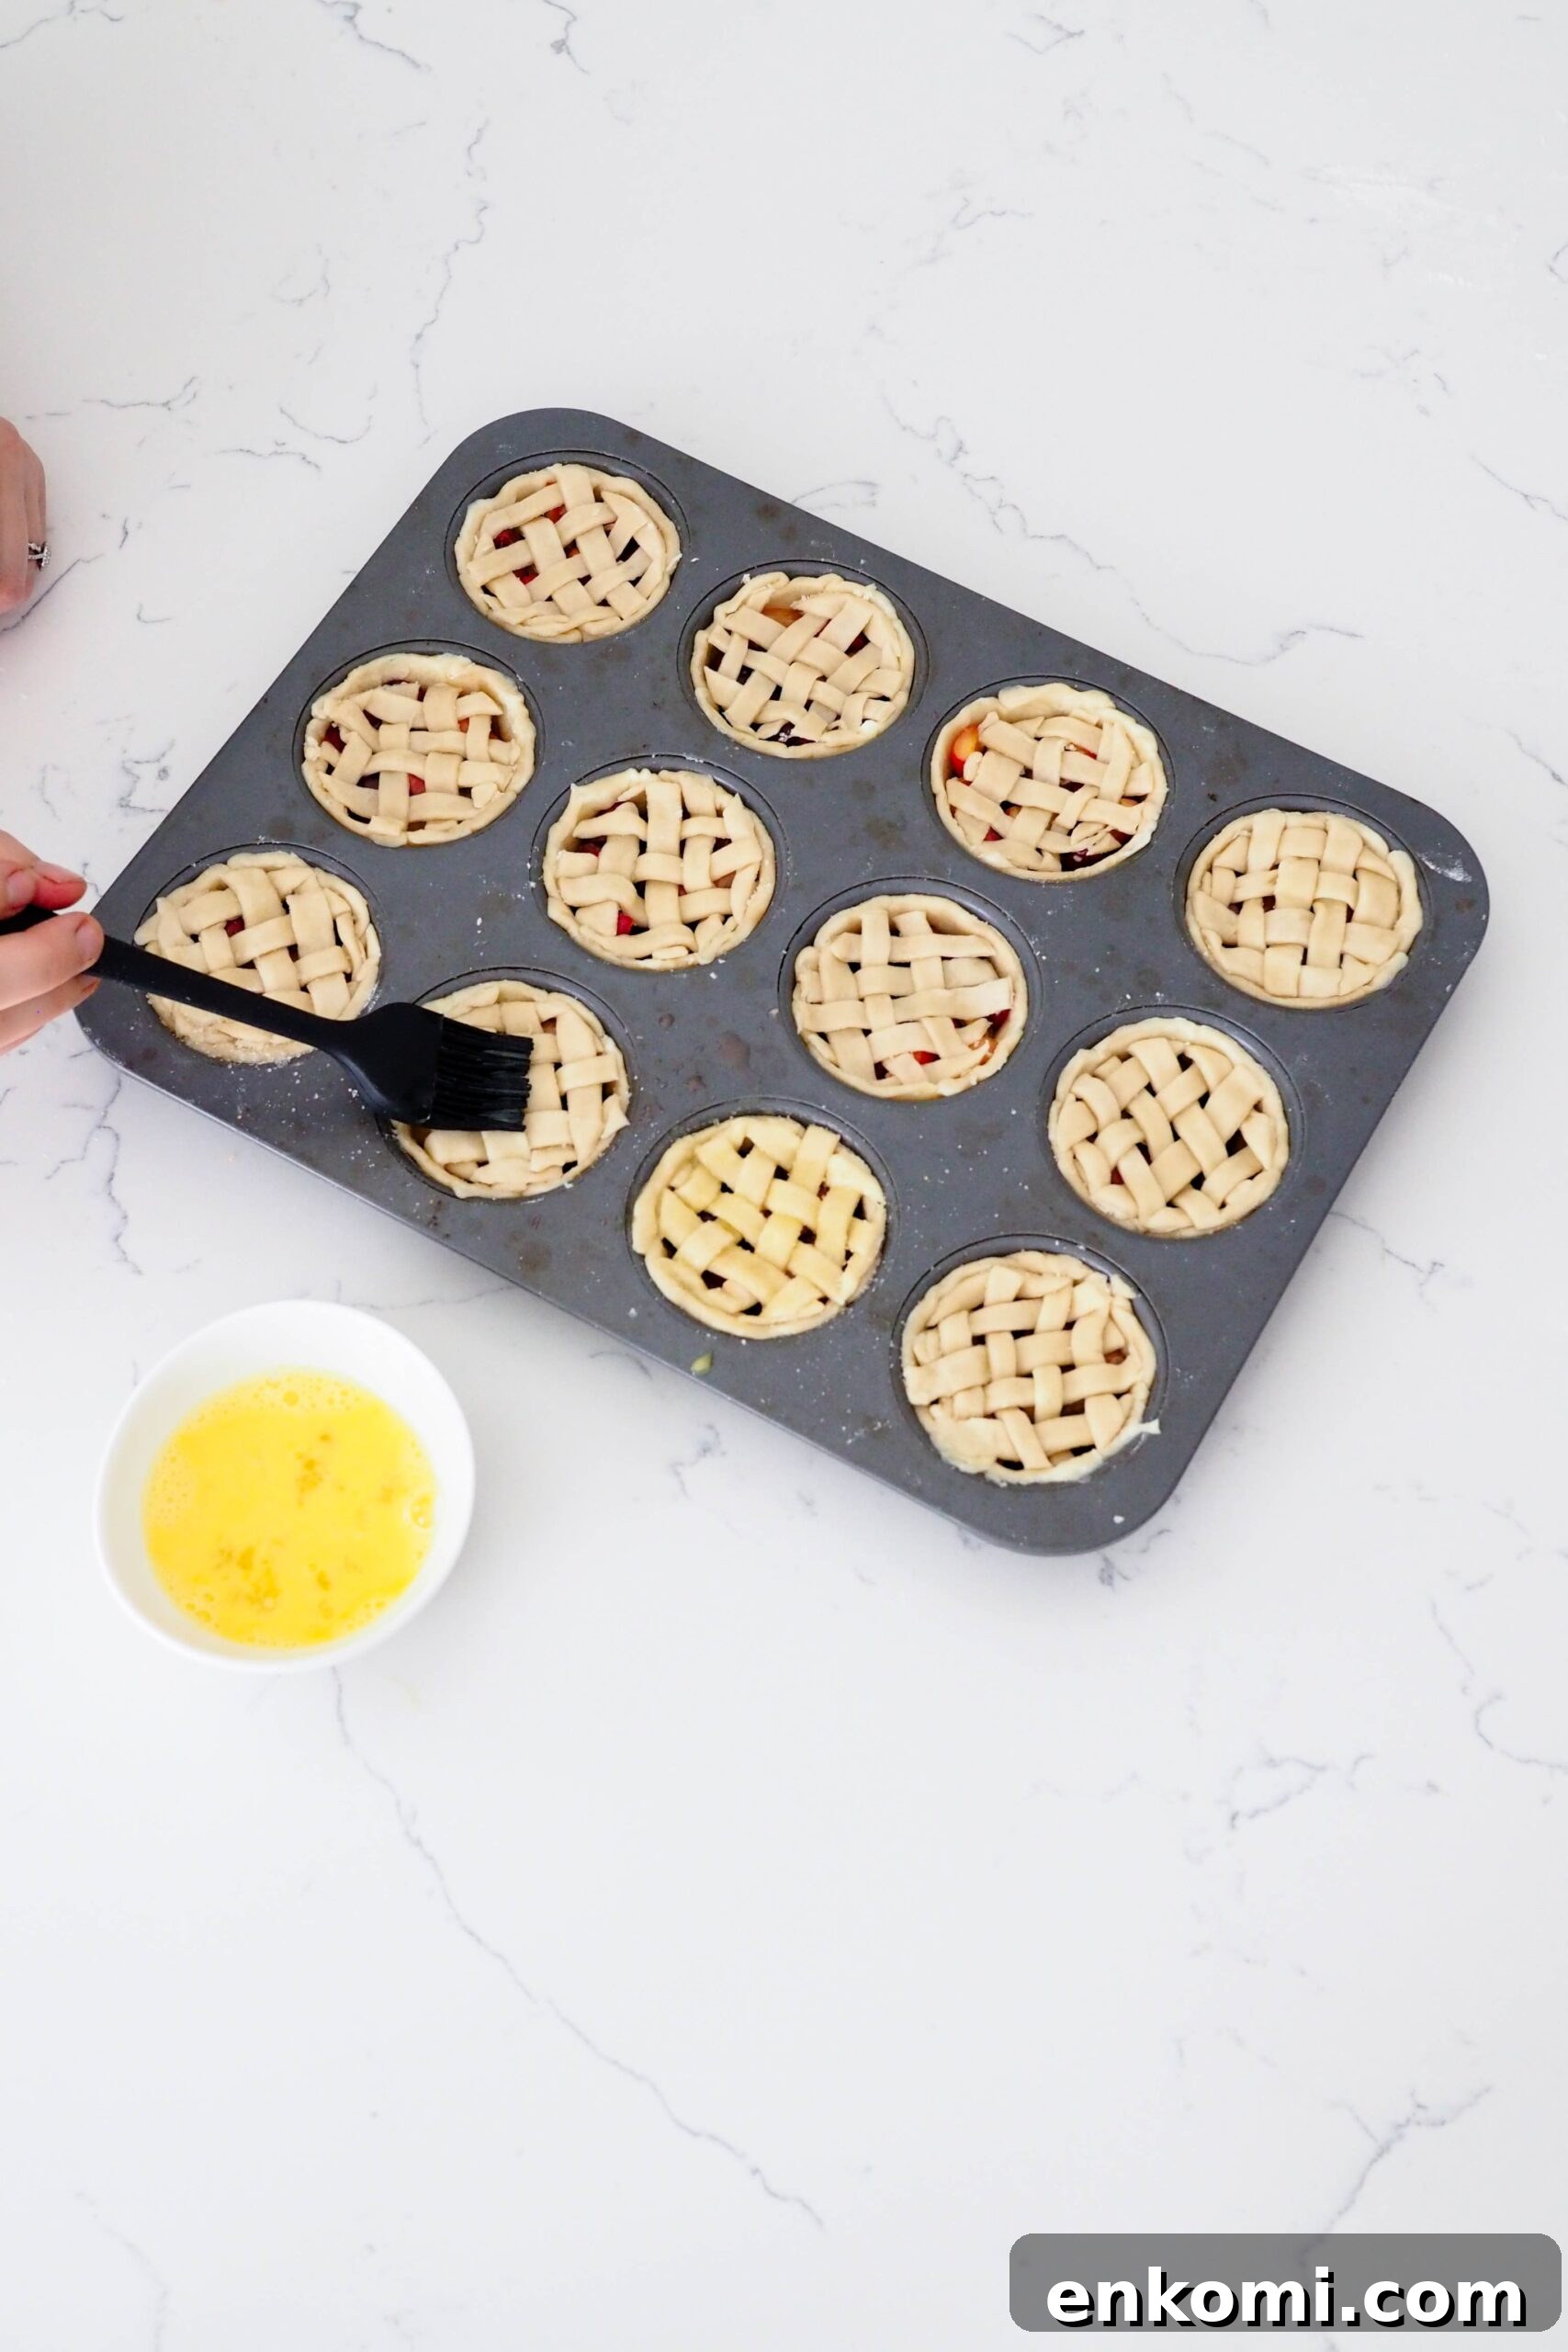
Preheat the oven to 375°F (190°C) and bake the pies on the center rack. Dark pans brown faster; expect about 22 minutes in a dark pan and up to 25 minutes in a light pan. Brush lattices lightly with egg wash and sprinkle coarse sugar for a glossy, crunchy finish. Allow pies to cool in the pan for about 5 minutes, then remove and finish cooling on a wire rack to avoid soggy bottoms.
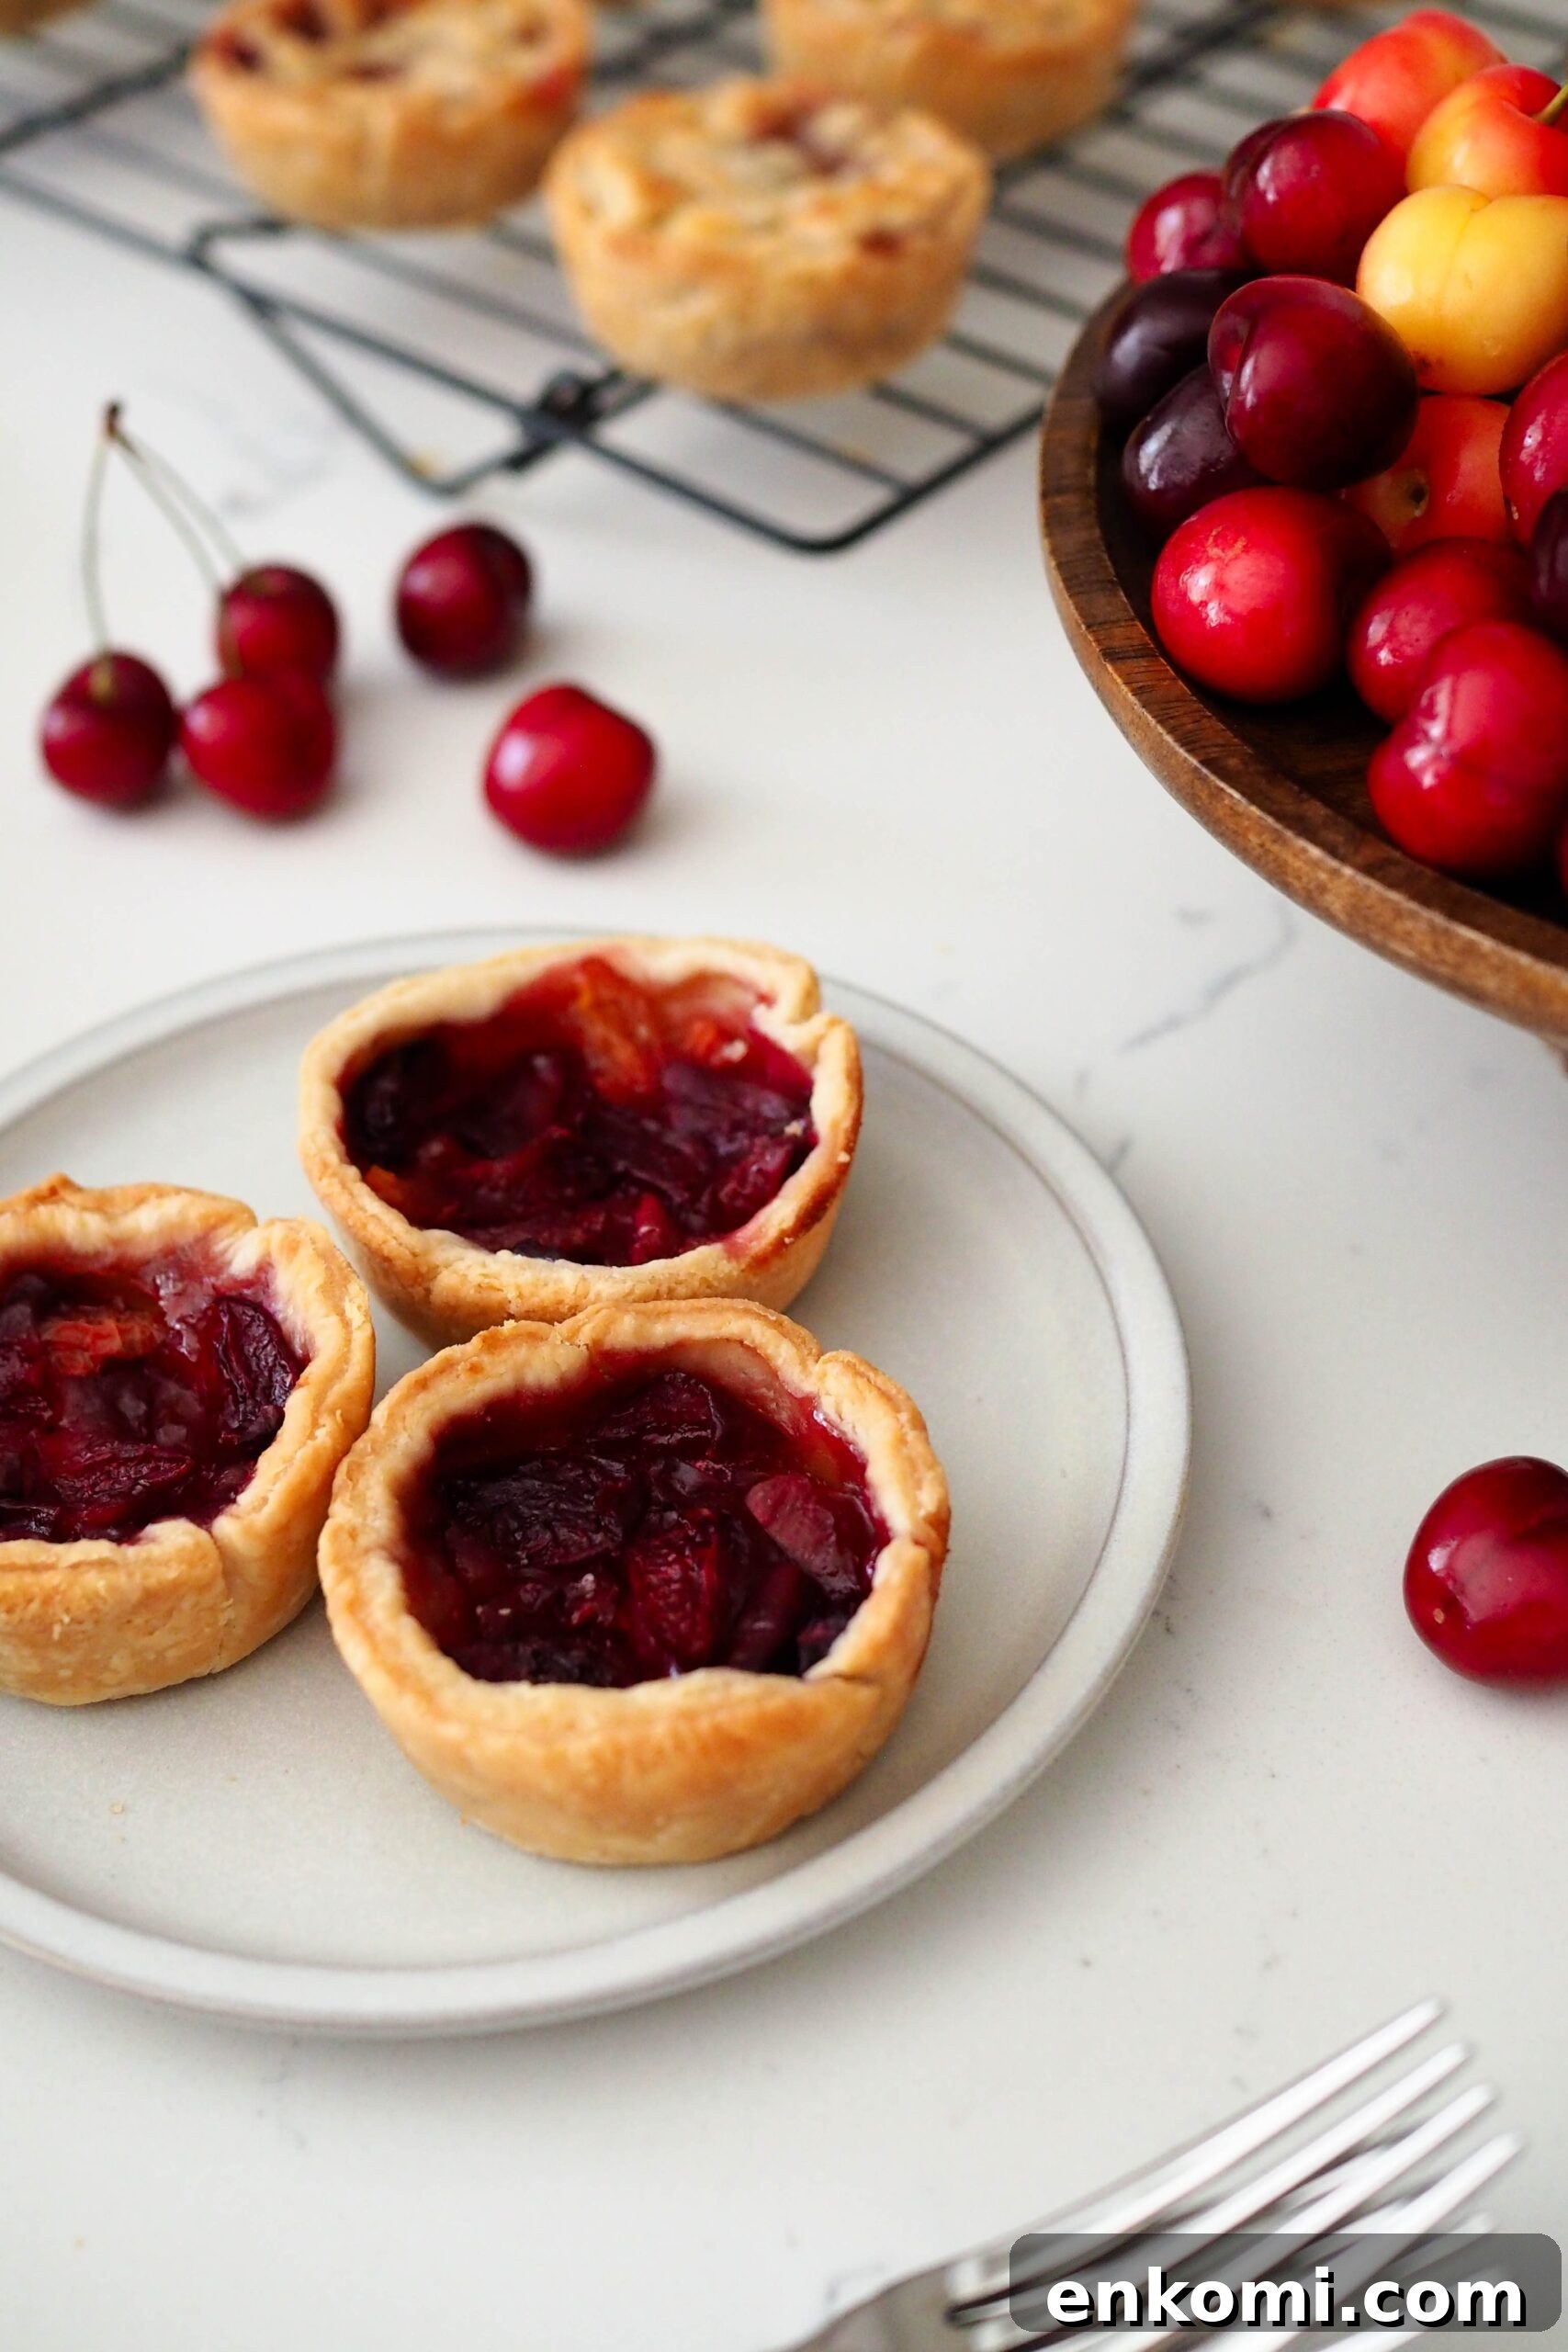
FAQs about Mini Cherry Pies
No — the pies bake beautifully without a lattice. Use one pie crust and reroll scraps to make the remaining cups, then skip the lattice and egg-wash steps if you prefer a simpler finish.
Yes. Store-bought crust saves time and works fine for this recipe.
Canned cherries can be used if drained well and quartered as needed, though they tend to be softer than fresh or frozen cherries.
You could, though it will change the texture and sweetness. If you do, don’t add extra ingredients and watch baking time carefully.
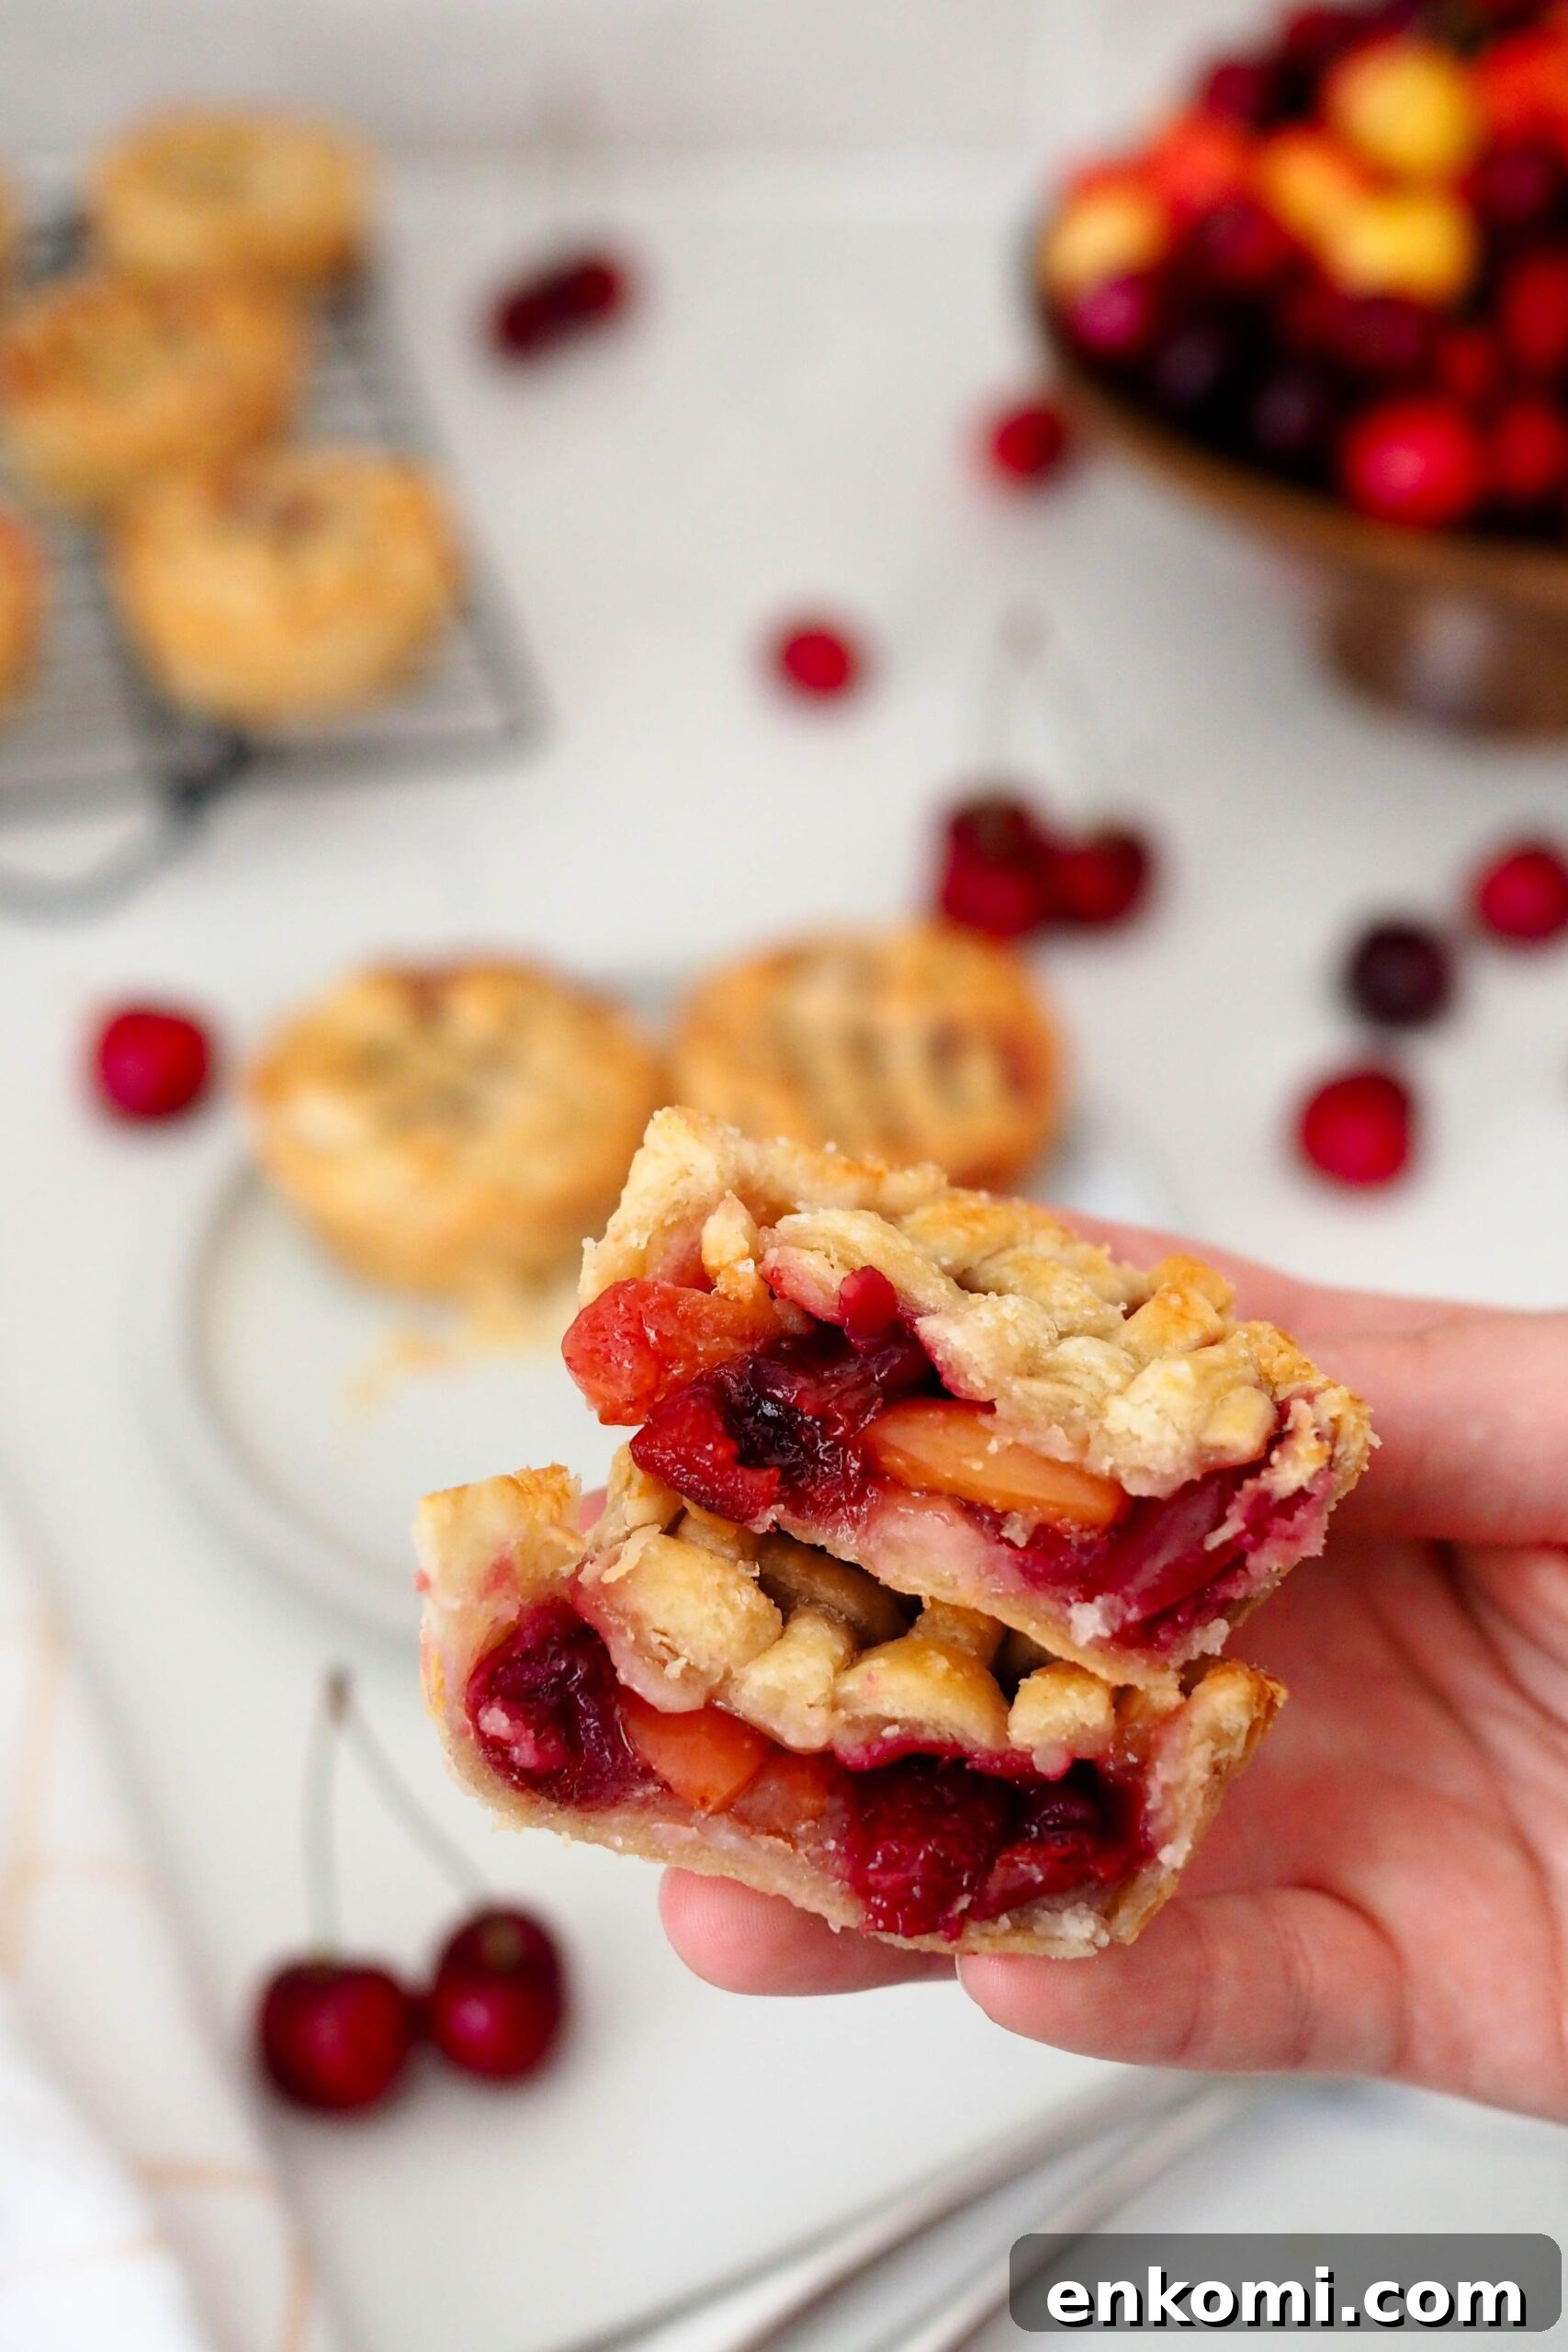
Other Recipes You May Enjoy
If you have a lot of cherries, try other cherry recipes like mini caramel apple pies, classic cherry pie, cherry almond cupcakes, or cherry pie ice cream — many use similar techniques and are good ways to use leftover dough or fruit.
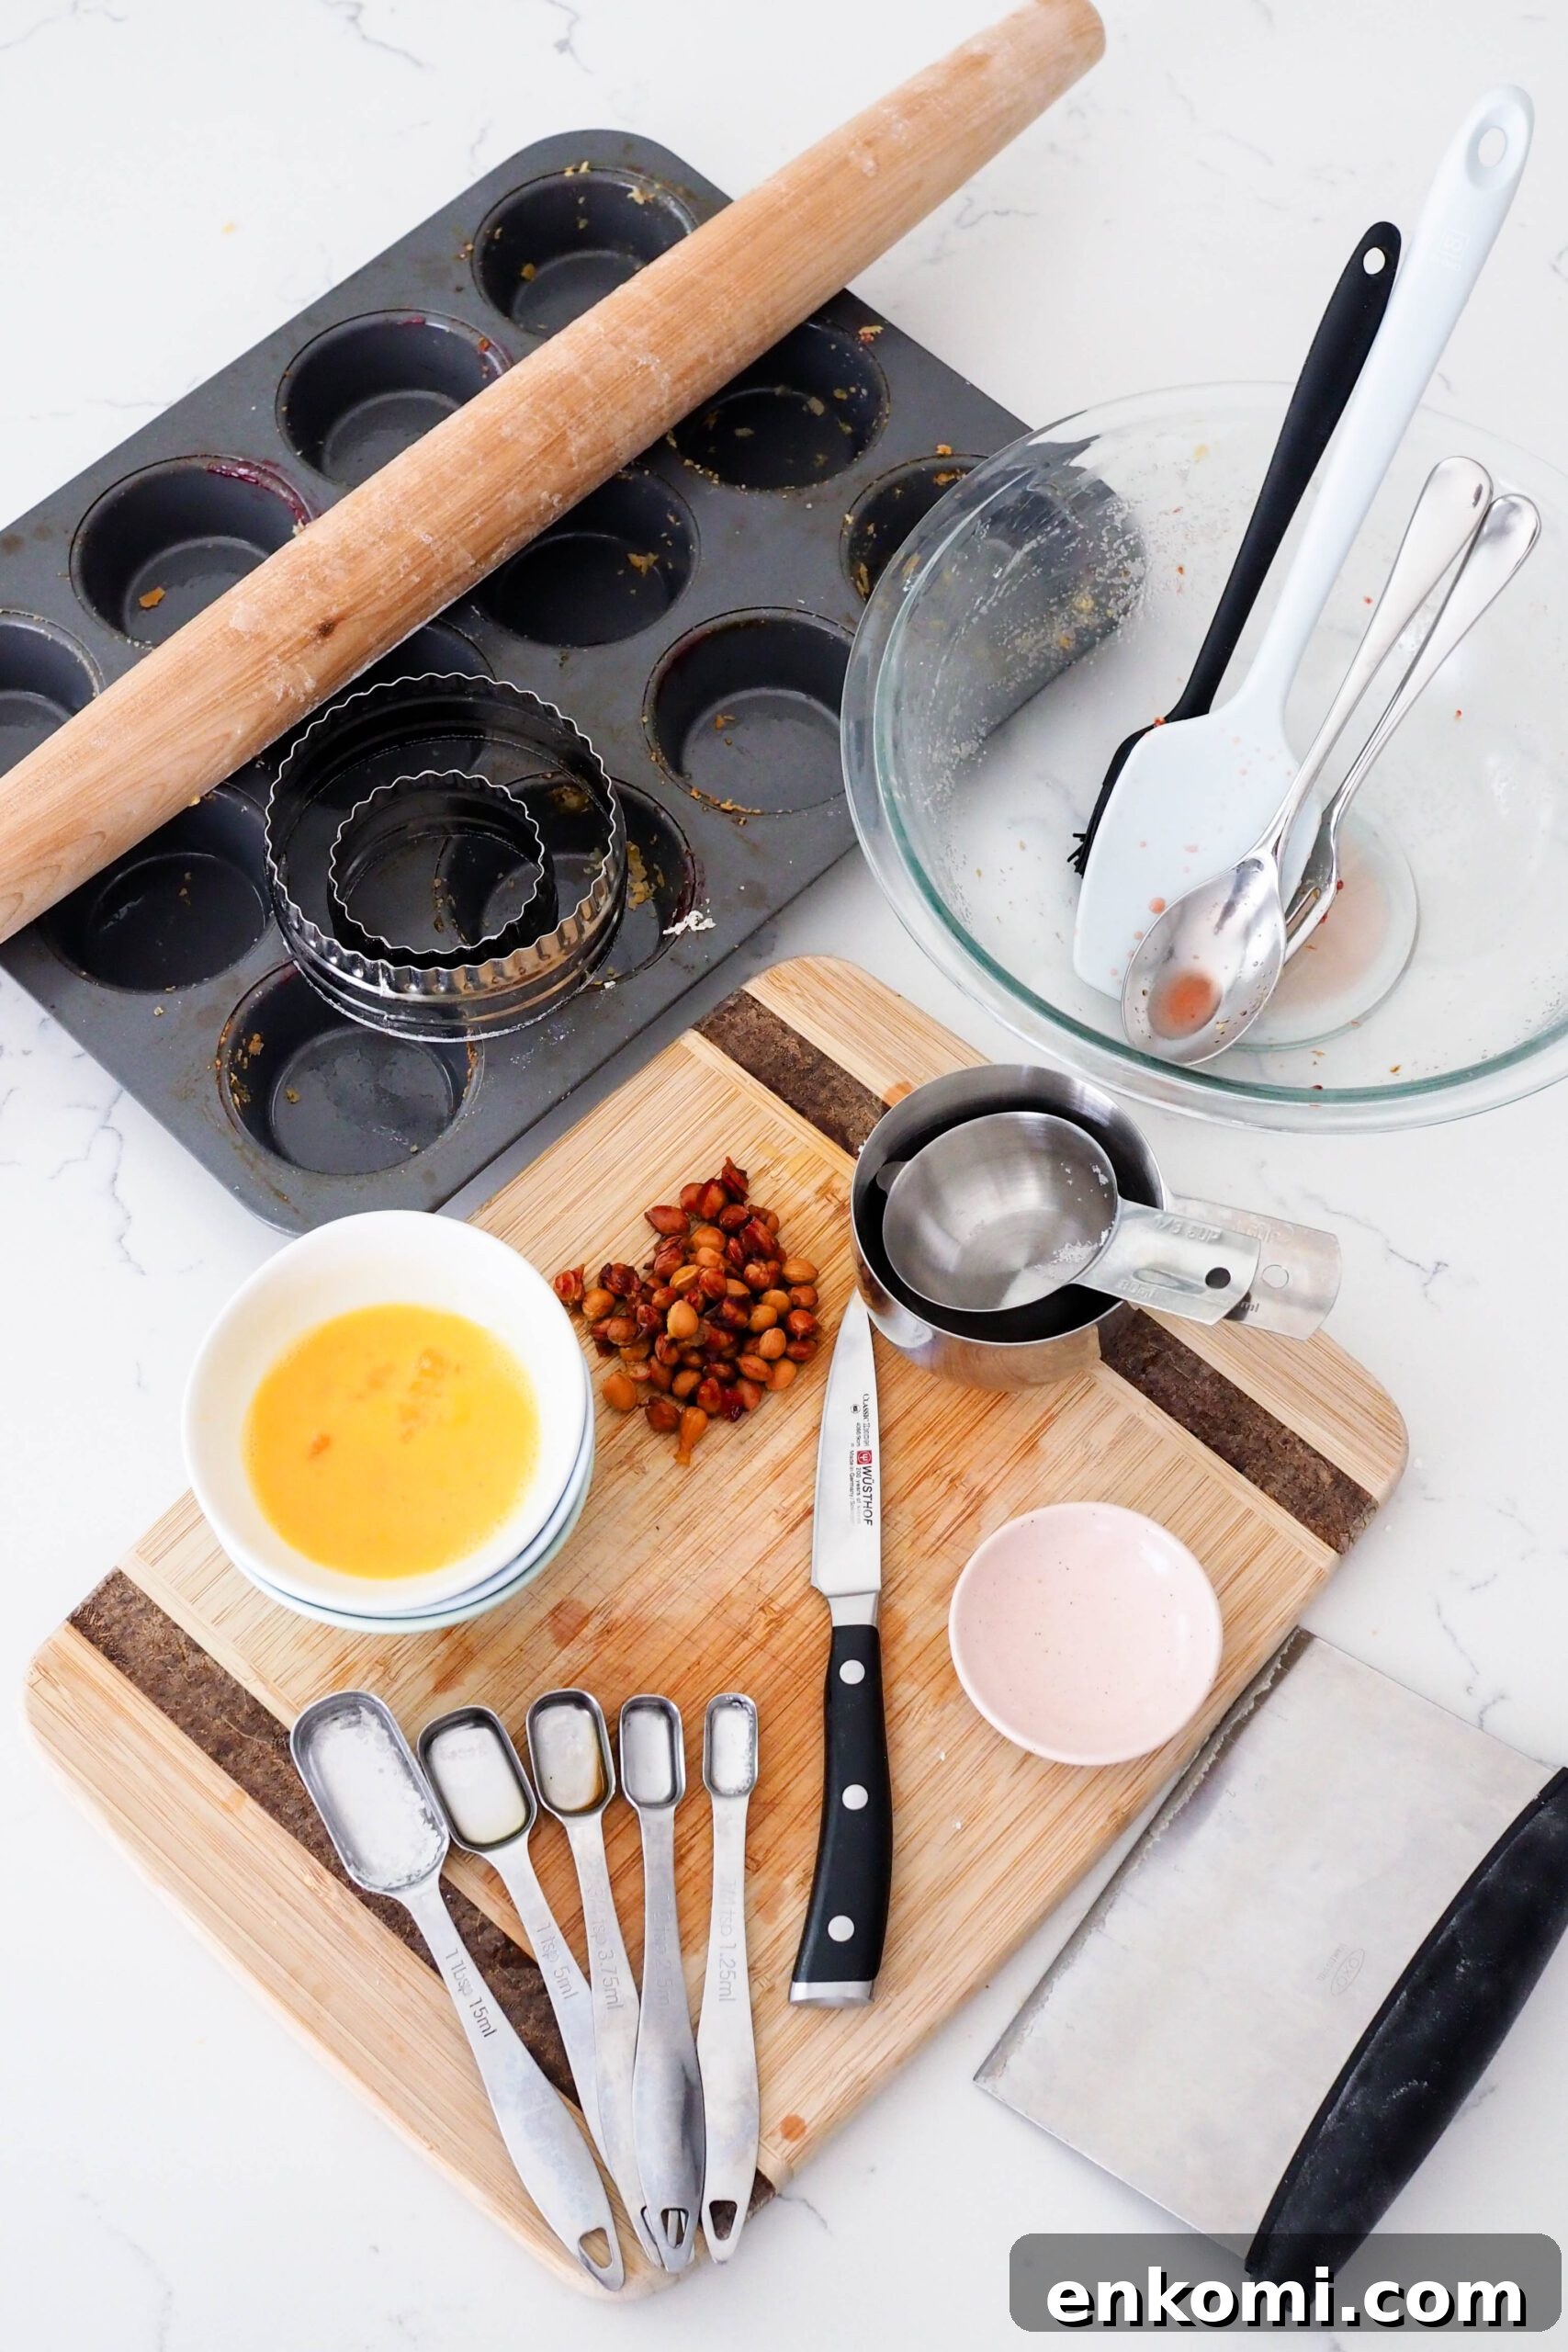
Dish Cleanup
These mini pies earn a cleanup rating of about 4 out of 5: there are a few bowls, a muffin pan, and some tools to wash, but the result is worth the effort.
Mini Cherry Pies Recipe
If you make these mini cherry pies and love them, please leave a review to let others know how they turned out.
Mini Cherry Pies
Ingredients
- 2 ½ cups (380 g) cherries, pitted and quartered (about 60 cherries)
- ⅓ cup (70 g) sugar
- 2 Tablespoons (20 g) cornstarch
- ¼ teaspoon salt
- 1 teaspoon lemon juice
- ¾ teaspoon vanilla extract
- ½ teaspoon almond extract (optional)
- 2 pie crusts, store-bought or homemade
- 1 large egg
- 1 Tablespoon coarse sugar (optional)
Instructions
Making the Cherry Pie Filling
- Preheat oven to 375°F/190°C. Use a dark-colored muffin pan for crisper, more golden crusts; light pans may need a few extra minutes.
- In a medium bowl, combine quartered cherries with sugar, cornstarch, salt, lemon juice, vanilla, and almond extract. Stir and let rest at room temperature for at least 10 minutes to macerate.
Preparing the Mini Pie Crusts
- While cherries macerate, roll out one chilled pie crust on a lightly floured surface. Rotate the dough periodically and roll from the center outward.
- Roll to about 11–12″ (28–30 cm) diameter and cut 4″ (10 cm) circles. Line the muffin pan cups with the circles, pressing gently to fit. Reserve scraps.
- Roll out the second crust and cut remaining circles to fill the pan. Keep leftover dough for lattice strips.
Filling the Mini Cherry Pies
- Spoon about 1 tablespoon of cherries into each crust-lined cup.
- Divide the reserved liquid between the pies, roughly a little less than 1 tablespoon per pie. Chill the filled pan while you make lattices.
Making the Mini Lattice Tops*
- Cut dough strips about ¼” (6 mm) wide. Weave them to form a lattice large enough to cut 2.5″ (6 cm) circles.
- Cut lattice circles and transfer to the chilled pies. Press lightly into the edges.
- Beat the egg and brush the tops. Sprinkle coarse sugar if desired.
Baking the Pies
- Bake for 22–25 minutes on the center rack until the crust is golden. Dark pans tend to finish around 22 minutes; light pans may take closer to 25.
- Cool in the pan for 5 minutes, then remove to a wire rack to finish cooling. Enjoy.
Notes
*You can make these pies with just one crust by rerolling scraps and skipping the lattice and egg wash. Store at room temperature in a loosely sealed container up to 3 days or refrigerate up to 5 days. Freeze up to 3 months and thaw overnight or warm in a 375°F/190°C oven for about 10 minutes.
Recommended Supplies
- 4″ and 2.5″ round cutters (or similar)
- Bench scraper or pizza cutter for straight strips
- Muffin pan (dark pan recommended)
Nutrition
Serving: 1 pie | Calories: 187 kcal | Carbs: 27 g | Protein: 3 g | Fat: 8 g | Sugar: 12 g
I’d love to see how your pies turn out. Take a photo and share it on Instagram with the tag @floralapronblog or use #floralapronbakes.