
Learning how to temper chocolate is the simplest way to transform homemade confections into glossy, professional-looking treats. This guide explains two approachable methods — the traditional double-boiler technique and the beginner-friendly seeding method — so you can achieve a smooth finish, a clean snap, and even coatings that stay solid at room temperature. Perfect for dipping truffles, coating caramels, or making chocolate bark.
Reasons to Temper Chocolate
✔ A glossy, smooth finish — no more dull or chalky-looking chocolate
✔ That signature snap when you break or bite into it
✔ A smooth texture — not sticky or chewy
✔ Protection against bloom — avoids pale streaks or blotches that appear when chocolate cools unevenly
✔ Better shelf life — keeps longer and stays attractive
✔ Stays solid at room temperature — less likely to melt in your hands
What is Tempered Chocolate?
Tempering chocolate means melting and cooling chocolate to specific temperatures so it sets with a glossy surface and a firm snap. Proper tempering gives truffles a polished shell, yields even, attractive bark, and produces coatings that resist melting and handle well during candy making.
When chocolate overheats, the cocoa butter crystals become unstable, causing streaks, a grainy or tacky texture, or a whitish bloom. Tempering stabilizes those cocoa butter crystals so the finished chocolate looks and performs as expected.
Tools Needed
You don’t need fancy tools. A few basic items make tempering at home simple and reliable:
- Double boiler or heatproof bowl + saucepan — for gentle, even heating.
- Silicone spatula or heatproof spoon — for gentle stirring.
- Candy thermometer — a digital thermometer ensures accuracy.
- Dry towel or heatproof mitts — for safely handling hot bowls.
- Kitchen scale — optional, useful for precise batches.
Tip: If you’ll be dipping confections, prepare a parchment-lined tray nearby.
Ingredient Notes and Tips
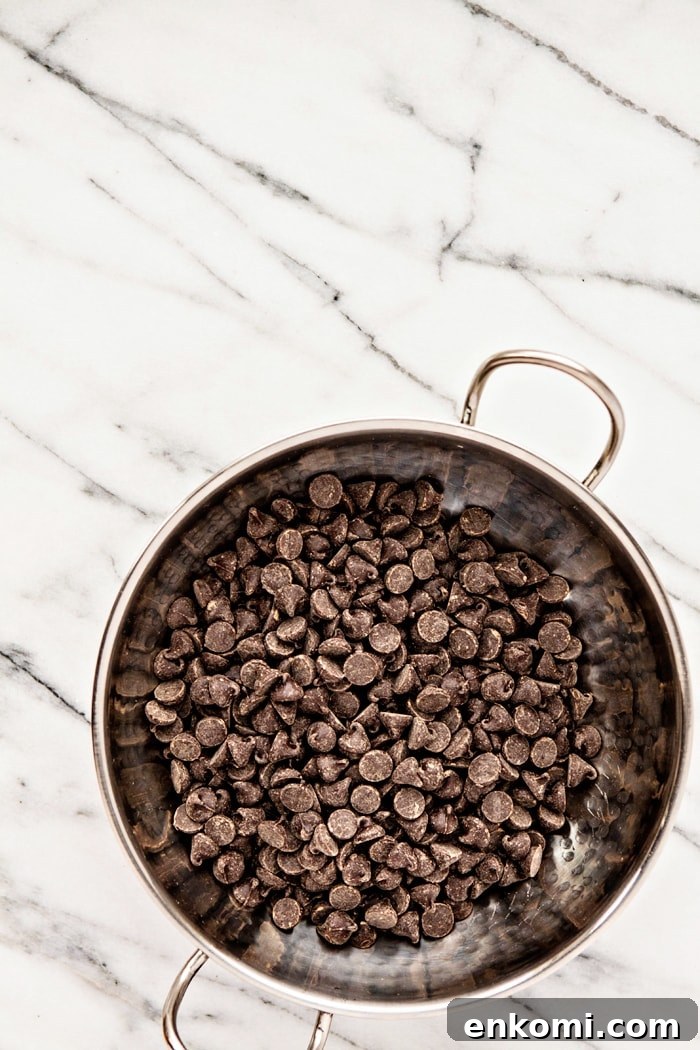
You only need one ingredient: chocolate. Use real chocolate made with cocoa butter — not compound chocolate or candy melts, which won’t temper properly.
- 1 pound of chocolate — chopped chocolate bars or high-quality chips.
Dark and milk chocolates are easiest for beginners; white chocolate is more sensitive and requires gentler handling.
How to Temper Chocolate
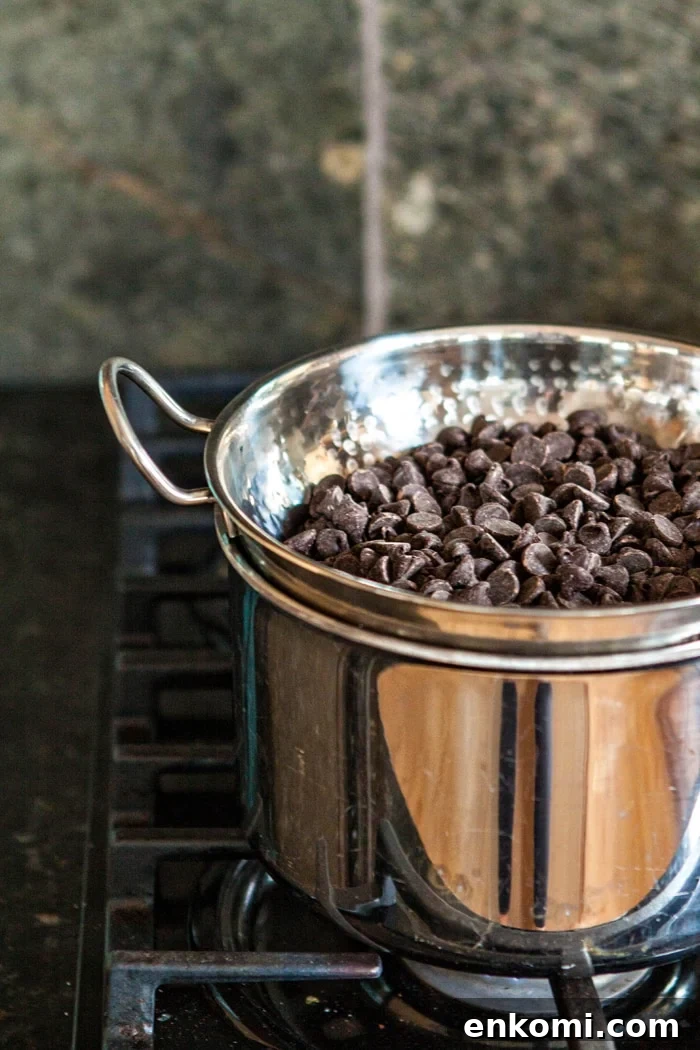
This double-boiler method works with both chocolate chips and chopped bars:
- Simmer water: Fill a saucepan halfway and bring to a gentle simmer.
- Melt chocolate: Put chocolate in a heatproof bowl set over (not touching) the water.
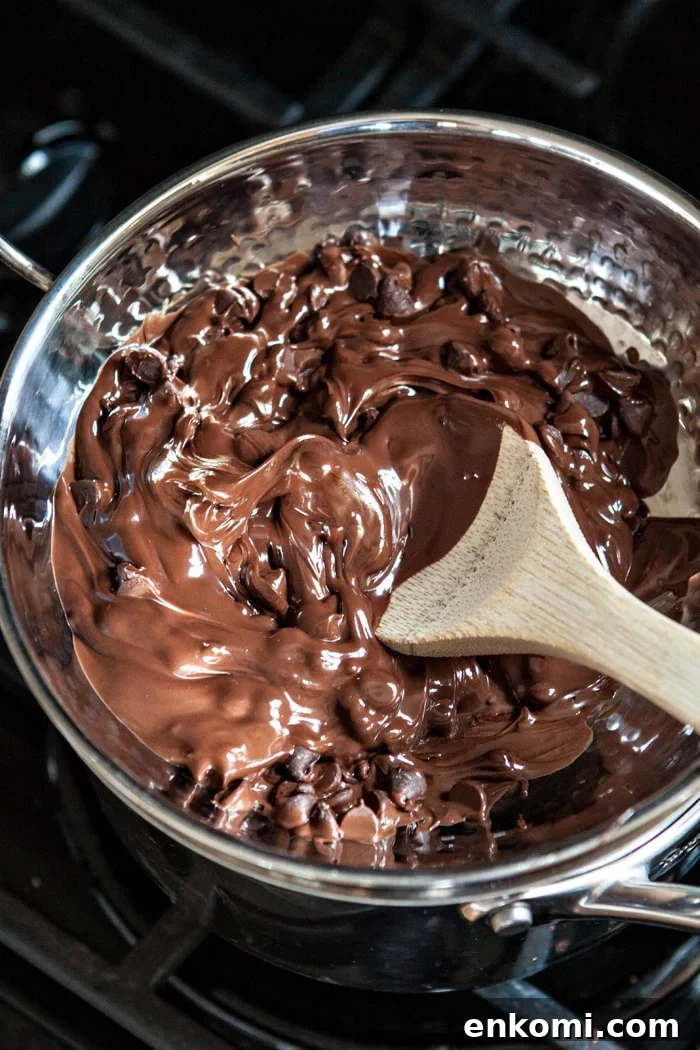
- Turn off heat: Remove from direct heat briefly, then stir until mostly melted.
- Monitor temperature: For dark chocolate, heat to about 115°F then cool to 88–90°F; for milk chocolate, heat to about 110°F then cool to 86–88°F.
- Work while fluid: Stir often and use while it’s still pourable; if it firms, rewarm gently and stir.
Properly tempered chocolate should be shiny, coat evenly, and begin to set within minutes.
Want More Control? Try the Seeding Method
The seeding method is a straightforward, beginner-friendly way to temper larger batches or get more consistent results. It uses a small portion of unmelted chocolate to guide crystal formation.
How it works
- Melt about 75% of your chopped chocolate over a double boiler until mostly smooth.
- Remove the bowl from heat when it’s melted but not too hot.
- Stir in the remaining 25% of finely chopped chocolate — the “seed.”
- Keep stirring until the seed melts and the mixture is smooth and within the tempering range.
The seed lowers the temperature and encourages formation of stable cocoa butter crystals, producing a glossy finish and crisp snap without special equipment.
Cooling trick for precision
For extra precision, cool melted chocolate to a specific lower range before reheating to the working temperature:
Dark chocolate: Heat to ~115°F, cool to ~82°F, then reheat to 88–90°F.
Milk chocolate: Heat to ~110°F, cool to ~80°F, then reheat to 86–88°F.
This helps form the ideal cocoa butter crystals. Reheat slowly — overheating will break the crystals and require re-starting the tempering process.
Tips for this Technique
Tempering is easier than it seems. A few consistent habits will help you get glossy, snappy chocolate every time.
- Use a double boiler: It provides gentle, even heat. Microwaves are less predictable for tempering.
- Keep everything dry: Even a drop of water can make chocolate seize and turn grainy.
- Work quickly: Tempered chocolate thickens as it cools — dip, drizzle, or mold while it’s fluid and stir often.
- Rewarm gently if needed: If it becomes matte or too thick, place the bowl briefly over warm water and stir until smooth; don’t overheat.
- Stir thoroughly: Scrape the bottom and sides to distribute heat evenly and avoid hotspots.
- Use a thermometer: Accurate temperatures prevent bloom and help you hit the correct working range.
Recipes to Try with Tempered Chocolate
Once you can temper with confidence, try these uses:
- Dip homemade marshmallows or fruit for elegant treats.
- Coat caramels for chocolate-covered caramels or salted varieties.
- Create layered or marbled chocolate bark with nuts and dried fruit.
- Coat truffles for a crisp, glossy shell.
- Dip nuts or pretzels for quick sweet-salty snacks.
Tempering Chocolate FAQs
Here are answers to common questions about tempering chocolate.
What kind of chocolate is best for tempering?
Choose chocolate that lists cocoa butter as a primary ingredient. Avoid compound chocolate and candy melts since they contain vegetable fats and won’t temper. High-quality baking bars and couverture chocolates give the most reliable results.
Can I use chocolate chips?
You can temper chocolate chips, but they may contain stabilizers that make them melt less smoothly. If using chips, melt slowly and stir frequently; higher-end chips with real cocoa butter work best.
Can I temper white chocolate?
Yes, but handle it gently. White chocolate has less cocoa butter and no cocoa solids, so it seizes and scorches more easily. Heat to about 105°F, cool to 82–84°F, then reheat to ~86–88°F for best results. Use real white chocolate made with cocoa butter rather than candy coatings.
How can I tell if chocolate is properly tempered?
Properly tempered chocolate is shiny, sets quickly at room temperature, and snaps cleanly when broken. If it looks streaky, dull, sticky, or remains soft, it’s likely out of temper.
Why does melted chocolate become grainy or clumpy?
Graininess usually means the chocolate got too hot and the fat separated, or moisture got into the bowl and caused seizing. Melt slowly and keep all tools completely dry to avoid these issues.
How do I fix chocolate that’s gone out of temper?
If chocolate becomes matte, thick, or streaky, gently rewarm it a few seconds over warm water while stirring. If it was overheated and lost its crystal structure, allow it to cool and re-temper using the seeding method or the temperature steps outlined above.
More Kitchen Tips to Try
Explore other kitchen techniques to build confidence with homemade recipes. Try posts on ganache, pan preparation, stabilized whipped cream, and pie crust techniques.
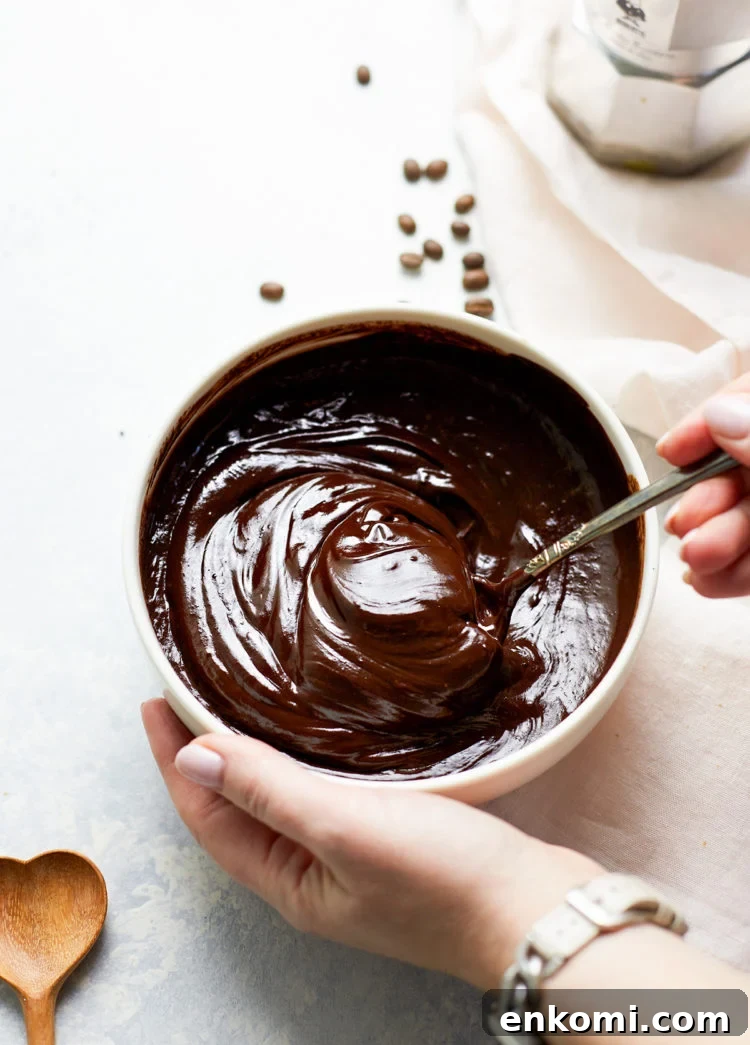
How to Make Ganache
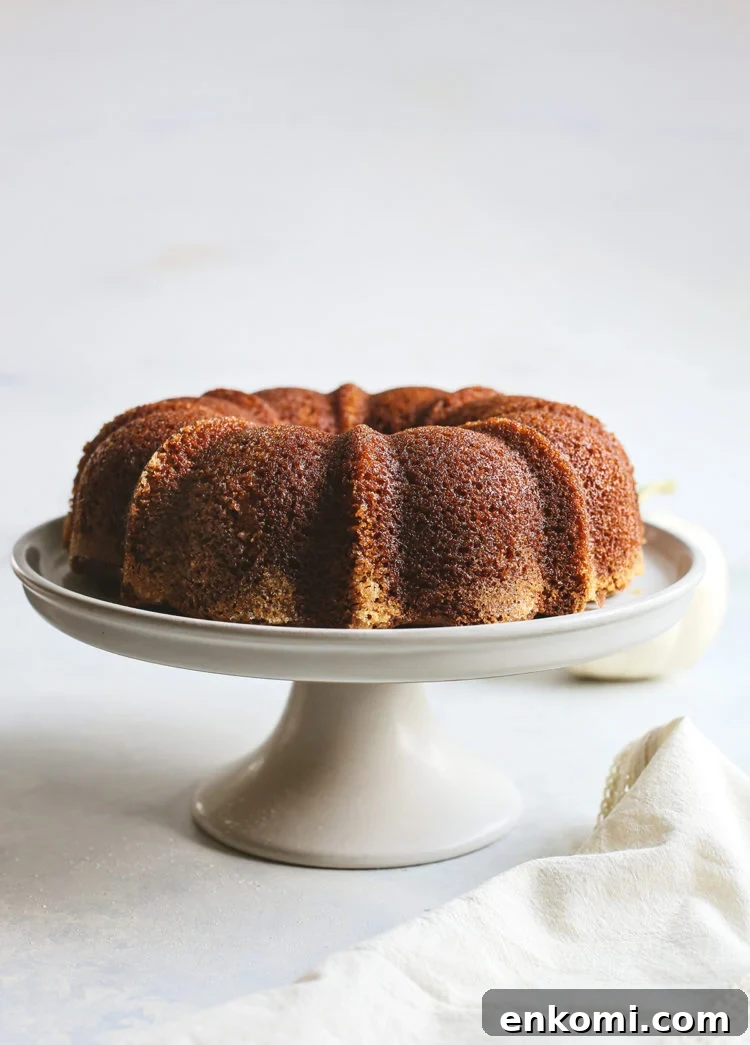
How to Grease and Flour Pans
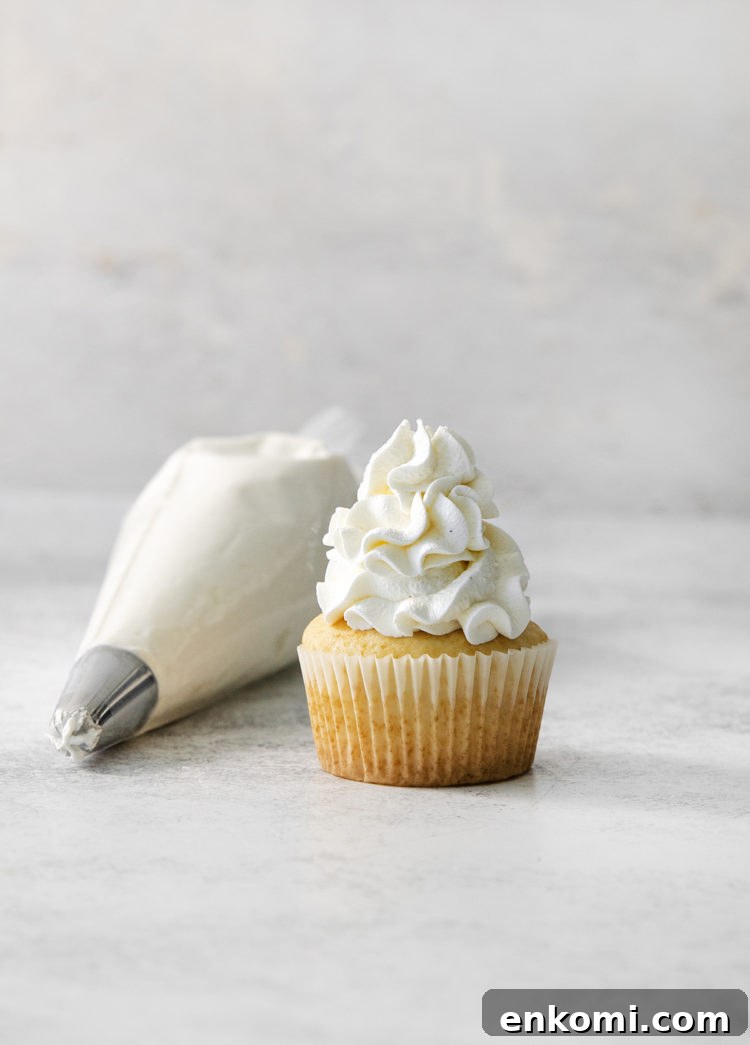
How to Make Stabilized Whipped Cream
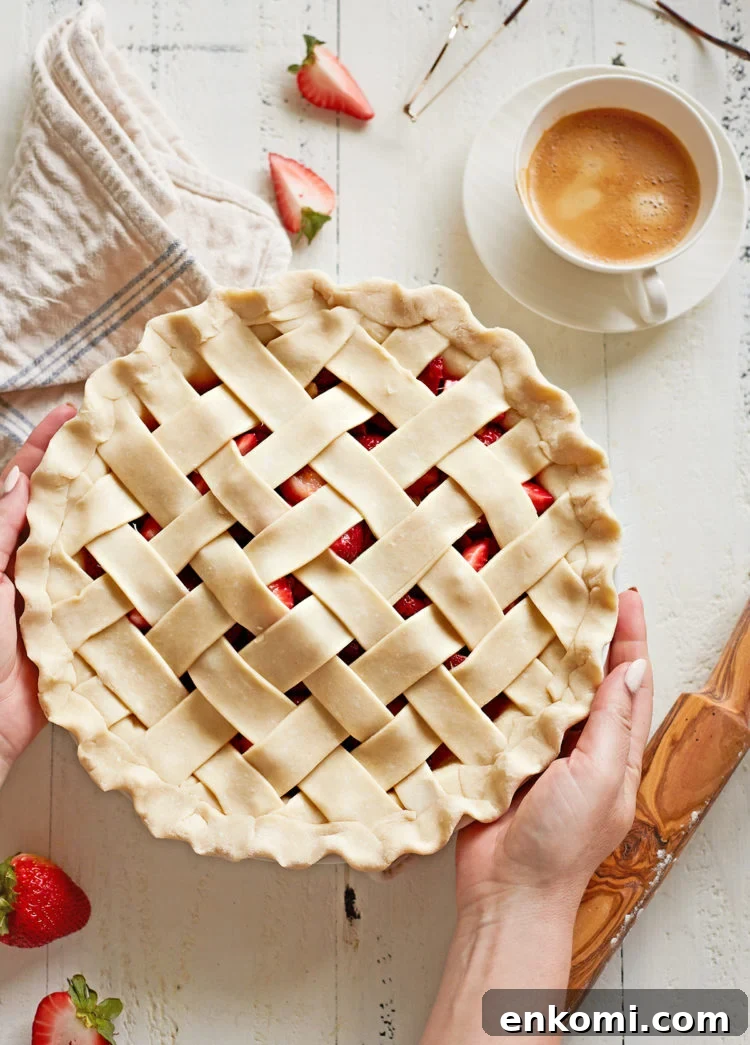
How to Make a Lattice Pie Crust
Stay Inspired in the Kitchen!
Want more recipes, kitchen tips, and seasonal inspiration? Sign up for newsletters and updates to receive tried-and-true recipes, seasonal meal ideas, and time-saving techniques that boost confidence in the kitchen.
Have you ever tempered chocolate?