
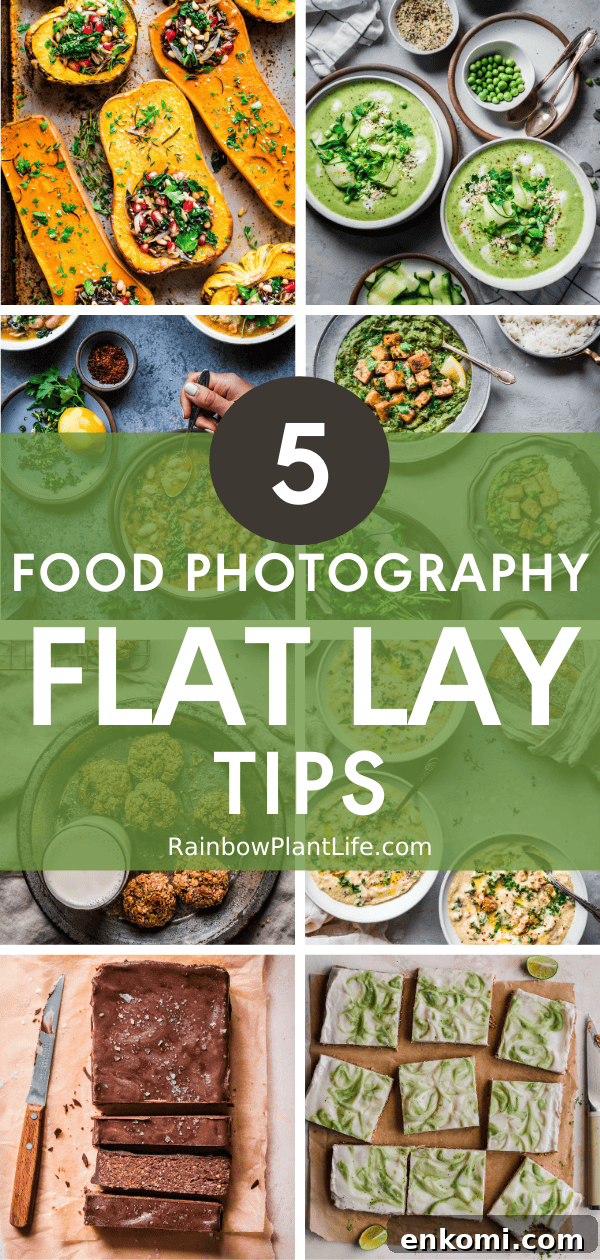
If you’ve used Instagram over the past several years, you’ve likely seen countless flat lay food photos—overhead shots taken from a bird’s-eye view. While it may seem simple to snap a quick overhead picture of your avocado toast, creating an engaging flat lay takes more care than it looks.
Great flat lays require planning, thoughtful styling, and attention to lighting and composition. This piece focuses mainly on styling, props, and camera basics that make flat lay food photography stand out.
If you’re new to food photography, consider starting with foundational techniques before investing in expensive surfaces or gear. Once you feel confident, expanding your collection of surfaces and props can open up more creative possibilities.
If this article helps you, please leave a comment with feedback or questions.
-
First things first, select the right surface
The backdrop you choose matters more in flat lays than in many other food photo styles because the surface is a dominant visual element. In head-on or three-quarter angle shots, the surface is often partially hidden or blurred; in flat lays, its color and texture are prominent.
Your surface helps set the mood. A white surface with white plates and a chocolate cake reads bright and airy; a dark gray surface with the same cake gives a moody, dramatic tone. Before shooting, decide the vibe you want—rustic, summery, light, moody—and pick a surface that supports it.
On the left, chocolate mousse looks girly and romantic on a light pink surface. On the right, it looks dark and moody on a dark bluish-grey surface. I recognize these aren’t flatlays but they illustrate how surfaces influence mood.
Beginners should stick with neutral-toned backgrounds—white, off-white, gray. Neutral surfaces are versatile and keep attention on the food, which helps when you’re learning to make the dish the star of the frame.
If you’re not ready to buy professional surfaces, you can reuse items from home as neutral backdrops:
-
An old, worn cookie sheet or baking tray (great for dark, rustic scenes)
-
A wooden table or chair surface, if the color and grain aren’t distracting
-
Parchment paper, slightly crumpled for natural texture
-
Neutral linen towels or pillowcases
Unbleached, gently wrinkled parchment makes a natural surface for baked goods.
A worn cookie sheet creates an instant dark, rustic mood.
As you progress, try more textured or colorful surfaces to vary your visual language.
2. Use that Tripod
A tripod greatly improves flat lay results. To shoot overhead, you’ll need either an overhead arm extension that attaches to a tripod or a tripod with a horizontal column or articulating arm.
A sturdy tripod reduces camera shake, allowing slower shutter speeds and lower ISO in low light. It also frees you from holding the camera so you can focus on styling and composition. With a tripod you can achieve a precise 90° angle and replicate identical frames to compare small changes.
Avoid flimsy tripods; invest in a durable model so your setup remains steady, especially when using heavier cameras or attachments.
BONUS #1: Tethering your camera to a computer gives real-time feedback in an editing program so you can fine-tune composition and crop as you shoot.
BONUS #2: If getting a perfect 90° angle is challenging, use a small level placed on the camera to ensure it’s precisely leveled.
3. Create Dynamism through Creative Prop Styling
Flat lays can feel static because they show a single plane. To add movement and interest, try these three prop-styling strategies.
(a) Add props of different heights and sizes. Include glasses, bowls on risers, or stack items so the eye moves around the frame. Even subtly elevating one bowl or tart creates a focal hierarchy.
Varying heights, like elevated bowls and tall glasses, create visual intrigue.
(b) Arrange similar props in opposing directions. Point utensils or linear elements in opposite directions to introduce tension and guide the viewer’s eye.
Utensils facing different directions invite the eye to pause and explore.
(c) Crop elements partially out of the frame. You don’t need to show every prop in full. Leaving parts of plates, glasses, or linens out of the frame suggests a larger scene beyond the image and adds intrigue.
Partially showing a glass or bowl can emphasize the main subject and make the scene feel discovered.
4. Choose your aperture accordingly
A common beginner pitfall is soft or uneven focus. That can come from camera shake or from using too wide an aperture. Aperture controls depth of field: wider apertures (small f-numbers like f/2.8) produce shallow depth of field, while narrower apertures (larger f-numbers) increase the area in focus.
Because flat lays typically sit on a single plane, you usually want most elements to be in focus. Mid-range apertures—around f/5 to f/7.1—often work well for social media and blog images. Some photographers prefer f/11 or narrower for editorial work or large prints where every detail must be crisp.
If your subject includes elements at different heights, try multiple apertures (for example f/2.8, f/4, f/6.3, f/8) to see how depth of field affects the image and choose the look you prefer.
An elevated subject can create pleasing separation from the surface when shot with a wider aperture.
5. Incorporate Layers
Layering ingredients, props, and human elements adds depth and interest. Try these layering strategies:
Use ingredients to create layers
-
Sprinkle flaky sea salt on a cookie for texture
-
Add chopped herbs atop a dish to create dimension
-
Brush oil and a dusting of sugar on a pie crust for shine and texture
Simple ingredient details add tactile interest to baked goods.
Use props to create layers
-
Stack bowls slightly on top of each other
-
Tuck a linen under one plate or bowl
-
Place parchment under a single muffin for contrast
Layered props—plates, napkins, hidden risers—add depth to a flat lay.
Use human elements
-
Include hands interacting with the food to add life and context
If you found these food photography tips for creating great flat lays helpful, please leave a comment below.